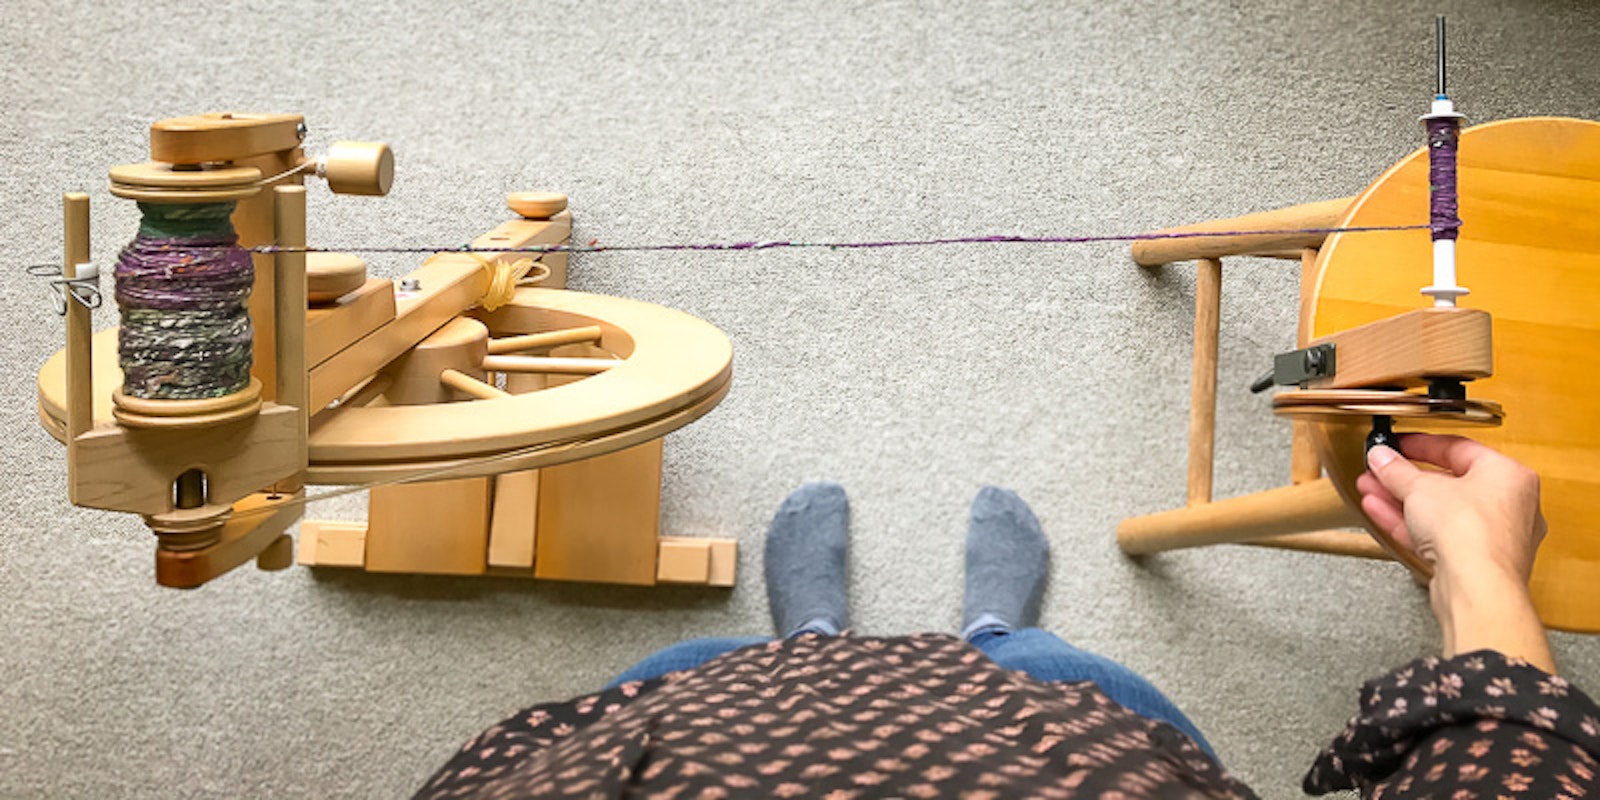
Last week, I made my case for taking the time (and investing in a bobbin winder) for rewinding from a spinning wheel bobbin onto storage bobbins. This method helps me store an entire project’s worth of singles before plying. What’s more, I prefer plying from lightweight plastic or cardboard bobbins. Here are three ways I wind and what I use.
Bobbin Winder
These supplies were designed with weavers in mind. The cardboard pirns (quills) and plastic bobbins shown below are designed to hold weft yarn inside a shuttle. There are many styles of bobbin winders; some are more adjustable, while others are more portable. Alternatively, some fiber folks adapt cordless drills, drink mixers, or their spinning wheels themselves to wind storage bobbins.
Plastic Weaving Bobbins
How to wind plastic weaving bobbins with a bobbin winder.
This is the type of storage bobbin I most frequently use for rewinding everything from very fine to chunky-weight singles for plying.
A. I prefer to leave my bobbin on my wheel and loosen the tension band that passes over the bobbin when using my scotch tension or double-drive wheels. You can also place the bobbin on a lazy kate.
B. Slip a storage bobbin onto the bobbin winder. It should wedge at the end so that it doesn’t rotate unless the crank is turned. If it’s loose, wrap a bit of tape on the shaft to make it larger.
C. Remove the yarn from the flyer guide or hooks.
D. Wrap the end of the yarn around the storage bobbin. There are many ways to do this; just wrapping a few times in the direction the bobbin will rotate is fast and easy to release when plying. Once you start winding, guide the yarn with your free hand so that it winds smoothly on the bobbin in layers like the image at the top of the page.
Cardboard Bobbins
How to wind cardboard bobbins, which are often used for sectional warping.
This is a great option for holding heavier-gauge singles or plied yarns that you are plying again for complex yarns such as bouclé.
A. Set up your wheel as above and place a cardboard bobbin on your winder. (They often need extra tape to make them sit securely on the shaft.)
B. With heavier yarns (such as this worsted-weight, thread-plied yarn that I intend to ply again), I often wrap the yarn around the bobbin and tie it.
C. Begin winding slowly and fill the bobbin smoothly back and forth in layers.
Paper Pirns
Paper pirns are used in end-feed shuttles.
I typically use paper pirns for cotton singles I have spun on my charkha. They are very lightweight and hold the small amount of fiber nicely.
A. Slide the pirn onto the winder shaft, applying a bit of tape if needed to fit snugly.
B. Wrap the singles around the pirn as described above for bobbins. Begin winding slowly, holding the spindle loosely and allowing it to rotate in your hand. Build the singles into a tidy pile that is tall in the center and tapered out to the edges.
— Kate
This article was originally publishe August 28, 2017 and updated May 25, 2021.


