
Over the past several weeks, we have looked at different finishing techniques: steaming and snapping and thwacking. Today, let’s discuss when to block a skein, or add some weight to our handspun yarn, as it dries.
When to Add Weight
On my spinning journey, I’ve seen two scenarios where adding weight to a freshly washed skein as it dries is often used. The first is when a new spinner tries to make a skein with active twist appear balanced. Blocking doesn't fix spinning issues. I’ll confess, as a new spinner, I weighted my yarn after washing to make it look balanced and not like spaghetti. (Writing this web post was definitely a trip down fiber memory lane.) The other is when a spinner plans to weave with the yarn. Blocking weaving yarn so that it dries under tension, as it would be on the loom, can help prevent tangles and tension issues during warping.
Here's a quick list of the occasions when you might want to block your yarn:
- Weaving yarns
- Textured yarns
- Yarns with sizing
- Yarns spun from plant fibers
How To Block a Skein
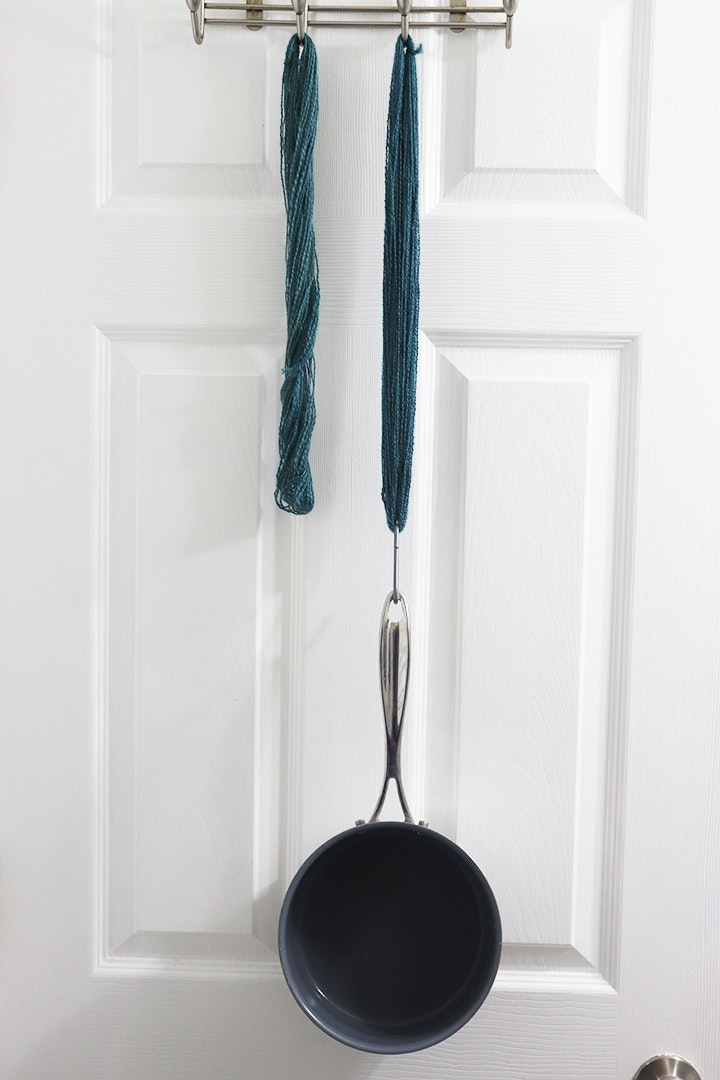
- Using a plastic hanger, an over-the-door hook, or a suspended dowel, hang up a freshly washed skein of handspun or a dry skein needing to be steamed (steaming works well for textured yarns).
- Add a weight at the bottom. The object can be heavy, such as a small pot attached with an S-hook, or light, such as an oven mitt. The amount of weight you use depends on the desired effect.
- Allow the skein to dry completely before removing the weight. Or if steaming the yarn, carefully apply steam to the skein and allow it to dry fully.
Caution
Adding a medium weight to your skein as it dries will elongate it to its stretched length and hold it there. Using a heavy weight will permanently stretch the yarn. A light or medium weight usually will cause an impermanent change in the yarn. It’s best to sample your yarn first to see whether you like the result.
Also, I offer another word of caution: This method is not typically a good fit for knitting yarns, especially wool. Remember wool has elasticity, so weighting the yarn allows the fibers to stretch. This stretching can be temporary and give the impression that fibers are relaxed. When you refresh and wash your woolens, the re-introduction of water allows the return of the wool’s crimp and elasticity, which could change the gauge of the stitches and the size of the finished piece. In this case, all the fantastic properties of wool can be a blessing and a curse.
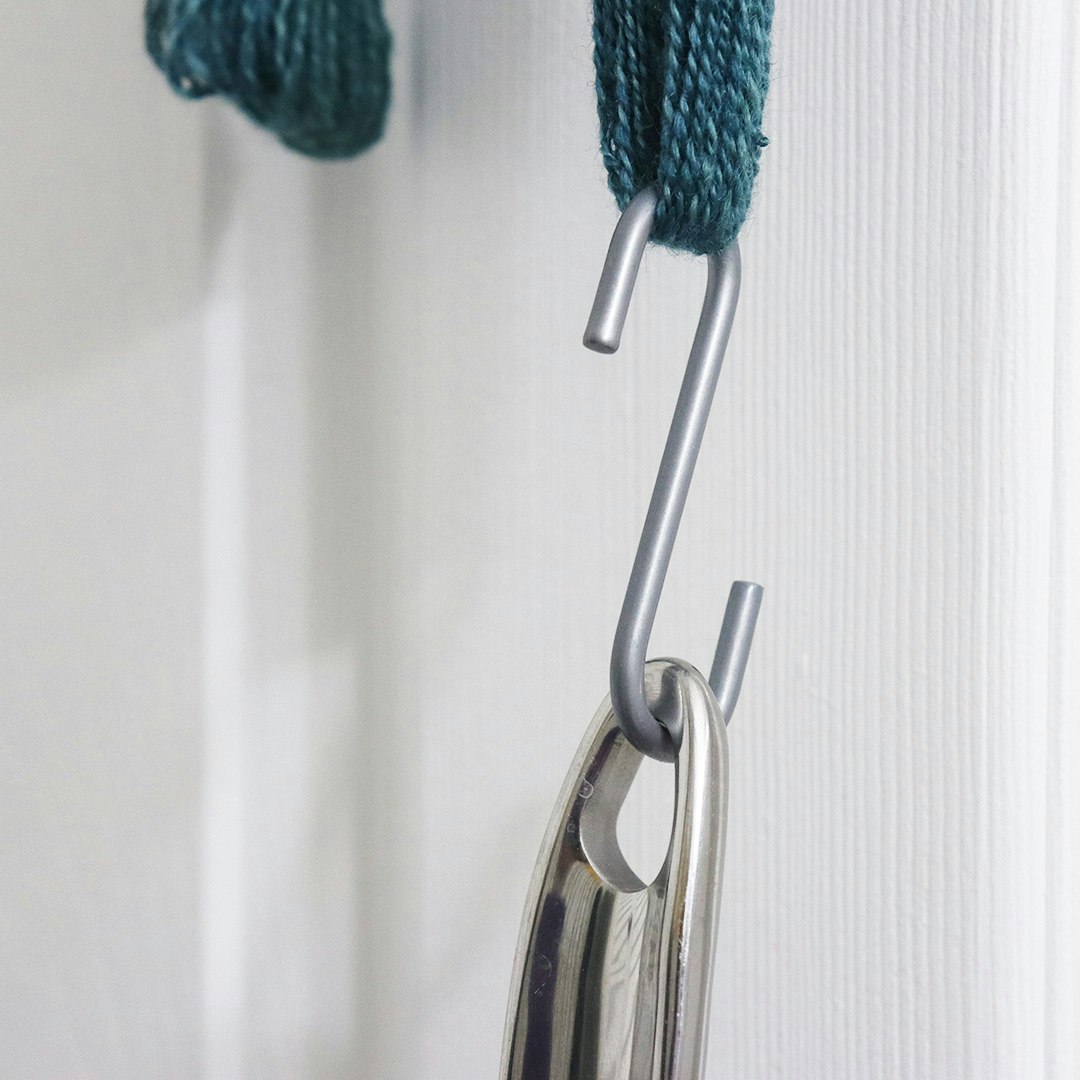
An S-hook can be used to suspend a small pot from a skein if more weight is desired.
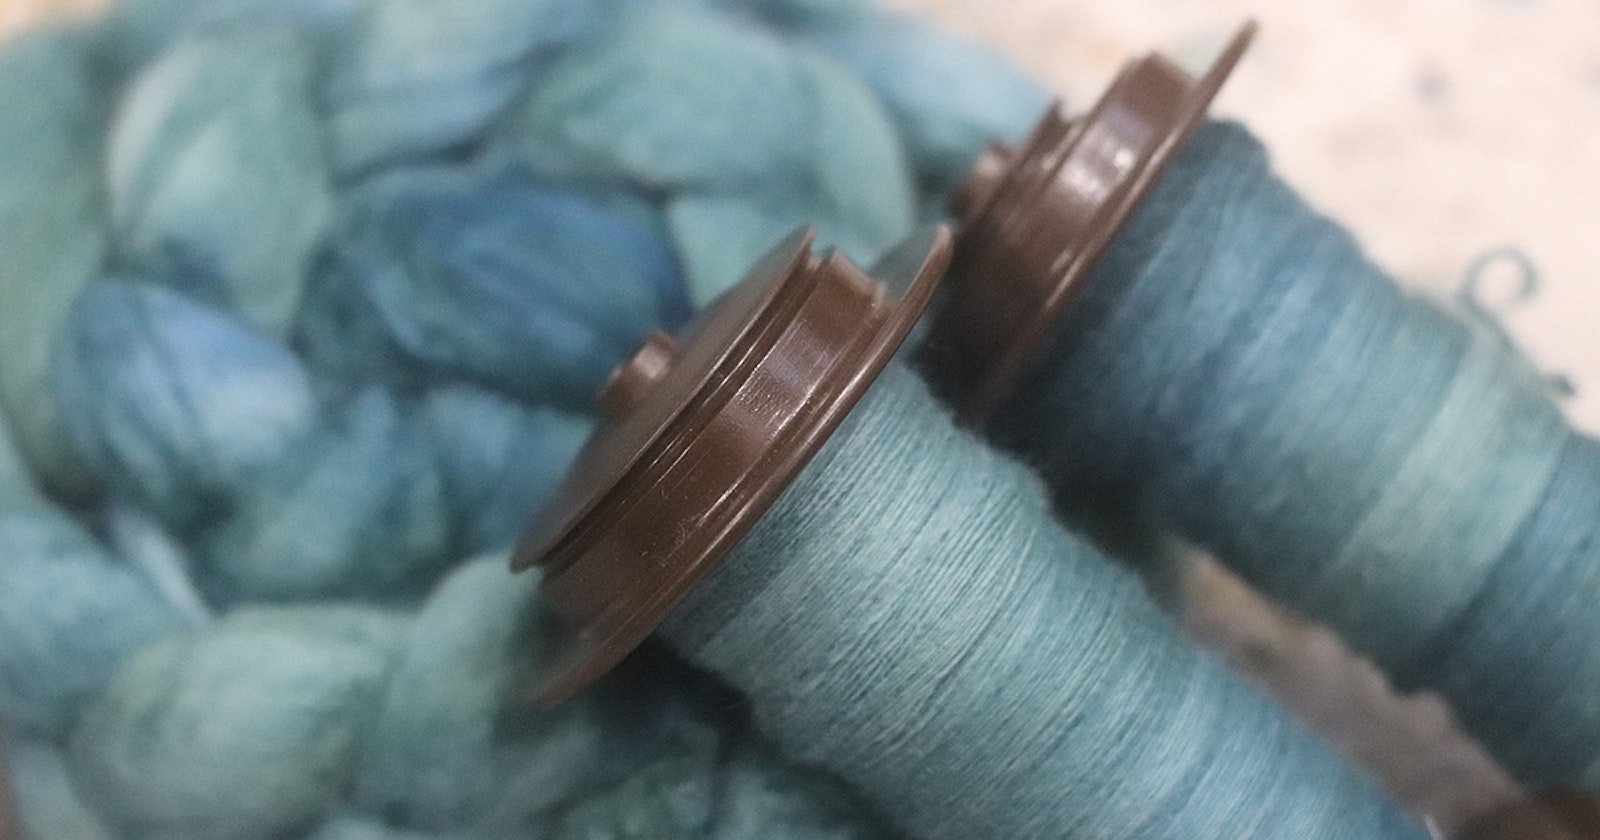
A Comparison: Snapped vs. Blocking
As an experiment, I spun a high-twist sample skein with hand-dyed Bluefaced Leicester fiber, planning for a two-ply yarn to use as a weft. Next, I split my yarn into two skeins. Both sample skeins were soaked in warm water with a wool wash and then spun in my spin dryer. I snapped skein one (bellow, left), which is my go-to method, with three snaps while rotating the skein. I weighted down skein two (bellow, right) with a small pot suspended from an S-hook, but I did not snap the yarn. I allowed both skeins to air dry.
Emonieiesha suspended her skeins from a door. Skein one (left) was snapped three times. Skein two (right) was weighted with a small pot.
The next morning, I went to see the results. The samples displayed some interesting characteristics. On first glance, skein one had a slight twist to the left. Skein two, the weighted skein, was longer and slightly twisted to the right. Taking a closer look at skein one, I saw that it had no kinks or pigtails, which I suspect was due to the snapping and allowing the sample to dry without weight. The weighted sample, skein two, looked straight, but on closer examination, I saw pigtails, a few kinks, and a slight twist.
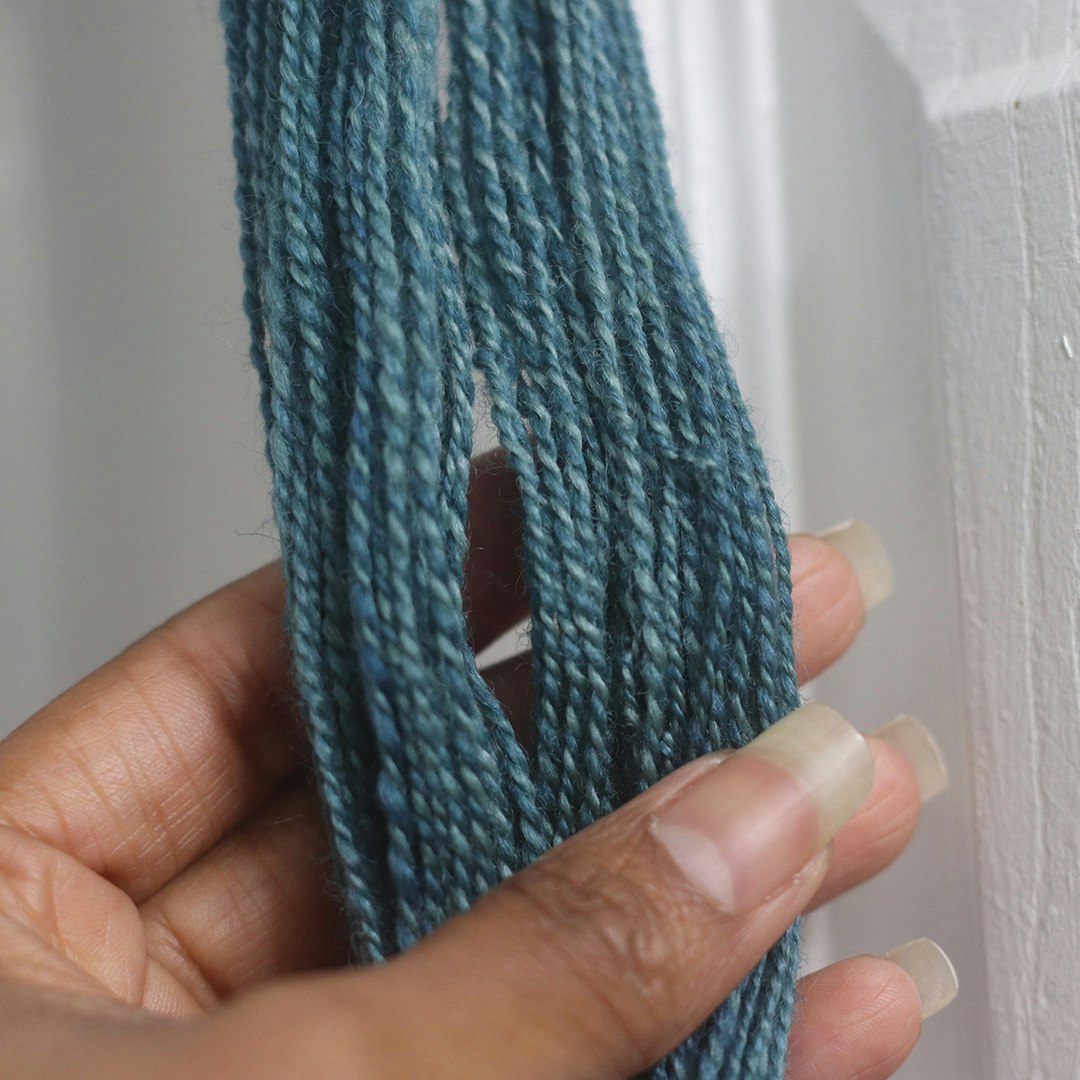
Emonieiesha compared the two skeins.
I found the results interesting because I thought skein two, with the weight, would have resulted in a completely straight and smooth skein because of the tension. Skein two had pigtails, which will affect the appearance of the yarn in a project. Also, the weight did not balance my skein as I expected it to; the yarn was still slightly twisted.
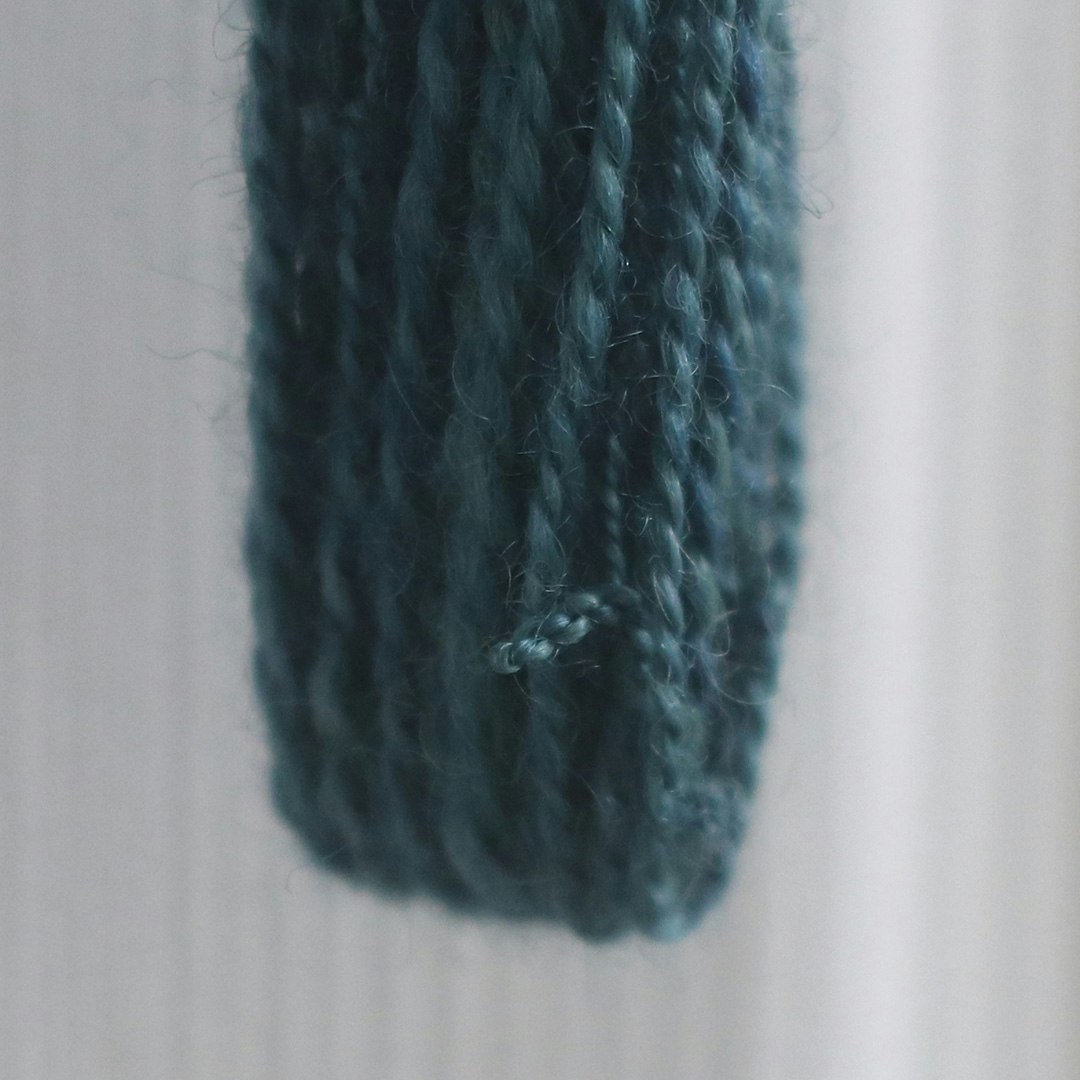
Emonieiesha was not expecting the weighted skein to have pigtails and kinks.
I hope this finishing series has given you a chance to consider that how you finish a skein and set the twist affects your yarn. Experiment to see what works for you, so you can make the best use of your handspun yarn.
Emonieiesha Hopkins is a Chicago, Illinois, fiber evangelist. She loves to gather her wool and good fiber friends, any time, any place. Emonieiesha can be reached via www.hopkinsfiberstudio.com.
For more finishing techniques, check out Kate Larson’s workshop, Finishing Up: How to Wash, Block, Dry & Finish Handspun Yarns.