
_You may have first heard of punis as carded rolls of cotton fiber commonly spun on tahkli supported spindles. Beginning a few years ago, punis grew in popularity, and spinners blended wool, silk, sparkle, and more in gorgeous woolen preparations. In her Spin Off Spring 2016 article “Pretty Little Punis,” Stephanie Stratton showed 4 methods for carding wool punis. ~Anne
Puni
It is a fun little word for a unique preparation of fiber, traditionally formed using short-staple fibers such as cotton, that is carded and tightly rolled around a little stick.
Punis are surprisingly simple to make using a variety of techniques. They are fabulously portable and compact, which makes them the perfect preparation for spindle spinners. Some spinners prefer them for spinning woolen and long-draw yarns, as the fiber is open and the strands very deliberately crisscross one another. To use them, spin from the end or lightly draft them prior to spinning.
You will need:
- 2 smooth ¼" dowel rods (affiliate link) or metal knitting needles
- A pair of handcards (affiliate link) or a blending board with a brush or flick carder or a drumcarder with a brush attachment
- Several ounces of processed wool in roving or top form
- Angelina, silk, bamboo, alpaca, or cotton (optional)

Photos by Stephanie Stratton
Dowel Rod Wool Punis
The no-frills dowel rod method is the least expensive way to bring puni cuteness to life. Start by pulling thin tufts of wool from the end of the combed top or roving (Figure 1). The tufts should be thin enough to see through yet have no clumps. Less is more when pulling the wispy tufts of wool, as it is easier to add a little more to fill in thinner areas before rolling and difficult to remove fiber after it is laid out (much like adding salt when cooking).
Lay the tufts evenly on a flat surface, slightly overlapping one another in a thin row 6" to 8" long and 2" to 3" wide (Figure 2). Periodically check the fibers for overly thick or thin spots by pressing down on the row to feel the thickness. Pinch the ends of the fibers together between two dowel rods and roll them away from you (Figure 3). Continue to rotate the dowel rods until the wispy ends are all tucked in snug as a bug in a rug (Figure 4).

Photos by Stephanie Stratton
Rolling Technique
Remove only one of the dowels (Figure 5). Using the palms of your hands, roll the fibers on a flat surface in the same direction they were wound onto the rods (Figure 6). Continue to roll until the fibers are tightly wrapped around the rod. Slide the fibers off the rod, and the first of many punis to come is complete (Figures 7 & 8).

Photos by Stephanie Stratton
Hand Carding Wool Punis
Using handcards to create sweet little punis is as easy as using dowel rods. Lightly load one of the cards with the top by brushing the fibers across the teeth by hand (Figure 9). This is an excellent time to include a smidgen of Angelina, bamboo, silk, or other add-ins if desired. Loading several colors on the carding cloth at one time will allow for ombré blending effects and richer colors. As with the dowel rod technique, do not cram too much fiber onto the card at one time.
After loading the card, position the other card over the top with the teeth of both cards facing one another and the handles in opposing directions. Just like brushing a child’s hair, begin carding the fiber that is sticking from the end of the card first. Sweep the fiber from the loaded card to the empty one by brushing the teeth slightly against one another in a gentle upward motion without gnashing the teeth together. Gnashing the teeth together will cause the teeth to bend and will shorten the life span of the handcards (Figure 10). Continue brushing until the fibers have been totally transferred from one card to the other. Repeat one more time or until the desired blending is achieved. Then the fun begins.
Hold the cards as in the last step. This time, in two passes, brush a portion of the fiber sticking out from the edge of the loaded card onto the empty card (Figure 11). Pinch the ends of the fiber transferred to the second card with the dowel rods and pull it from the teeth (Figure 12). Complete the puni with the rolling technique. Repeat until the fiber from the loaded carder has been completely used and you have a neat little pile of punis.
—Stephanie Stratton
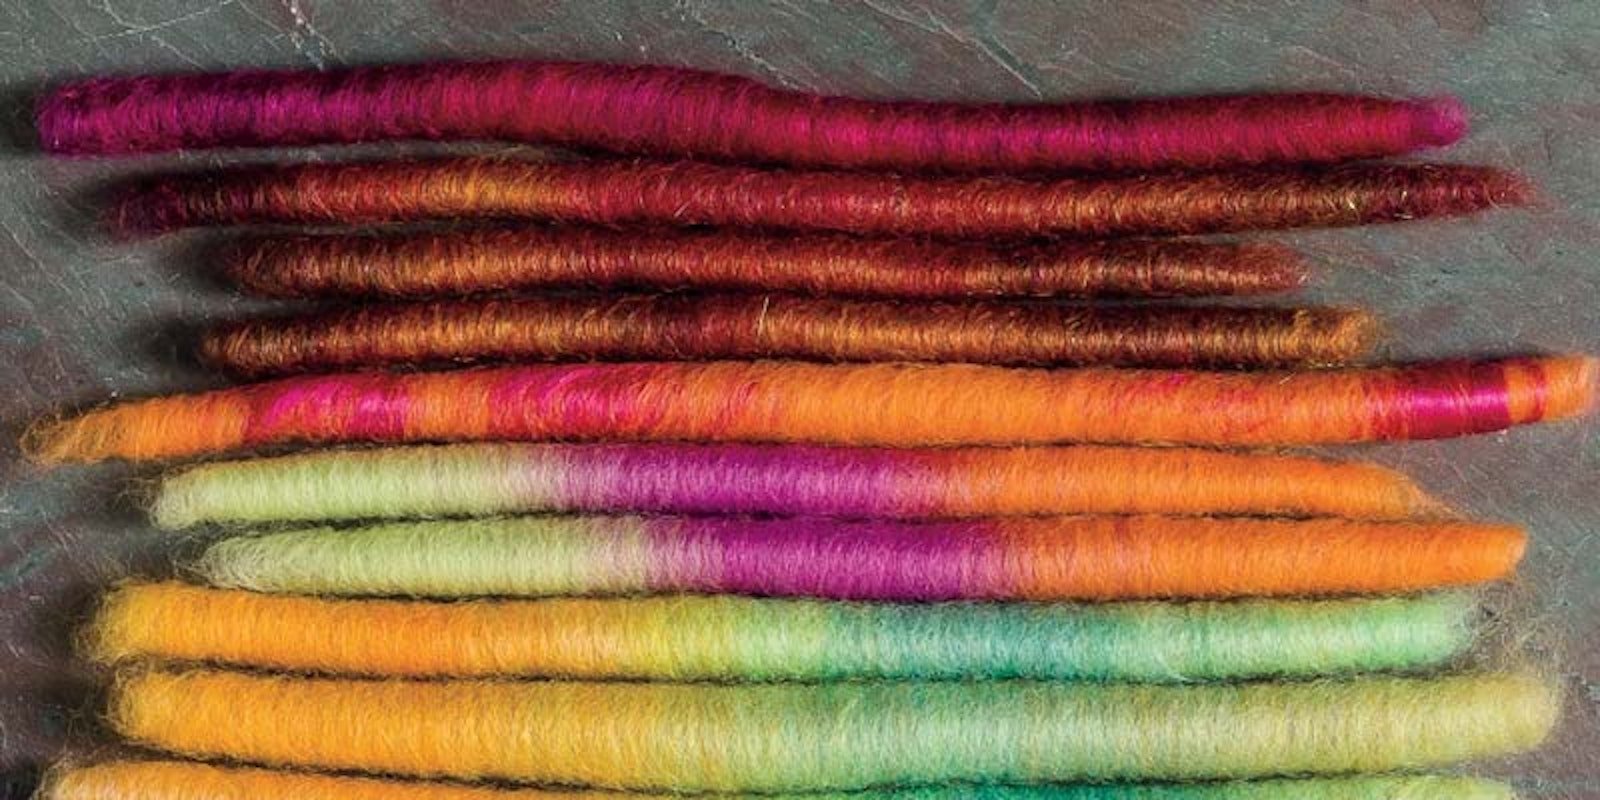
Featured Image: Colorful punis are hard to resist. Photo by Joe Coca
Posted October 25, 2017. Updated July 15, 2019.