
Editor’s note: Many fine-fiber animals—including cashmere goats, yaks, vicuñas, and guanacos—live in high-mountain regions where water that melts from glaciers is essential for these herds to survive. As glaciers around the world disappear due to climate change, these special animals and the communities that raise them face disastrous risks to their survival. The UN has named 2025 the International Year of Glaciers’ Preservation to acknowledge the important role that glaciers play in both the local regions in which they exist and the global climate as a whole.
To raise awareness for this issue and the fiber animals we all hold dear, Long Thread Media and Wild Fibers have launched the Cashmere on Ice competition. We hope you'll spin, stitch, or weave along with us! Simply make a project with 50% or more cashmere content to participate, and you'll find all the contest details on the Cashmere on Ice website.
While cashmere is a luxury fiber that's prized for softness and warmth, it doesn't have to be expensive or new to be eco-friendly and accessible. Here's one way to use cashmere for the Cashmere on Ice competition that won't break the bank—and will help you learn and grow as a spinner.
Cheers! —Spin Off editors
I used to be afraid of cashmere. I believed it to be a very delicate and fragile fiber that required costly cleaning and extreme care.
Today, after much experimentation, I know better.
Strong and Soft
There are things I do to cashmere that would make the faint of heart keel over. Cashmere can take treatment that would destroy fine wool. Raw cashmere fiber can be put in a warm dryer as long as it is bone-dry. Cashmere yarn can be put in very hot water without harm. Cashmere fiber and yarn can be dyed and steamed, although I would not put loose cashmere fiber in a simmering pot. Cashmere fiber can be dyed in a microwave with the guard hair intact.
Judith MacKenzie prompted me to take my first steps in abusing cashmere yarn. She encouraged me to full cashmere yarn spun woolen to give it a worsted feel by washing it in hot water, using a plunger to agitate it, giving it a shocking cold rinse, and then complete the process by beating it on a countertop. With fear and trepidation, I proceeded with extreme caution. Amazing! The effect was a strong yarn that resists pilling and shedding, is compact like a worsted yarn, and has excellent stitch definition, a luxurious hand, and a small lovely halo! It can be spun more quickly with a long draw than with a short forward draw.
I bake recycled cashmere yarn in the oven at 140 degrees for 30 minutes to kill wool moth eggs. After washing, blocking, and drying cashmere garments, I use 400-grit sandpaper to gently remove pills for a beautiful clean sweater. After all this, when cashmere is washed and blocked, it keeps its shape and feels like heaven to touch.
Sweater manufacturers suggest we dry-clean because it prevents people from ruining their own sweaters. However, the chemicals in dry cleaning are hard on cashmere, the environment, and possibly your health. Handwashing and rinsing cashmere in warm water with mild soap saves the fiber, the environment, and our health, while sparing our pocketbooks.
Reusing machine-spun and knitted cashmere might seem beneath a handspinner, but consider this: The ultrafine yarns that make up many commercial cashmere sweaters are too fine to knit with practically on their own. Fine cashmere yarn dyed or not, and plied either with itself or 60/2 silk thread, makes a luxurious custom yarn.
Sourcing Cashmere
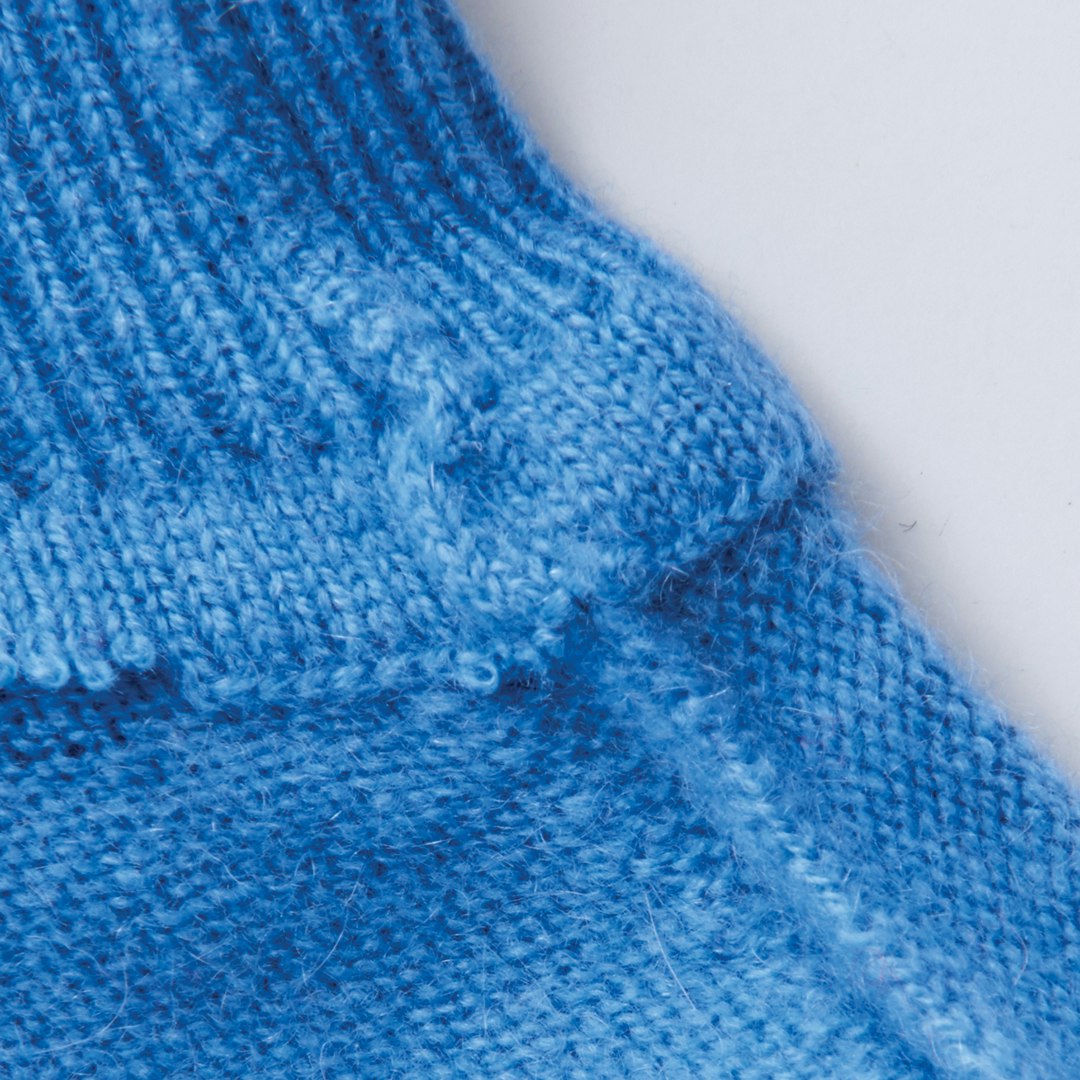
You can find sweaters in thrift stores and used clothing stores, but some know-how is required to find the treasures. Look for sweaters that have a fine 1⁄8-inch halo with an exquisite softness and in which you cannot feel the stitches. If it meets these criteria, check the labels.
Many products on the market feel like or look like cashmere. Cotton blends with 3% cashmere can be mistaken for 100% cashmere. If a sweater has a long halo over 1⁄4 inch, it is a blend with angora. If it is cold to the touch, squeaks when pinched, and has distinct pills, it is likely acrylic. But if it is warm and fuzzy and exquisitely soft to the hand, and its pills appear in waves of fuzz, close your eyes and feel it again.
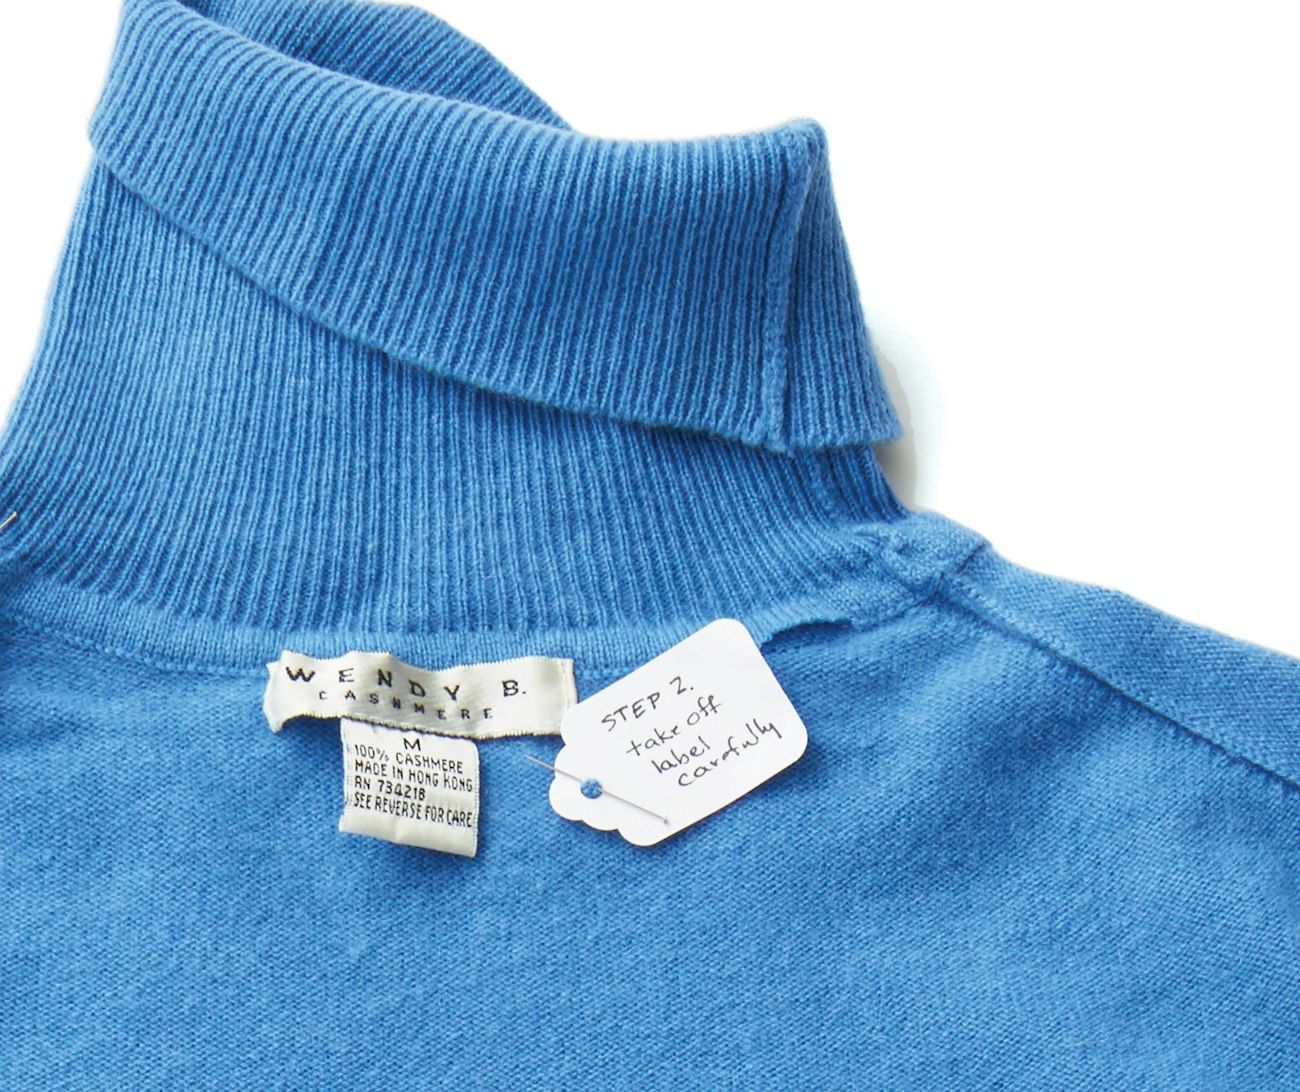 Look for a sweater with a label that's still attached, indicating whether or not it is 100% cashmere.
I only buy 100% cashmere, and I like two labels to say it. If the labels are cut off, I do not buy it even if I am dead certain it is cashmere. There are some really amazing acrylic knockoffs out there. If someone gives you a cashmere sweater that meets the criteria above but doesn’t have a label, do a burn test. Take a piece of the yarn and burn it. If it is animal hair, it will smell like burning hair, produce gray-blue smoke, have black ash that crumbles to a powder, and go out quickly when the flame is removed. If it smells like burning grass and ignites and burns completely, it is cellulose. If it creates hard black beaded balls, it is acrylic. Although this test identifies or rules out other fibers, it is not conclusive.
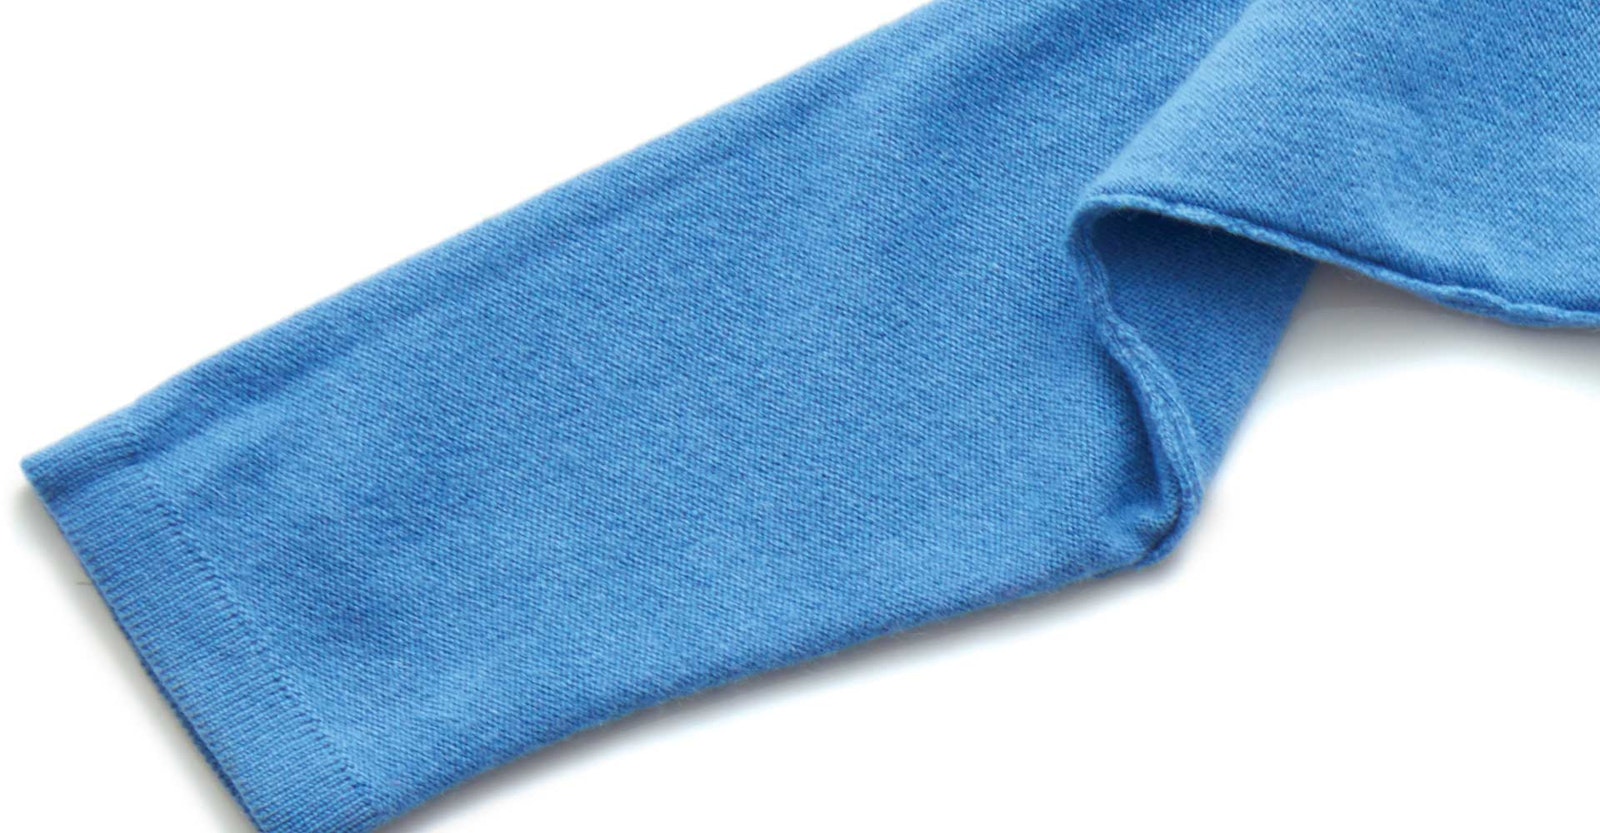
Next, check the seams. Roll the seams back and tease them to make sure that they have not been steeked or cut. If they are cut along the seam, the yarn has breaks at the edges and ravels in short pieces. You want a sweater that can be unwound in one piece from top to bottom. If there are hidden seams under the placket in a cardigan, it is probably steeked; look at the arm and back panel seams to determine if the yarn in the arms and back is worth the asking price. I avoid cardigans unless the color is amazing or the sweater is very large, with a high yield of yarn in the arms and back panel.
If a sweater is fuzzy and small, stay away from it; it has probably been washed in a machine and dried. Although not technically felted, it will only allow about 4 inches of yarn to be pulled off at a time. It is not worth the tears and tiny pieces of yarn collected. When in doubt, look inside the sweater for stitch definition. If the inside is so fuzzy that stitches do not show, do not buy the sweater. Cleaner, newer sweaters produce the best results and most continuous yarn. The better the stitch definition, the easier it is to ravel. If all the seams are hidden, it has probably been steeked or cut, and you do not want that sweater.
The usual price of a cashmere sweater at a thrift store is $5 to $8. At high-end thrift or consignment stores, sweaters will cost a little more. If a sweater is a great color, the seams are visible and not steeked, and it is in great shape, you may have to pay $12 to $20. It is probably still a great price. Cashmere yarn from a shop usually runs about $30 for 1 to 2 ounces of yarn. A women’s medium sweater provides 6 to 8 ounces of yarn for a savings of $170 to $230. Of course, there is still a lot of work to do.
Washing and Blocking Sweaters
When dry, cashmere is unusually strong and durable for a delicate, fine fiber, but it is easily damaged or ruined when wet. Wash and rinse in warm water without agitation. Allow a half hour to soak. Squeeze water out gently by blocking and sandwiching the garment between towels and walking on it. Do not twist a sweater. Lay the sweater on a flat surface and shape it to dry. When bone-dry, wrap 400-grit sandpaper over a hand-size block of wood and gently sand off the pills. Cashmere sweaters are extremely fine, so take great care to remove only the pills. (You may decide to keep the brand-new, gorgeous, freshly cleaned sweater instead of deconstructing it after all.)
Cashmere is irresistible to wool moths, especially if dirty with human perspiration. Sweaters must be cleaned before storage. Place a single clean sweater in a 100% cotton pillowcase, a paper bag, or a cardboard box, and then put it in an airtight container. Wool moths cannot eat through cellulose; they eat protein and can get through plastic. Lavender and cedar distract moths by covering up the smell of protein inside, but they do not prevent damage to fiber.
Deconstruction
Remove labels carefully, taking care not to cut the sweater yarn. I wrap the labels with seam yarn and place them in a notebook as a record of price and color.
The neck is a great place to start raveling seams. A seam created by machine looks like a dashed line of stitches on one side of a seam and little connected loops on the other side. Each loop is shaped like a teardrop with a pointed end. Look to see what direction the loops point. Follow the points around to where the rounded sides of the chain begins. Cut across the loop and pull up on the rounded side of the stitch. Pull up three more loops in the direction of the pointed end of the stitch. The seam will ravel in the direction of the points. Pull up on the free end of the seam and pull through to the other side of the seam for better leverage. Gently pull up to ravel each seam. If the yarn breaks, follow the same procedure to get it going again. Most sweaters have nine seams: the neck, two shoulders, tops of two arms, two side arm seams, and two body seams, yielding five panels of fabric.
 Cut across the first loop, then pull up on the rounded part of the stitch to free up more loops of the seam.
Once the neck panel is removed, the connecting seam in the neck must be removed one stitch at a time. Then cut through the top loop at each side. Gently pull and tease until one releases. This is where you begin to ravel the neck. Put the free end of the yarn on a ball winder for efficient unraveling. Suddenly, yarn balls abound! I do not tie ends that break; instead, I start a new ball so that when done raveling the sweater, I know exactly how much yarn is in each ball. Different size balls can be used to create different yarns.
The two arms come off next. Take out the shoulder seams to expose the arm shoulder seams. The arms provide a large quantity of yarn. At the end of each seam, the tail end is woven into the fabric. Find these tails and tease them out before raveling a new seam. Find the loop end of the seam. Remove the seam as above. Remove the arm inseam next, taking care not to cut the edges of the fabric. The cuff provides a new challenge: I take the cuff seam out stitch by stitch with a yarn needle. At the top of the arm panel is a rounded shape for the shoulder. Look for the end of the bound-off stitches. If you cannot tell which end is which, cut across the outer loop on both sides of the top. A little stretching and teasing will reveal the end that begins to ravel. Pull this thread gently across the top to begin raveling the arm.
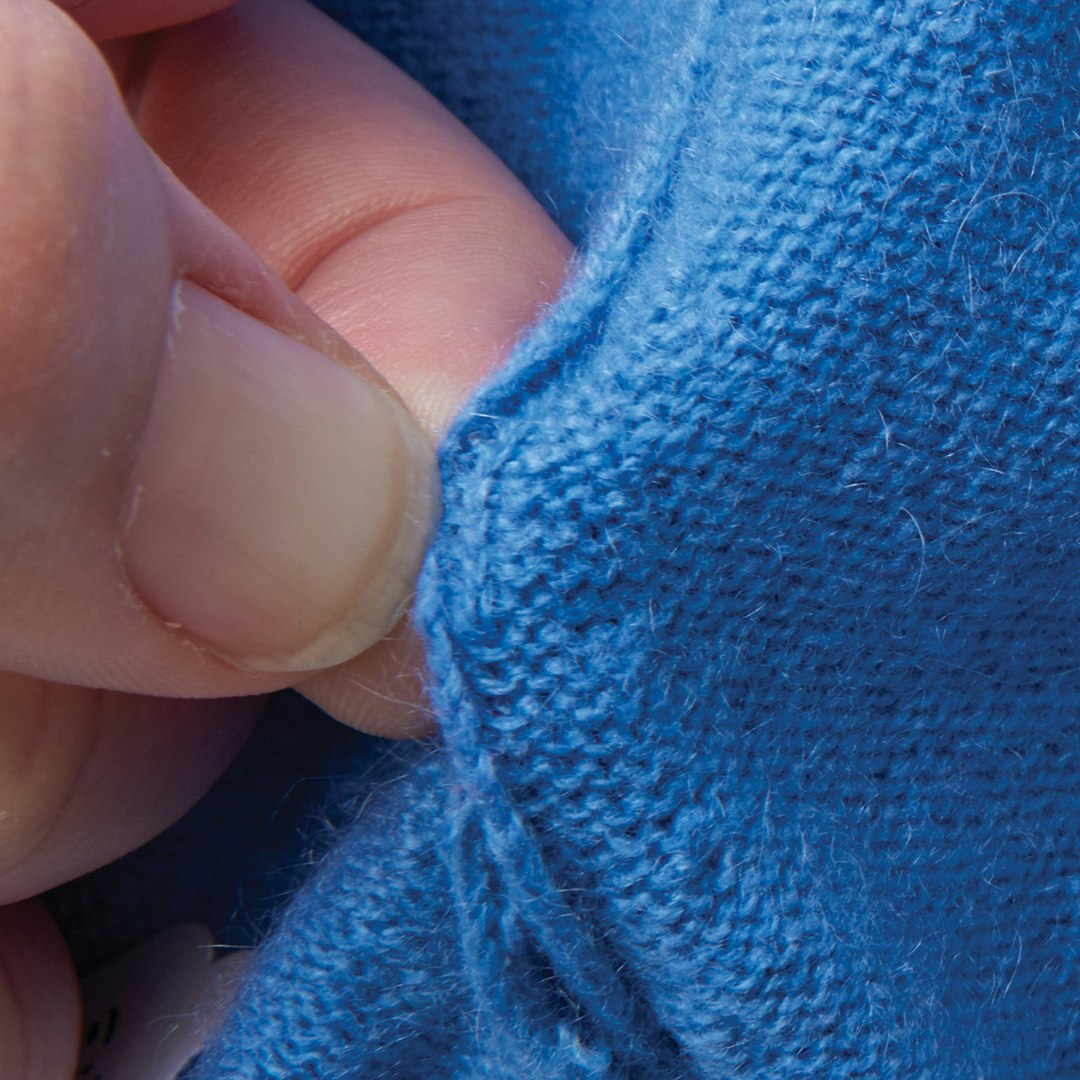 For some seams, you may need to move the fabric to one side in order to find the loops to ravel.
Ravel the body seams in the same way. Both front and back have short-rows on the shoulders that need to be removed before a common thread is obtained. Do not worry about small balls or short threads here. The front is more challenging than the back due to the neck shaping. If the sweater is a cardigan, ravel each piece, unless it is steeked. (In this case, set the panels aside for use as fabric for sewing.)
When raveling a sweater, you should only be dealing with one thread. If you find that you are working with two threads that keep crossing each other, you are unwinding from the bottom up. Turn the panel around and ravel from the other direction for better results. Each sweater provides balls of yarn of different lengths. A really successful sweater produces a number of small balls of yarn and two large 1-ounce balls if you are lucky and talented!
 When all the seams have been raveled, most sweaters come apart into five pieces.
Designing New Yarn from Old Components
Cashmere sweater yarn consists of singles yarn spun Z and final plied yarn spun S. Creating new balanced yarns requires that you spin the sweater yarns Z again. Although the structure is technically a cable, the Z-spun yarn appears simply plied.
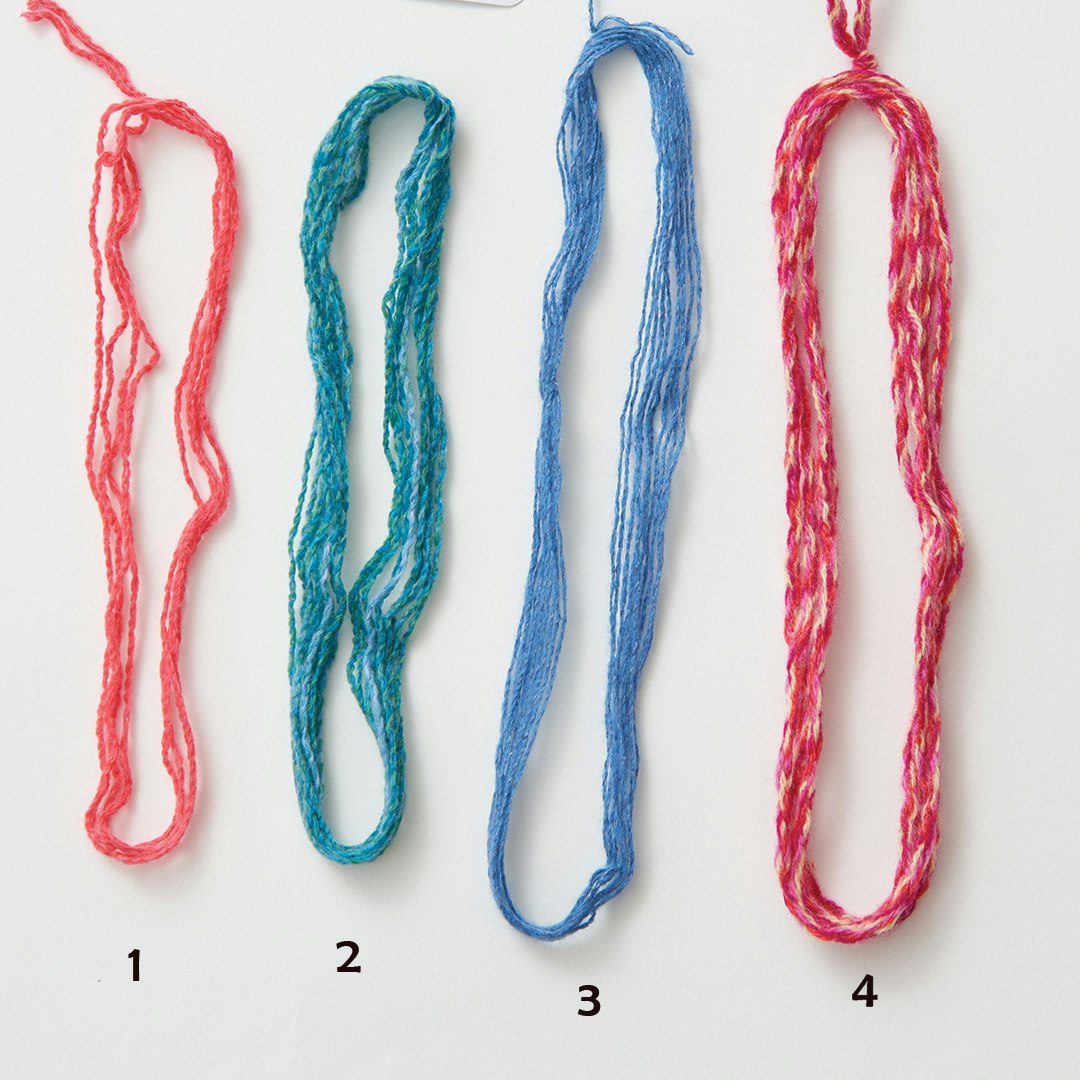
1. Basic yarn
Ply two of the same solid-colored sweater yarns Z to create a thicker yarn great for lace or Fair Isle colorwork. There are four plies in this yarn.
2. Yarn dyed with a repeating color pattern
For yarn that has short color changes, paint two arm panels on top of each other with half-inch vertical stripes. This creates a yarn with flecks of color that change consistently so that a pair of items (such as socks or mittens) will match up. Ply two dyed yarns in the Z direction to create a thicker yarn with repeating color pattern. There are four plies in this yarn.
3. Orenburg-style yarn
Ply one sweater yarn with a 60/2 silk thread in the Z direction to create a yarn similar to traditional Orenburg lace yarn. Like the raveled cashmere, the 60/2 silk threads have been finished with S twist. Cashmere provides soft elegance while the silk provides strength, sheen, and drape. There are four plies in this yarn.
4. Four-color cable yarn
To create a true cable with four different colored sweater yarns, ply two sets of two colors very tightly in the Z direction. Ply the new Z-spun yarns loosely in the S direction again to create a cable great for knitting socks, mittens, and scarves with a multicolored flecking pattern. This is a great yarn for socks because it is round and feels nice on the foot.
Dyeing for Self-Striping Heathered Yarn
For color effects, you can dye panels before raveling. To dye the yarn used for the cowl on page 90, I placed two arm panels together with wrong sides down and wetted the panels with warm, soapy water. Paint the panels in a horizontal gradient from top to bottom using the technique appropriate for the dye. Follow the directions for your chosen dyestuff. Ravel each panel into a ball and tie ends when they break. Ply two balls together in the Z direction. Break the knots when you come to them and splice by overlapping the broken yarns 1 inch. Wet the yarns and twist the overlap in the S direction with your fingers. Continue plying in the Z direction. Breaks cause the dyed yarns to be offset, creating a richer, more interesting heathered effect.
Resources
- Interested in reading more about luxury fibers? This article and others can be found in the Winter 2016 issue of Spin Off.
- Get more details on the Cashmere on Ice competition and start spinning—we can't wait to see what you'll create!
Jill Graham received the Certificate of Excellence Level 2: Master in Handspinning with a specialized study in “Spinning Cashmere and Cashmere/Silk for Lace Knitting.” Jill teaches at wool festivals, guilds, and yarn shops along the Rocky Mountains.
Originally published February 28, 2020; updated December 19, 2022; updated June 6, 2025.