

Hand-dyed braids dominate my stash, but it can be hard to tell the color layout when the fiber is braided up. But braids do not have to dictate my color choices, and I don’t always have to spin a braid in the order in which it was dyed. To change the colors, I tear my braids apart and deconstruct them, reorganizing the colors and changing the preparation. This allows me to control the color and put the color where I want it. I don’t always have the finished yarn in mind, but I enjoy sitting at my wheel and taking sneak peeks at a beautiful bobbin of which I am in total control.
Make a Plan
Start by unbraiding the fiber and lay it out lengthwise. Once the braid is laid out, I am able to tell in most cases how the braid was dyed and the full length of the colors. I notice how the colors are arranged and develop a plan for color management and preparation. Next, I grab my color wheel. I use it to help me decide on possible color blends. The goal of controlling my own color is to be sure that my deconstruction does not create brown or the dreaded mud.
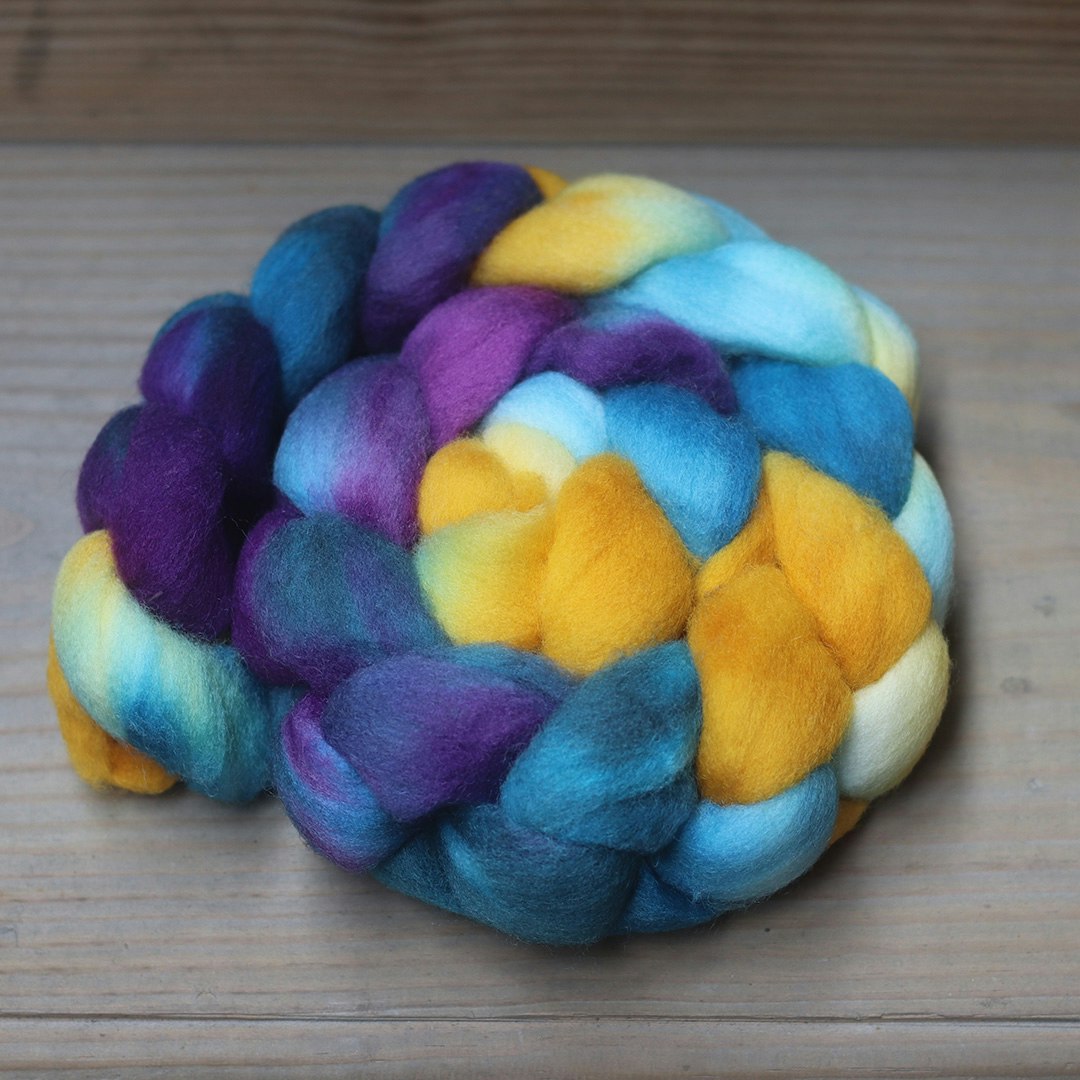
When the fiber is braided, it is hard to see the whether the colors are dyed in short bursts or longer lengths.
Break it Down
Take your braid and begin to separate your colors into matching color stacks. In the braid shown, I have yellow, blue, and purple. Basic color theory tells us yellow and purple are complementary, or opposites, on the color wheel. This lets us know that if we blend these colors in equal amounts, we create a muddy shade. The color wheel also shows us that yellow and blue make green.

The braid of fiber contains the colors yellow, purple, and blue.
Change the Prep
Once I am armed with a bit of color knowledge and how it will affect the outcome, I decide on a new preparation.
Method 1: Blending Board
To combat having flat, solid-colored singles, I use my blending board to aid in creating color depth. When breaking down a braid by hand, the color on the tip ends will most likely be a different color from the main one in the stack. Don’t worry about that. The tips of a different color add dimension to your rolags.

Notice the stacks from the deconstructed braid have tips with a different color.
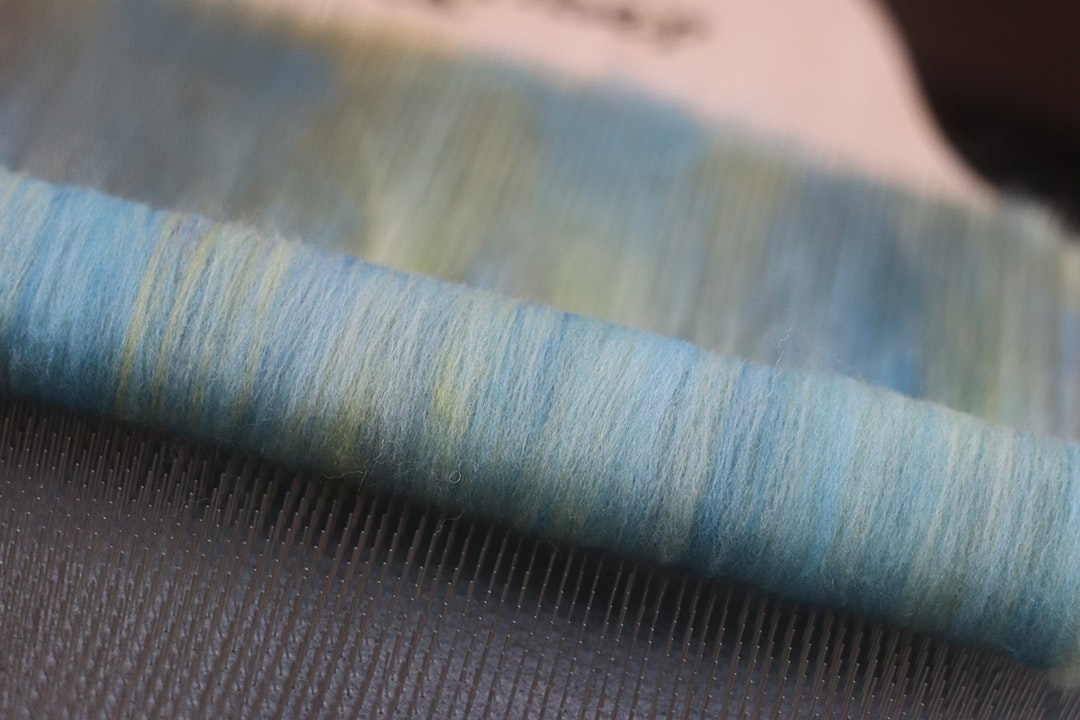
The main stack color blends with the tip color to create depth.
Method 2: Drumcarder
Another great tool to use when deconstructing braids is a drumcarder. First, I deconstructed the braid by color stacks. Next, I blended each color side-by-side on the drumcarder. Notice in the photo below how the yellow and blue fibers, center and right, make green, which is a color that was not in the original braid. Also, the carded color stacks allow me, once again, to have softer colors with more depth.
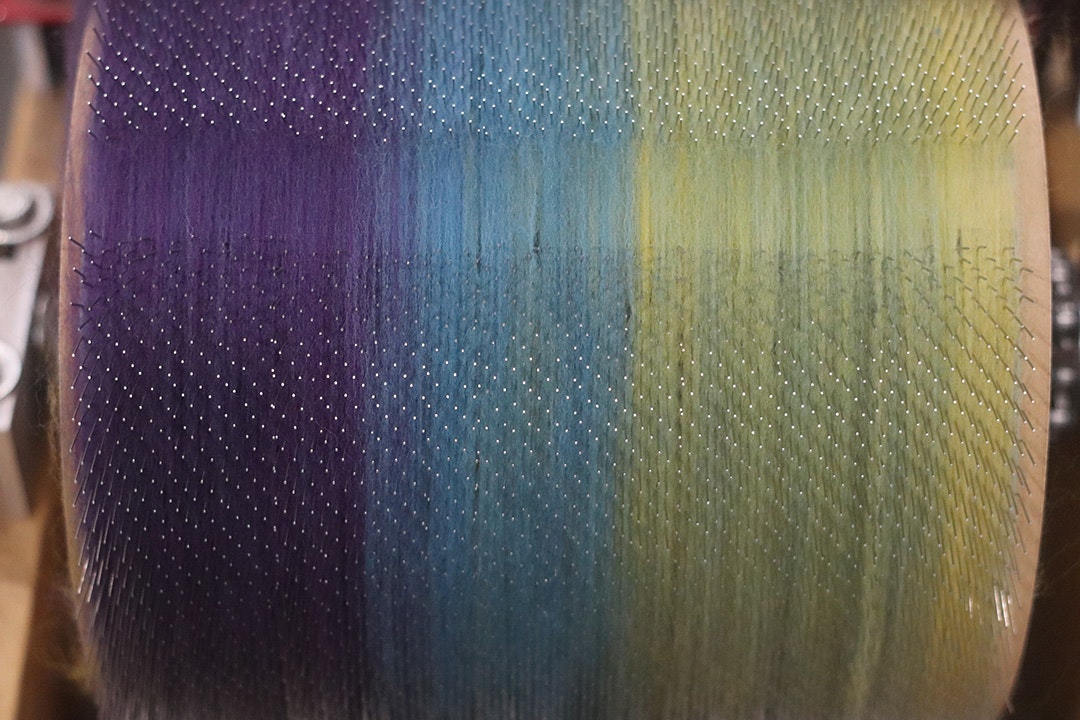
Notice where the blue and yellow colors overlap and blend into a green color not found in the braid.
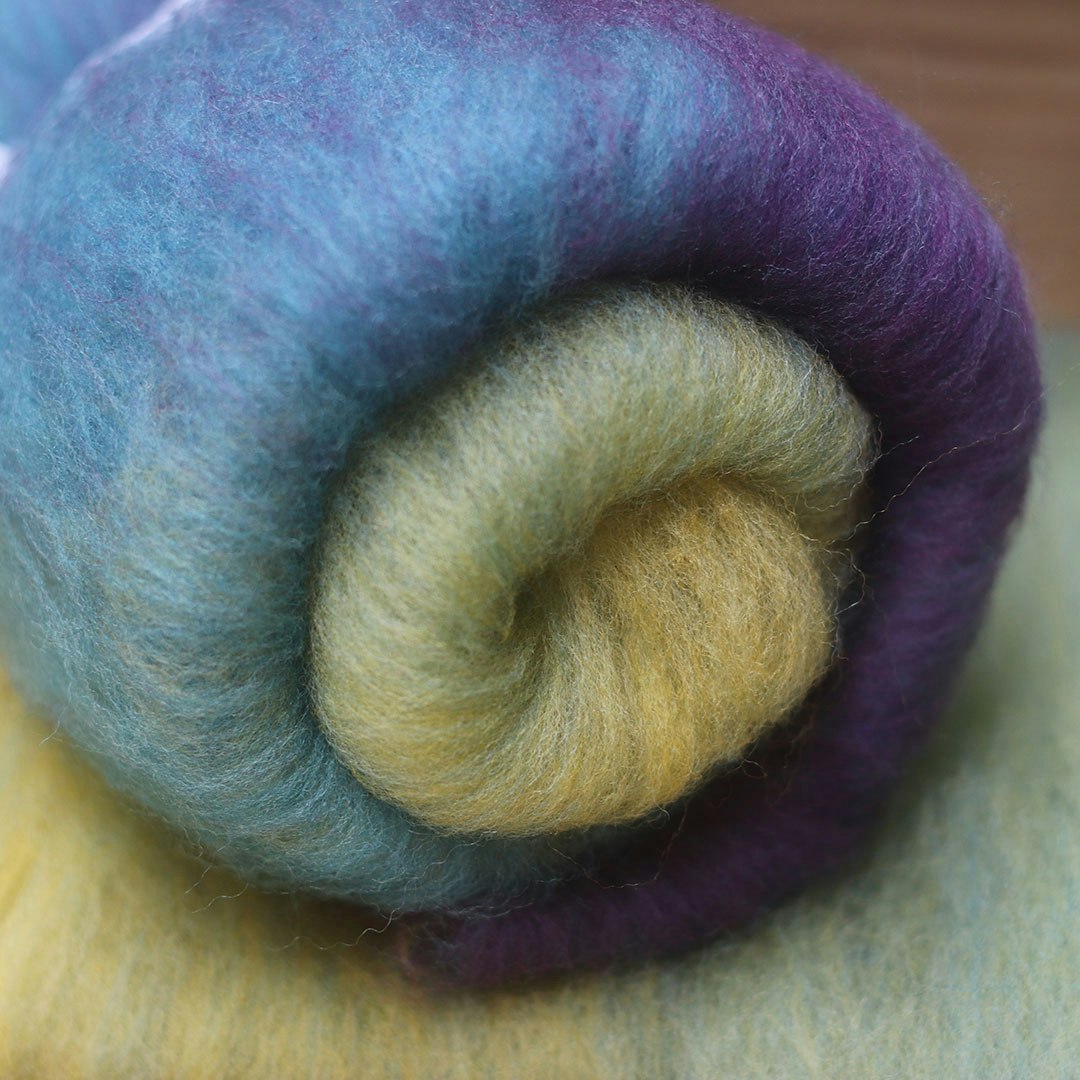
Using a drumcarder resulted in a beautiful fluffy batt.
I hope my tips give you a chance to rethink your hand-dyed braids. Let the deconstruction begin!
Emonieiesha Hopkins is a Chicago, Illinois, fiber evangelist. She loves to gather her wool and good fiber friends, any time, any place. Emonieiesha can be reached via www.hopkinsfiberstudio.com.