Plying with spindles is, at the core, no different from plying with a spinning wheel. You are twisting two or more singles together into a plied yarn. How you manage the yarn is the main difference, which is a skill spindle spinners soon develop.
My First Attempts at Plying
For many years, my only spinning tools were spindles, and I did all my plying on spindles. I learned to wind off my singles into balls and place the two balls into two cereal bowls or mason jars to prevent them from rolling around as I plied. This worked to solve the issue of the balls moving around the room, but it left me with un-tensioned singles, which would kink up or create unintentional beehive yarn with one single wrapping around the other when one single got snagged. It took care and attention to make sure that I ended up with an evenly plied yarn. One plus of spindle plying is that I had far more control over the amount of plying twist I put in, since I could see the yarn up close and feel the twist as it was added.

Prevent a ball of singles from rolling away while plying by placing it in a bowl or jar.
Making Plying Balls
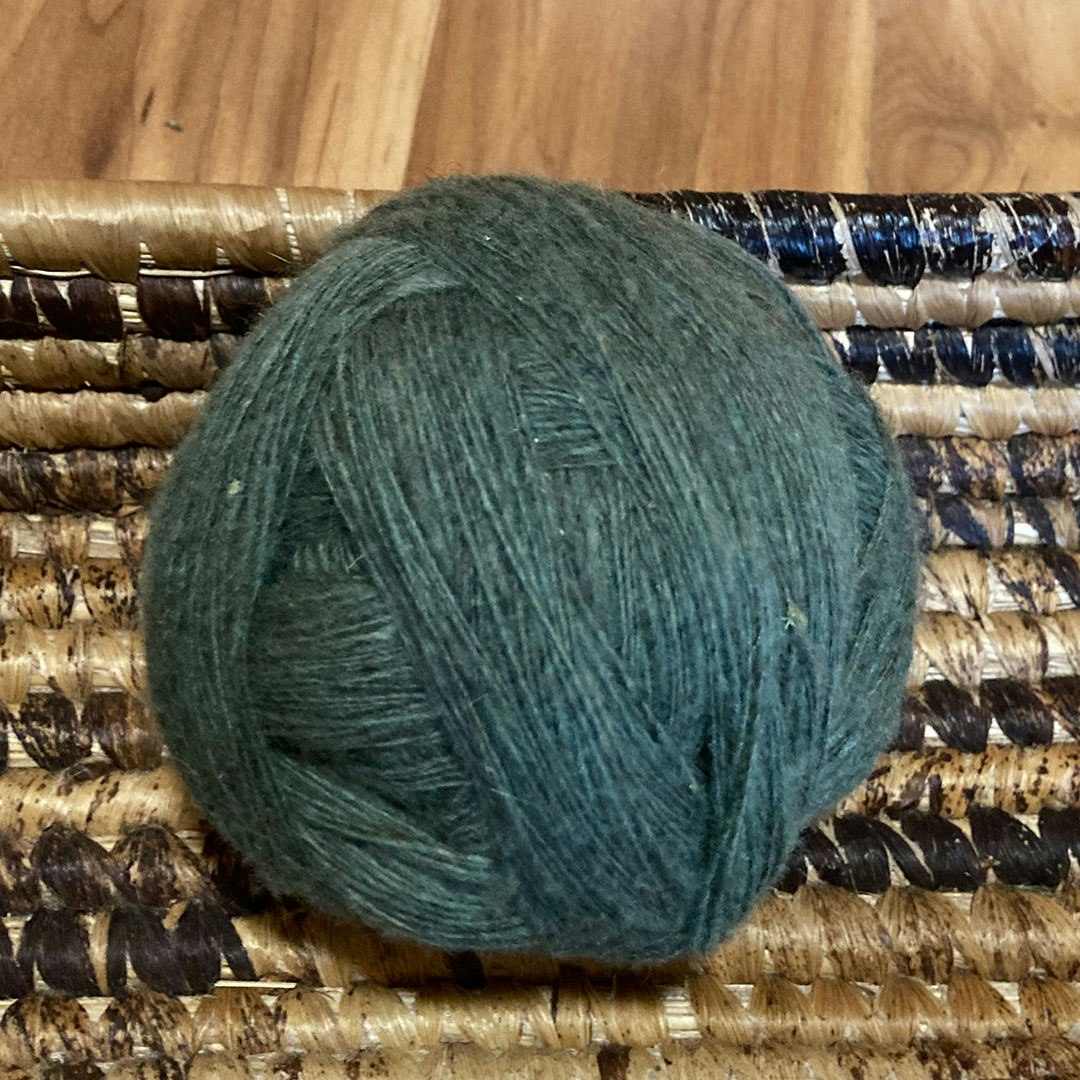
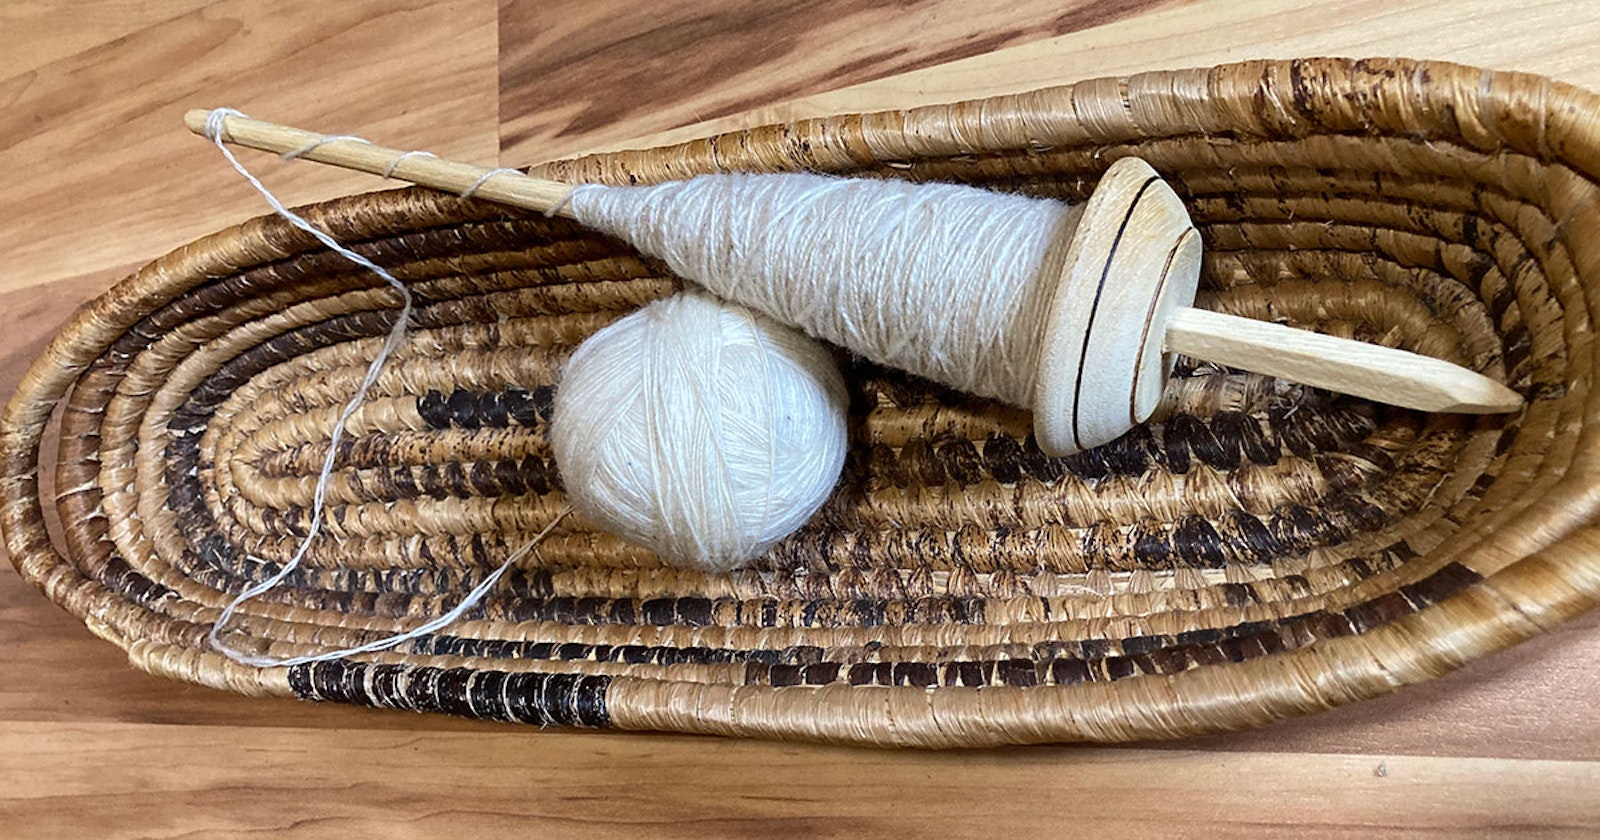
As the Internet started to develop as a resource for textile artists, I encountered plying balls being used for spindle-spun yarn. A plying ball has two or more strands of untwisted singles wound together into one ball. I tried this the next time I had two spindles full of singles. I wound them off together into one ball while carefully not adding any twist. This method helped me manage any kinks or issues with tension that would arise and make sure that the singles were evenly wound.
You can make a plying ball with as many singles as you want—two, three, four, or more; just hold the singles together as one yarn and wind them together. When I wind a plying ball, I do it with courses. This means that I wind many times in one place and then change location and do the same. This does not make an even or round ball of yarn, but I find it makes a more secure yarn package and lets me keep an even tension on the singles.
Plying Tips
Once your plying ball has been wound, or once you have your multiple balls of singles in bowls or jars, plying is the same as on a wheel. Spin the spindle in the opposite direction used for the singles and add twist until you are satisfied with your yarn.
When plying, I tend to use a larger spindle than the ones used for spinning the singles, not necessarily heavier, but one with a longer shaft on which I can build up a substantial cop. However, I spent several years with one single spindle, so spinning and plying on the same spindle can work well. As you wind your plied yarn onto the shaft, make sure you have a firm tension on the yarn so that it creates a secure cop. Also, I find that crossing layers of yarn as I wind on creates a much more secure cop than when the yarn is wound on parallel.
One advantage of plying balls that I particularly like over the multiple-ball plying method is that I can pop a plying ball and spindle into a shoulder bag and take my plying with me on walks, just as I do when spinning. Since I do not have to worry about managing multiple balls of singles, I can just add twist and wind on as I stroll.
I Like Big Skeins, and I Cannot Lie
Four ounces of fiber is the maximum amount of yarn I can comfortably ply on my spindle. More than that is a challenge. It’s important not to give in to the temptation to cram more and more on a spindle. The cop can get unstable, and you can stress your wrists, arms, and shoulders. No fun!
If you have been spinning with spindles but have been intimidated by using them for plying, I encourage you to try it. Plying with a spindle has the same benefits as spinning with a spindle. The tools take up less room and are cheaper than a spinning wheel, and it is easier to throw into a bag to take to appointments or out and about.
Devin Helmen has been immersed in fiber since learning to spin at age 8. They spin, knit, and weave in beautiful Minnesota. Devin enjoys writing and teaching about fiber arts and has a passion for spindles and everyday textiles. They blog, intermittently, at afewgreenfigs.blogspot.com.

