

Have you been perplexed in a spinning class when the teacher recommends letting the singles “self-ply” or “ply back on itself” to test the yarn size? It’s a simple technique that one often sees in classes but isn’t usually described in spinning books. All you do is take some yarn from the bobbin (usually back out through the orifice), hold the yarn taut, fold it in half, and release the folded end held by the back hand (the hand closest to you) so that the yarn twists together. Usually the self-plied yarn has less ply twist than separate singles plied on the wheel or spindle, but this quick method will give you a basic idea of what the finished yarn will look like. For a woolen yarn, it’s always fun to see how much bounce appears in the plied yarn. A worsted yarn with a lovely line of “beads” or “pearls” (the bumps created as the singles ply upon each other) makes one proud of the spinning.
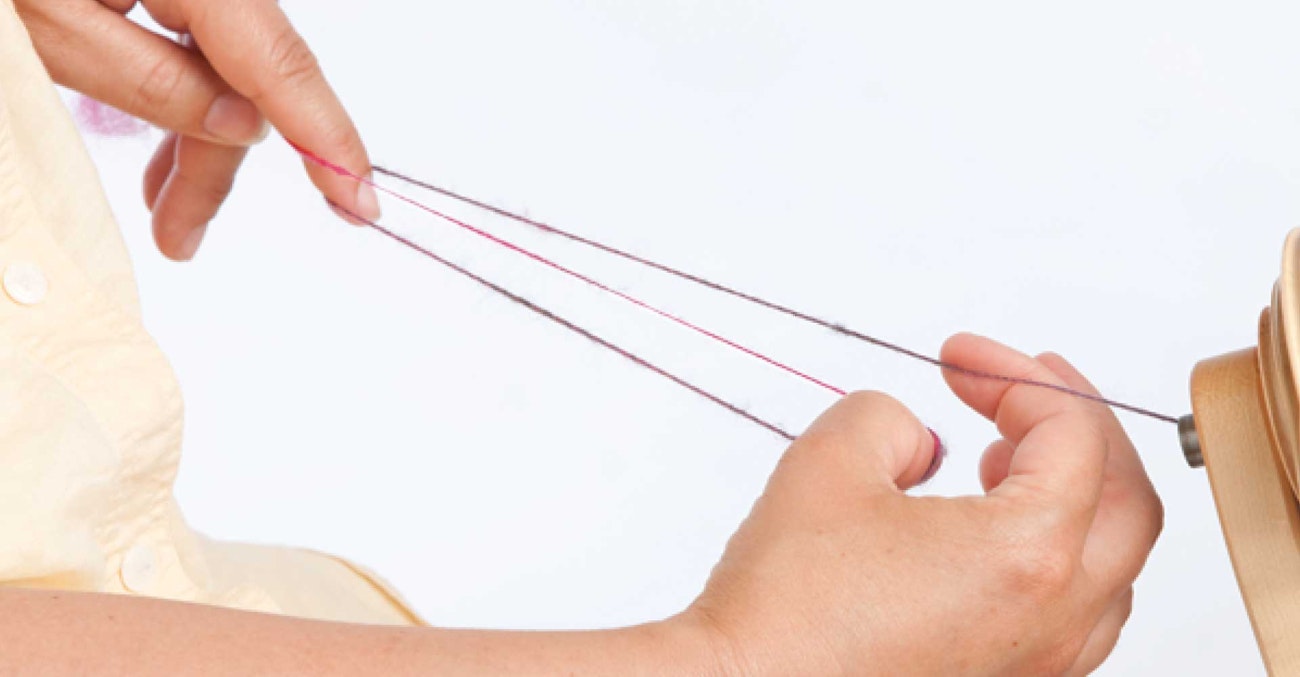
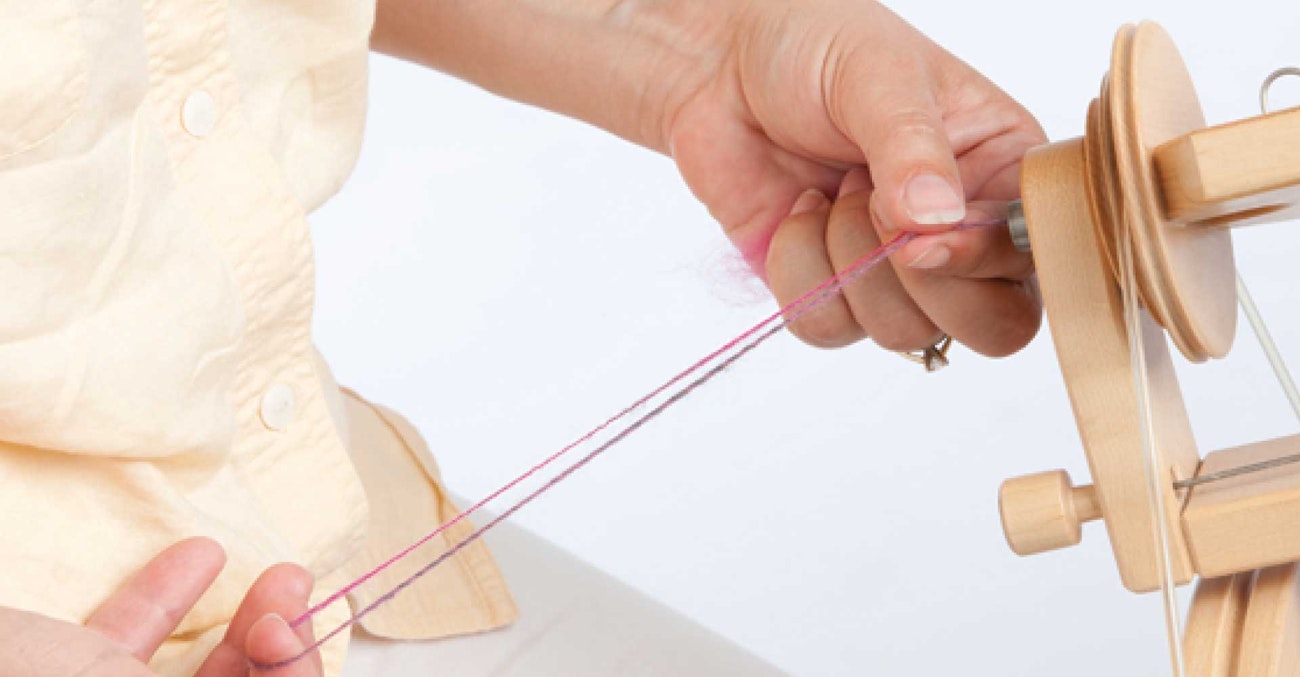 1. To test the twist for a 2‑ply yarn, pull the singles out from bobbin, hold it taut, and place your back hand at the center point, so you can fold the strand in half. Pinch the ends together near orifice while holding the other end with back hand.
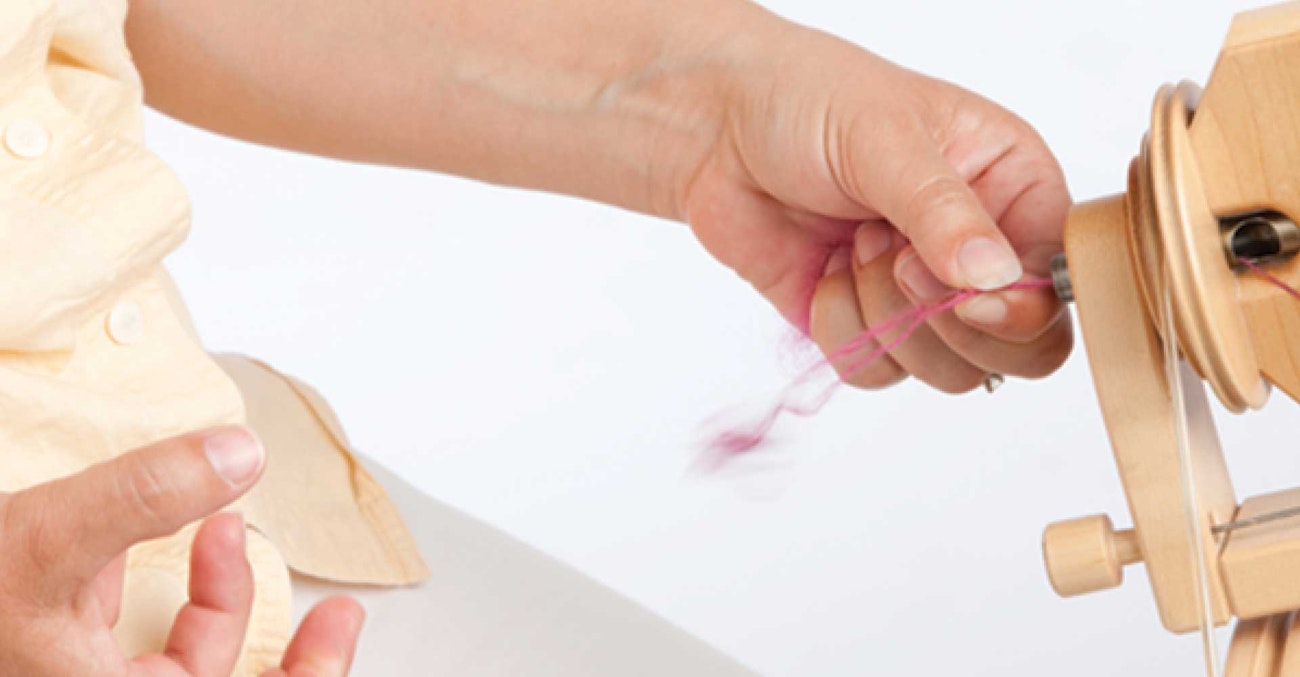 2. Release the back-hand end (keep hold on the ends near the orifice) and watch the strands self-ply.
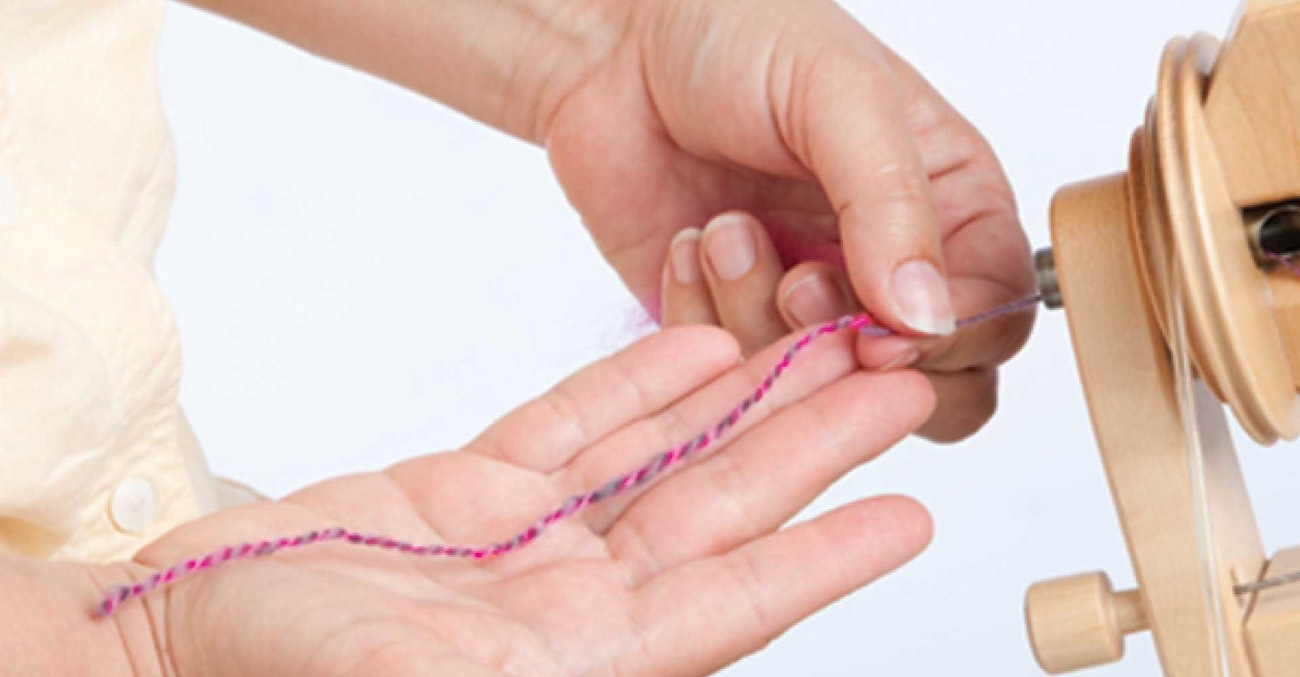 3. Smooth out the yarn and admire it.
If the self-ply is very tightly twisted, you might have too much twist in the singles, and, if it is slack and barely plied, then the singles needs more twist. Once you’ve added the right amount of twist, you can cut off this sample and tape it to a piece of mat board or folded index card as a reference while spinning. You might want to add a little extra twist by hand to get a better idea of the final yarn or to experiment with how much twist you’d like the finished yarn to have.
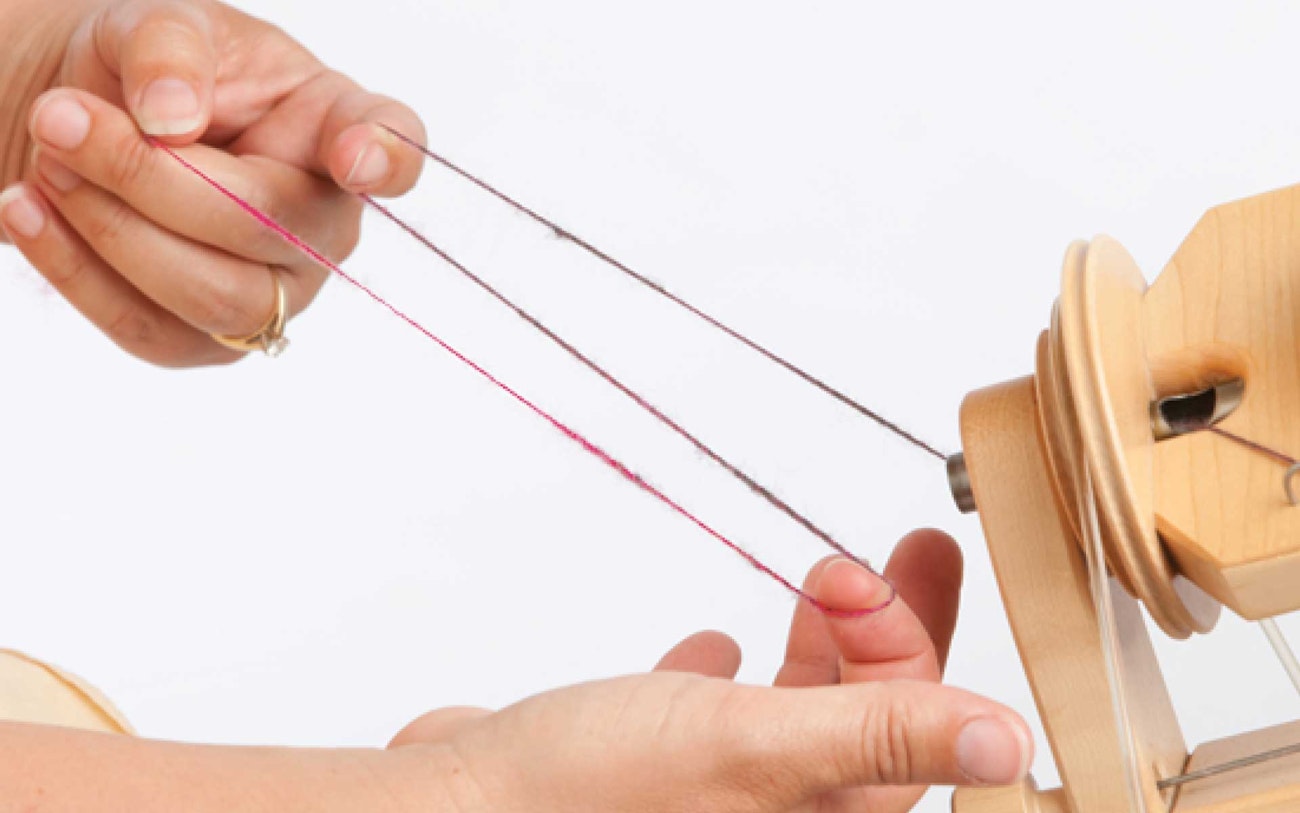 4. To test the twist for a 3‑ply yarn, pull the singles out from bobbin, hold them taut, and form a reverse Z (note magenta strand on the bottom).
 5. Move the bottom strand between the other two strands (note that the magenta strand is now between the darker strands).
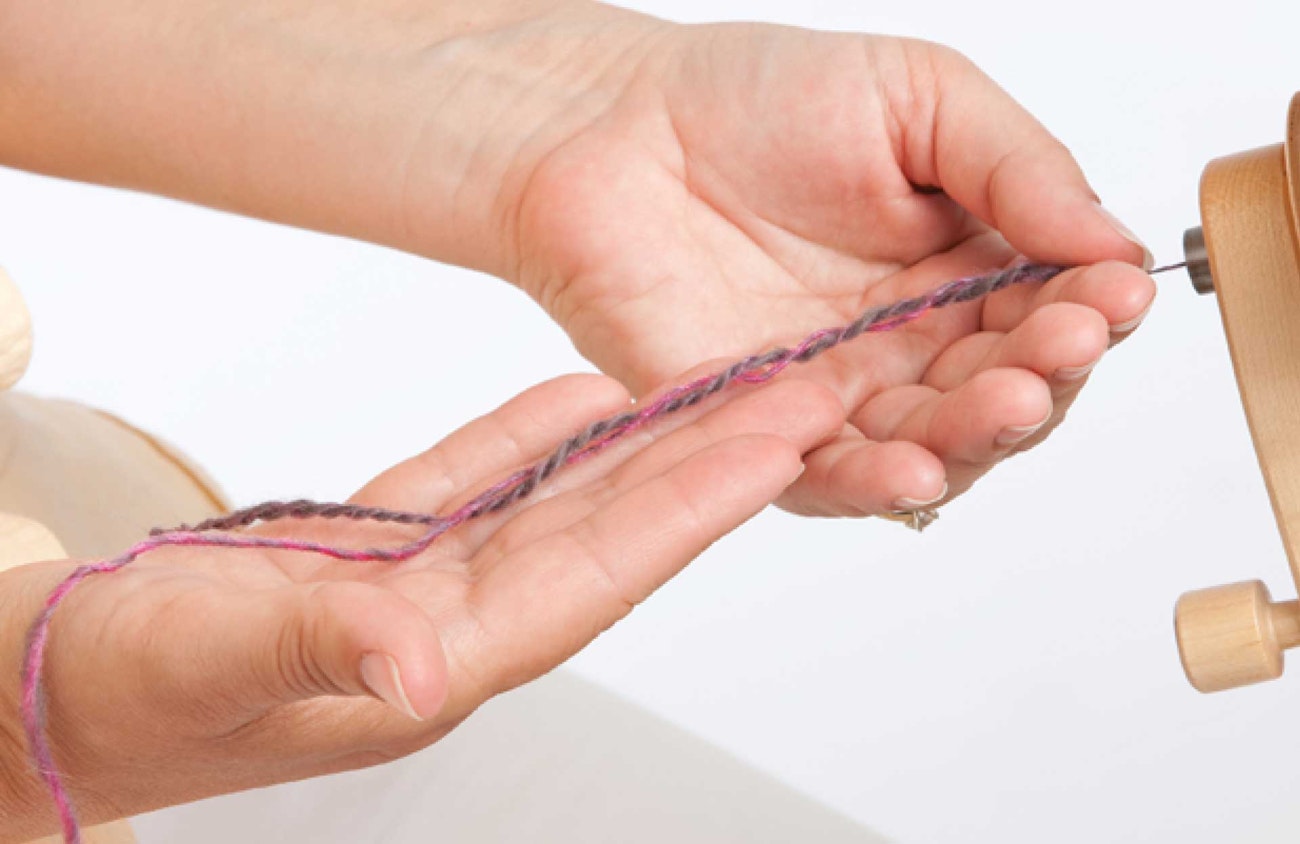 6. Release the back-hand end (keep hold on the ends near the orifice) and watch the strands make an even 3‑ply.
 7. If you don’t move the top or bottom strand to the center, two strands twist together and the third strand wraps around the 2‑ply.
The process for a two-ply yarn is straightforward, but self-plying for a three-ply yarn takes an extra step. If you pull the singles out and make a reverse Z, two strands twist together while the third wraps around the two-ply. The way to test a true three-ply yarn came to me in a dream (really!). Form the Z and then either drop the top strand between the lower two or move the bottom strand up between the top two. The three strands can then be released to twist together evenly.
Carol Huebscher Rhoades lives in Madison, Wisconsin, and doesn’t really dream much about knitting or spinning when she’s asleep. It’s a totally different story when she’s awake.
This article was published in the Fall 2010 issue of Spin Off.