
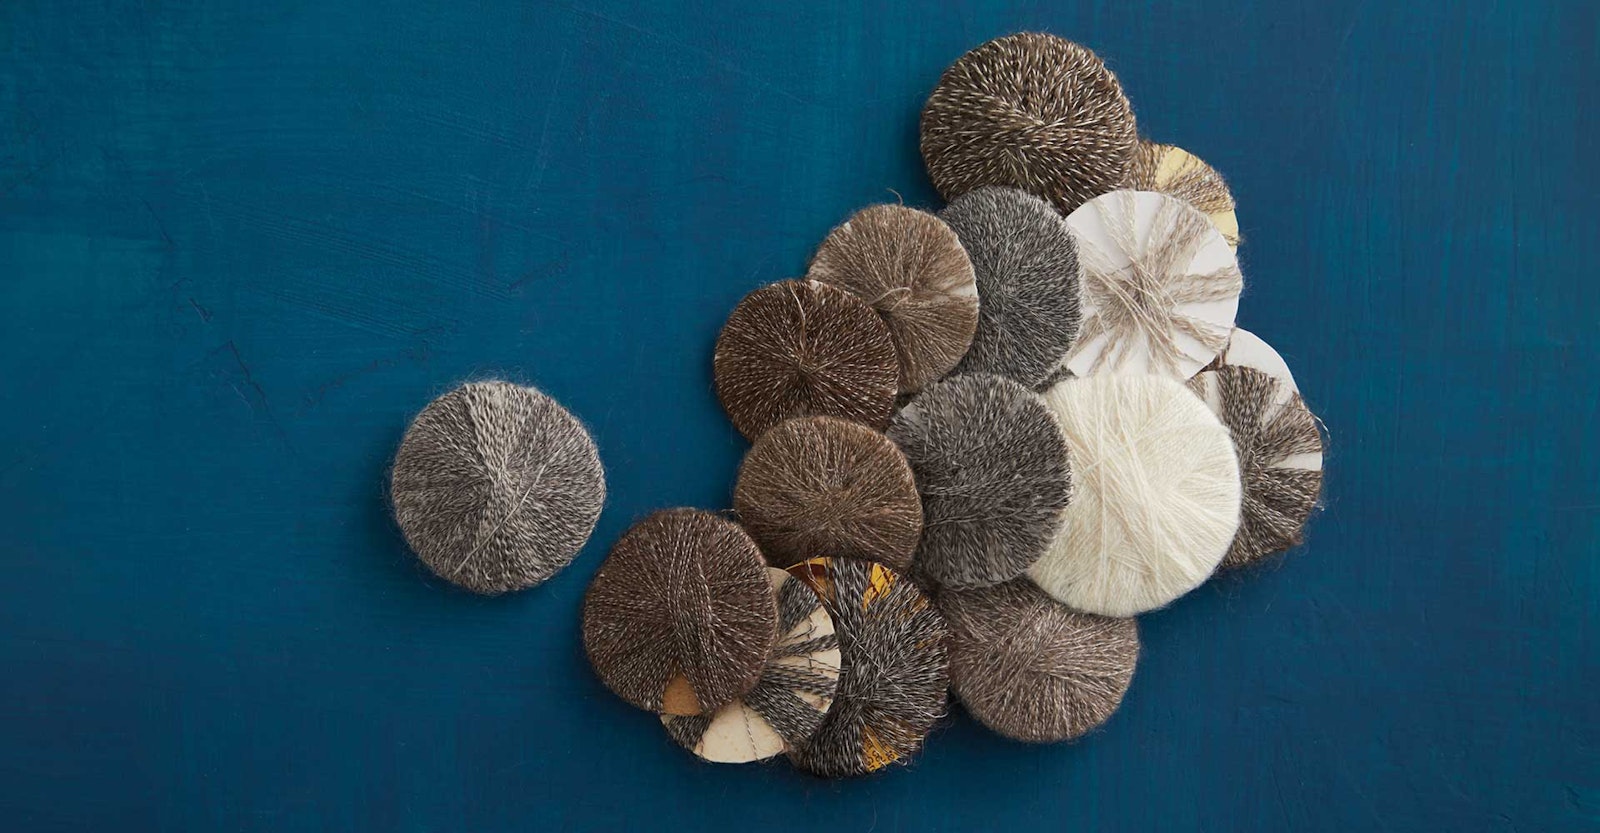
After 30 years in the textile business, I have accumulated a large collection of the textiles for which I am best known: handspun, handknitted Orenburg lace. As an extension of this collection, I have quite a stash of leftover fiber and small amounts of yarn that remained after the shawl was off the needles. Not only are these leftovers beautiful, they are incredibly useful if one of my shawls is damaged. A handspun gossamer shawl deserves to be mended properly!
While teaching or vending at fiber events over the years, a few customers have asked me to repair various levels of damage to their precious pieces of lace. The culprits range from moths and silverfish to crickets, dogs, and cats. When I decide to take on one of these projects, I look to my stash of leftover fibers and handspun yarns for a match.
An Unexpected Find
Recently, one of my friends asked me to repair an heirloom piece of lace that was purchased nearly 20 years ago; I was shocked when I saw the extent of the damage. I was going to reject the proposal outright, but then I saw the knitter’s signature. This piece was handspun and handknitted by my teacher and famed lace knitter Olga Fedorova in Orenburg in 1996 or 1997. Olga had knitted in her signature at the bottom, which made the scarf priceless. Olga passed away in June of 2008.
After looking at the scarf for a while, I finally realized the cause ofthis damage. The original scarf had been folded numerous times and tucked into a drawer or trunk where a mouse had decided to build a cozy mouse condo by chewing through the scarf layer by layer, resulting in large and duplicate holes. Luckily for me and this shawl, I had leftover yarns that allowed me to start the smaller sections that needed repair work immediately. I would need to spin some matching mending yarns for the larger holes.
There are many types of snags, holes, frays, and ravelings that can be repaired in a variety of ways. A quick internet search will lead you to tutorials with advice on fixing small holes or raveled areas that need to be reknitted with the “ladder” of original yarn that used to be a beautiful section of handknitted lace. Olga’s shawl presented a variety of problems, but the large, uneven holes where the original fabric was totally missing were a unique challenge. For this reason, I decided to publish this article and share this knowledge with you.
Mending Matters: Olga’s Scarf
If you don’t already have a stash of leftover yarns from previous projects, you can find a fiber that is a close match in both color and fineness, and spin your own mending yarn. Take your time and create several samples. You want to create a yarn that matches as perfectly as possible if you are attempting to create invisible mends. I used a traditional Orenburg spindle and bowl to create the yarns needed for my large repair project, but you can use a drop spindle, spinning wheel, or support spindle to spin mending yarns.
When repairing lace, you need to know how the lace pattern is knitted row by row. When reknitting large areas as I did here, it can be very helpful to have a chart of the lace pattern by your side as you work.
To mend Olga’s scarf, I used about ½ ounce of fine gray cashmere that exactly matched in both color and fineness. I spun this into fine singles using an Orenburg-style support spindle and spinning bowl. When spinning gossamer weight, this small amount of fiber would provide about 200 yards of handspun singles. Using the Orenburg plying technique, I plied these cashmere singles with fine silk.
It was also important to set the twist using the Orenburg technique, so this yarn would fit well with the original yarn Olga used. You can learn how to spin, ply, and finish yarns in the Orenburg way with my video Spinning Gossamer Threads: The Yarns of Orenburg (See Resources below).
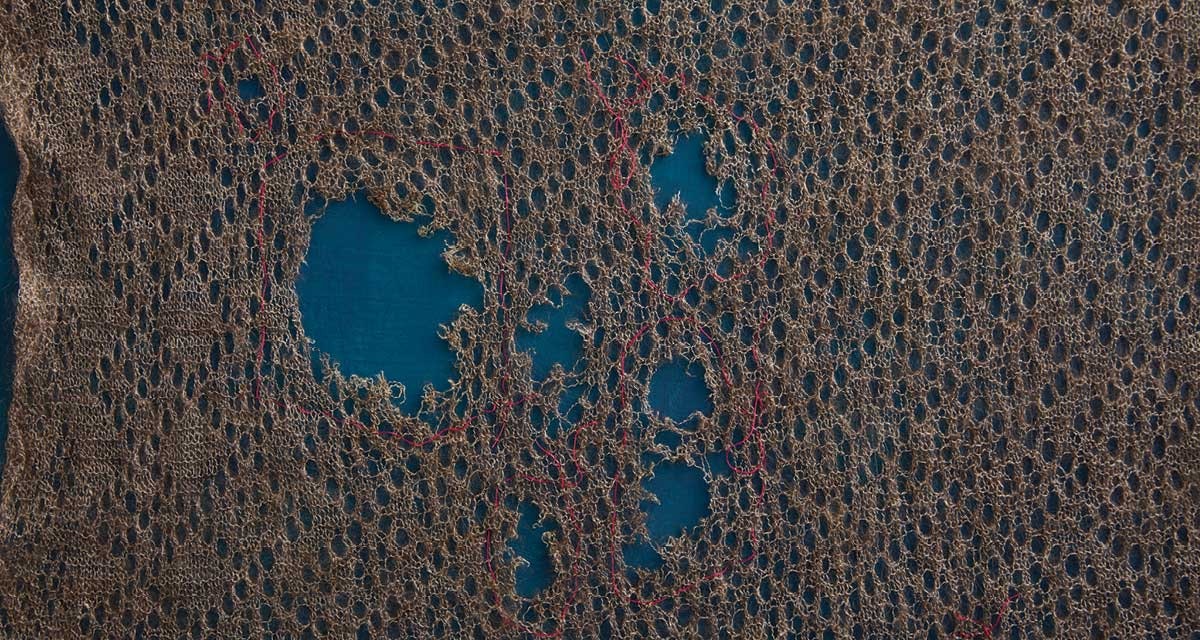
The holes in Olga’s scarf were the same shape in many places. The scarf had been neatly folded when a mouse chewed through layer after layer of the gossamer lace to make a nest.
Lace Repair Method for Large Holes
1 For the repair work, you will need about 1 yard of dark solid-colored flannel or velvet fabric. The texture of the fabric helps to hold the delicate piece in place as you work. Carefully spread the damaged piece over the repair fabric.
2 Start identifying the damaged areas. Using T-pins to hold the surrounding area steady, I begin the repair process by outlining each hole with bright red sewing thread (mercerized cotton or silk) on a small tapestry needle.
3 Begin by repairing the smallest holes first. This strategy helps to prevent any small holes from growing larger, and it also gives you the confidence and muscle memory in your hands to work on the larger holes.
4 Now you are ready to begin the most difficult repairs: the large holes of missing lace. First carefully snip off the broken edges with scissors, trying to make the repair area as square as possible. Then, using a short double-pointed needle, pick up all stitches on the bottom side of the hole and determine which row of the lace pattern is now on your needle.
5 On the right and left sides of this large hole, the broken threads will look a bit like a fringe. You can use highlighter tape (the type knitters use to identify the row of a chart they are knitting) to hold the fringe in place in any area you are not currently working. Only slightly sticky, this tape is removed easily without causing further damage when you are ready to begin repairing an area.
6 Thread the tapestry needle with handspun mending yarn. If the next row of the chart is a right-side row, mending will begin in the bottom right corner. Beginning about 1½" outside the right edge of the hole where the fabric is still intact, find the pattern row above the one held on the double-pointed needle and begin working duplicate stitch from right to left. When you reach the hole, use the other double-pointed needle to knit in pattern across the hole. When you reach the end of the live stitches, complete the left side as for the right. (Reverse directions for wrong-side rows.)
At the same time:
Knit the fringe of damaged threads on the right and left sides together with repair yarn for 2 or 3 stitches and leave the remaining fringe loose. Continue working in this way, back and forth across the hole until all rows are worked.
7 When the hole is filled in, pick up the live stitches on the top edge of the hole with the second double-pointed needle and graft together with live stitches on the bottom needle.
8 After the repair work is finished, hide what remains of the damaged yarns by weaving them into the fabric with a tapestry needle or small crochet hook. When weaving in ends, do so in different directions so as to not create thickened areas in such a delicate fabric.
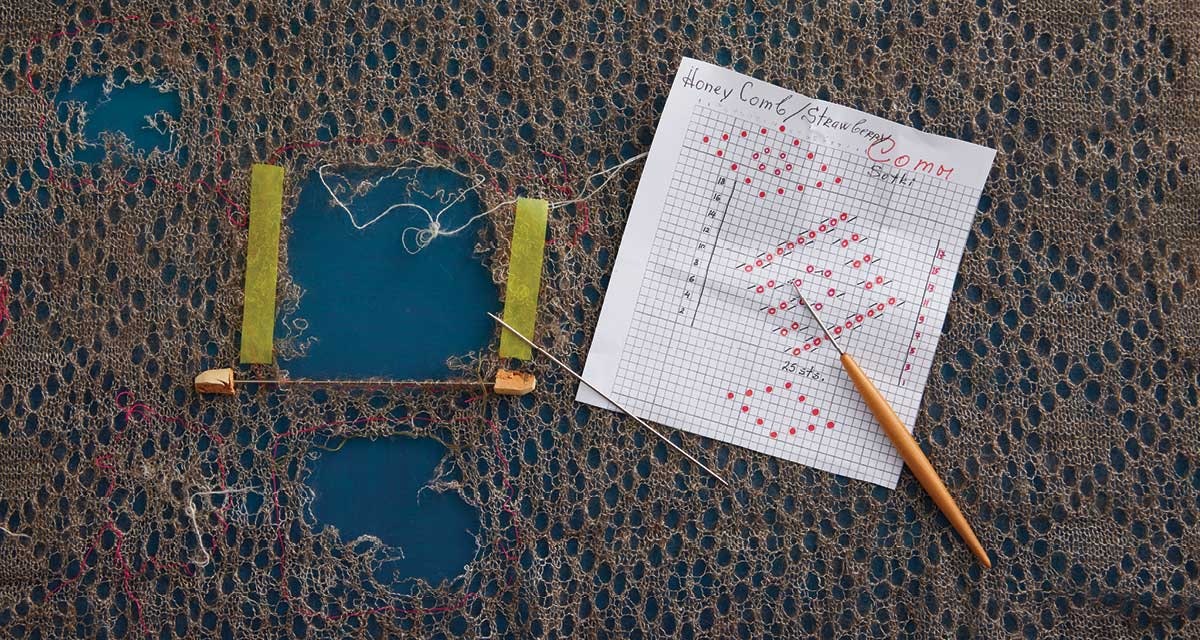
Galina has stabilized this large hole so it cannot suffer further damage before she can complete the mending. When ready to begin, the highlighter tape is removed from the sides of the hole, and the caps are removed from each end of the double-pointed needle at the bottom of the hole.
Wash and Block Gossamer Lace
Beginning at one corner, thread a thick nylon cord loosely from back to front through each tooth point of the outside lace edge. Tie the ends of the cord together. Thoroughly wet the piece and squeeze out excess moisture. Using T-pins on a flat surface, pin the four corners to give the scarf or shawl its basic shape and size. Tie a separate length of cord to one corner pin and then wrap it around the other three corners, marking final dimensions. Pull the cord between each tooth until it touches the outer dimension cord and anchor with T-pins. Always pin into the loops formed by the cord, not into the shawl. Adjust the pins and cord as necessary until the shawl is stretc hed taut. Allow to fully dry while you admire your repair work!
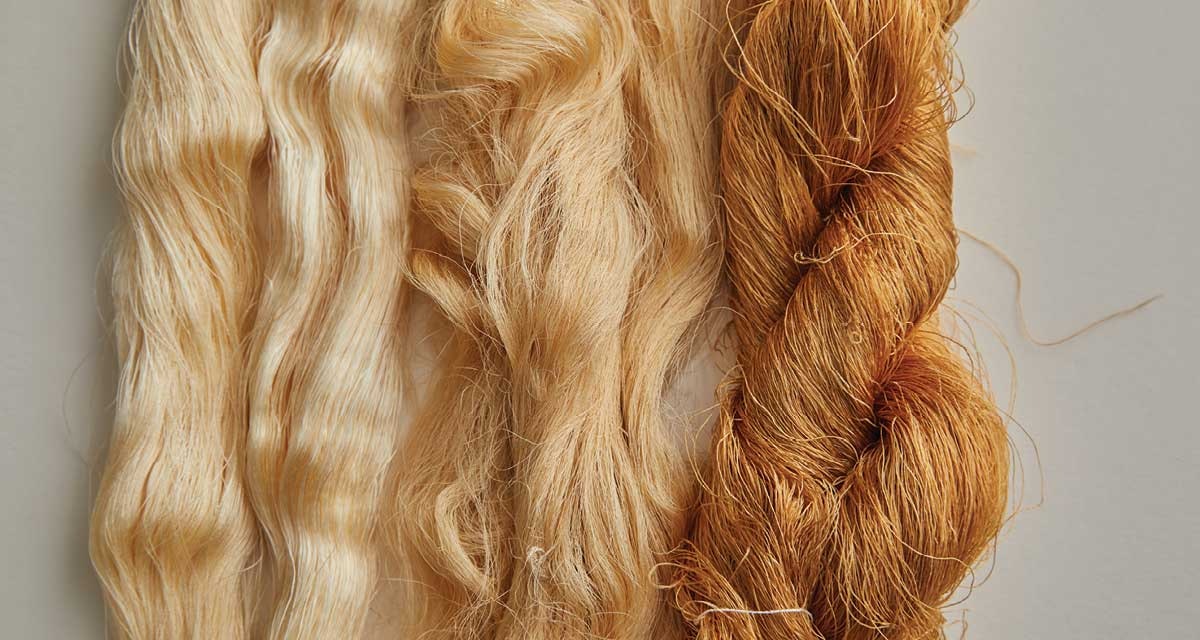
Orenburg gossamer yarns are traditionally handspun singles plied with silk thread.
Galina’s Gossamer Lace Mending Kit

- ½–2 oz matching fiber.
- Silk for plying.
- Small crochet hook.
- Two short double-pointed knitting needles.
- T-pins.
- Safety pins.
- Paper clips.
- Small tapestry needle.
- Bright thread: cotton or silk in a contrasting color.
- Nylon cord or blocking wires.
- Knitter’s pattern highlighter tape.
- Small sharp scissors.
- 1 yd flannel or velvet fabric.
Resources
Khmeleva, Galina A. Spinning Gossamer Threads: The Yarns of Orenburg. Fort Collins, Colorado: Interweave, 2012. DVD and video download.
www.shop.longthreadmedia.com
—. “Plying the Orenburg Way.” Spin Off, Fall
2015, 53–56.
Galina A. Khmeleva is the owner of Skaska Designs and author of two books about the history and techniques of Orenburg lace shawls. A former clothing and costume designer who worked with the aristocracy of St. Petersburg’s music and theater society, Galina was a pioneer in breaking down barriers in the new Russia to give Russian women the opportunity to achieve ownership status in private companies.
This article was originally published in the Winter 2020 issue of Spin Off.