
Note: Make sure your tetanus shot is up to date before flick carding. It is easy to miss the fiber and nick your hand, so work carefully. Immediately wash any cuts with antibacterial soap.
A flick card (sometimes called a flicker) looks like a small flat-back handcard with a smaller surface for the carding cloth and a slightly longer handle than that of a handcard. Its purpose is to quickly open up locks of wool. Flick-carded locks can be drafted and used directly for knitting, crochet, or as weft in weaving. You can also spin from the ends or the fold of flicked locks to produce semiworsted yarn, or prepare the locks further by hand- or drumcarding. No matter what your purpose is for flick carding, the one phrase to keep in mind throughout the process is “light and easy.”
If you are planning to flick card regularly, then I highly recommend that you purchase a tool designed for the purpose. Fibers chosen for flicking should be at least 4" long and those fibers are usually coarser than shorter fibers. Most animal combs (dog combs often substitute for flick cards) are designed to remove an undercoat of short, soft hair. The carding surface is small and the teeth are short. Flick cards have teeth about ½" high and they cover a surface 1¾" to 3" long and 3½" wide. With a flick card, it is easy to “flick” through the narrow lock of long wool and open up half a staple at a time. A dog comb is more useful for gently flicking open a fine, short-staple fiber.
My favorite flick card is the standard width but has only 11 rows of teeth. It is lightweight—2.8 ounces compared to another card with 18 rows of teeth weighing 6.3 ounces. The small size doesn’t stress my hands and wrist as I flick; the heavier card tends to fall into the fiber, meaning that I drag rather than sweep it away at the end of the stroke and remove more fiber than intended. Try out several models and choose the one that feels comfortable and does the job most efficiently. An additional item useful for flick carding is a piece of leather to flick against; however, I normally use a piece of heavy card stock paper to protect my thigh and clothing.
 Choose a flick carder that feels comfortable in your hand. Shown left to right: Schacht, Patrick Green, TeKotero, Louet, unknown brand. Photo by Joe Coca
Many fibers from fine to coarse, especially wool, are suitable for flick carding. “Light and easy” is also the key here. Choose a long-staple fleece that is free of vegetable matter, manure, and matting. A fleece with distinctive locks is easy to separate for flicking, and a nongreasy fleece will be easier to wash.
When I plan on flick carding, I separate bundles of four to six locks and align them so all the tip ends face the same direction (locks or staples usually end in a tip separating one lock from another, so use the tips to sort locks). I then put 1 to 2 ounces of locks into a small net bag (small onion bags work well), close the bag ends, and wash the fleece with wool wash in warm to hot water (the finer and greasier the wool, the hotter the water). After five minutes, I support the bag from underneath, lift it from the water, roll it down the length to squeeze out some water, and then rinse the wool two or three times in the same temperature water. After squeezing out the water for the last time, I remove the locks from the bag and separate them into thin layers to dry.
Once the locks are completely dry, I separate the bundles into individual locks. Wool with pointy tips makes this easy. For blocky wools (where individual tips are not easily distinguished), I separate the fiber into thumb-width segments. It is easiest to flick s small amount of wool at a time. The idea is to flick through an end with one quick downward stroke; switch ends and flick. If you can’t flick through the width completely on the downstroke, then you have too much fiber. If there is any matting in the fiber, open the ends by hand before flicking. The card should move smoothly and easily through the locks.
 Carol holds the lock on her left leg and her flicker with her right hand. Step photos by Carol Rhoades
Step 1
Before you begin flick carding, find a comfortable place to sit and cover one thigh with a piece of leather or card stock. I hold the flick card with my right hand and the fiber on my left thigh. To avoid losing a lot of fiber, always hold the lock against your thigh, not up in the air.
Step 2
Grasp an end of the lock firmly between your thumb and forefinger and hold it down at your thigh. Make sure you have control of all the fibers. Hold the flick card, teeth downward, in the palm of your dominant hand, with your fingers curling around the handle and your thumb across the handle near the base of the card. That will keep the card steady as you work.
 Flick the lock downward using a quick wrist motion, resulting in a fan of separated fibers.
Step 3
Starting with the card 4"–5" above the lock, flick downward into the lock with a quick wrist motion. Since I am right-handed, my wrist rotates counterclockwise; left-handers rotate the wrist clockwise. Once the card hits the locks, it should open up the top two-thirds of the staple and then sweep neatly away from the fiber. The end of the lock should now be a fan of separated fibers (photo at right).
If your fibers are well chosen and clean, then flick carding through the locks should be very fast. If you find that you have to do two or more passes for each end, then you probably have too much fiber (the lock is too wide and/or thick) or the locks have some matting. It is better to open recalcitrant locks by hand than by flicking. Flicking at mats removes too much fiber and can damage the carder teeth. For long but fine fibers, such as Bluefaced Leicester or suri alpaca, open about an inch of length at a time, and move up the fiber until the entire lock is open. You might also remove too much fiber and damage the ends if you repeatedly pat at the fiber with the flicker.
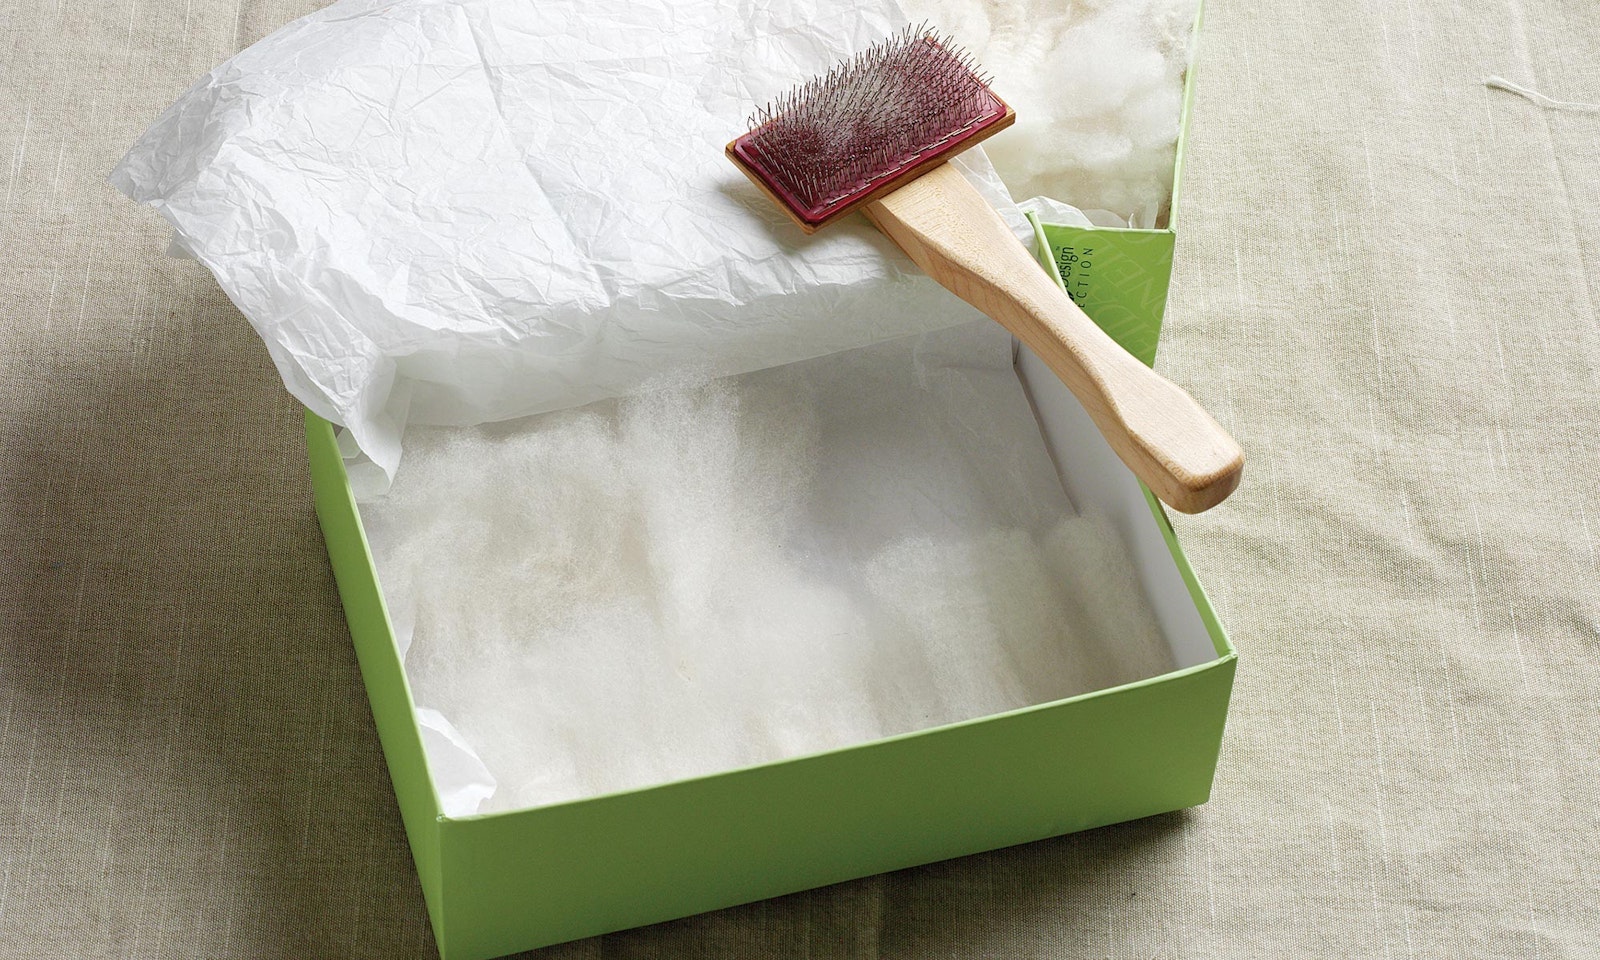
I always flick the tips first and then the cut ends, and I arrange rows of locks in a long, shallow box with all the tips facing the same direction. You may want to put tissue paper between the layers, particularly if you won’t be spinning right away. Don’t stack the layers too high or the bottom ones will be squashed.
 Carol demonstrates how to flick the opposite end of the lock; shown at right is an example of too much wool.
Step 4
To flick the opposite end of the lock, neatly “close” the fan and grasp that end as for the opposite one; flick the fibers as before. The photo on the right shows an example of too much wool.
The flick card will remove some short fibers. If you find a lot of longer fibers in the teeth, then you might not be holding all of the lock at one end or are not holding it firmly enough. Be careful though—a death grip on either the lock or the card is not good for your hands and wrist.
If you are not sure you want to invest in wool combs, flick carding offers a quick and inexpensive way to prepare wool for worsted-style yarns. You can spin from the ends or the fold with a short forward draw for smooth, dense yarn that will still have some loft. I usually spin the locks with a backward draw for a more woolen-style yarn.
This article was originally published in Spin Off Summer 2008.
Also, remember that if you are an active subscriber to Spin Off magazine, you have unlimited access to previous issues, including Summer 2008. See our help center for the step-by-step process on how to access them.
Carol Rhoades lives in Madison, Wisconsin, where she spins all sorts of yarn for winter woolies.
Originally published July 9, 2021; updated September 13, 2023.