
Drive bands and brake bands are integral parts of many types of spinning wheels. Whether cotton, synthetic, or leather, these bands tend to wear out faster than other parts of a spinning wheel, so they need to be replaced now and then. Sometimes a fresh band can transform a cantankerous wheel into a dream spinner. I would like to share some characteristics of several types of band materials, my strategies for replacing bands, and ways you can be kind to your bands so they last as long as possible.
Drive Bands
On many wheels, there is a band that connects the drive wheel with the flyer or bobbin or both. This is called the drive band. The most important functional aspect of the drive band is that there should be no slippage between the band and the groove on the drive wheel. This requires sufficient friction between the band and the groove. That friction depends on the surface characteristics of the drivewheel groove, the surface characteristics of the drive band, and the tension on the drive band. Over time, drive bands can stretch out and lose their “grip.” It’s tempting to continue to use an old drive band and just live with the challenges. The benefit of a new band is increased friction between drivewheel groove and drive band, resulting in decreased slippage; this allows you to reduce the tension on the drive band to make it easier to treadle—a much happier condition.
For wheels with scotch tension (flyer lead), the drive band goes around the drive wheel and a whorl/pulley of the flyer. The tension on the band needs to be tight enough to prevent slippage of the band on the drive wheel and on the flyer.
Irish-tension wheels (bobbin lead) have drive bands that go around the drive wheel and a whorl/pulley of the bobbin. The tension on the band needs to be tight enough to prevent slippage of the band on the drive wheel and on the bobbin.
However, double-drive wheels are different, with what appears to be two drive bands. Typically, this is one long drive band looped twice so that one loop goes around the drive wheel and a whorl/pulley on the flyer, and the other loop goes around the drive wheel and the bobbin. For this drive system to work, tension on the drive band needs to be tight enough to prevent slippage between the drive wheel and the flyer, while allowing some slippage between the band and the bobbin.
The manner in which tension is adjusted varies from wheel to wheel. Regardless of the wheel structure or the material used for the drive band, if the tension on the drive band can no longer be adjusted to prevent slippage, then the drive band should be replaced. If the band must be tightened so much that treadling becomes difficult, that is also a sign the drive band should be replaced.
Brake Bands
For wheels with a single drive band, there is also a brake band so that take-up tension can be adjusted. This band slows the bobbin or flyer so that yarn winds onto the bobbin. These bands need to allow some slippage, which can be adjusted depending on how your wheel was designed.
Scotch-tension wheels have a brake band on the bobbin. Irish-tension wheels have a brake band on the flyer.
What Band Material Should you Use?
Modern wheels use a range of bands in different combinations. An Ashford Traditional hums happily along with a cotton drive band and a brake band of nylon monofilament. By comparison, a Lendrum folding wheel has a stretchy, poly drive band and a cotton brake band, and a Schacht Matchless can be set up with cotton drive and brake bands.
Most wheel makers offer tune-up kits with band materials. Some wheel designs require or function best with one type of band material or another, but most allow us to experiment to some extent. Exploring different band materials can help you learn about your wheel and fine-tune it for your needs.
Drive-Band Materials
A drive band can consist of string or twine that is made of cotton or linen; both of these fibers have very little stretch. There are also drive bands that are synthetic and stretch considerably more than cotton or linen.
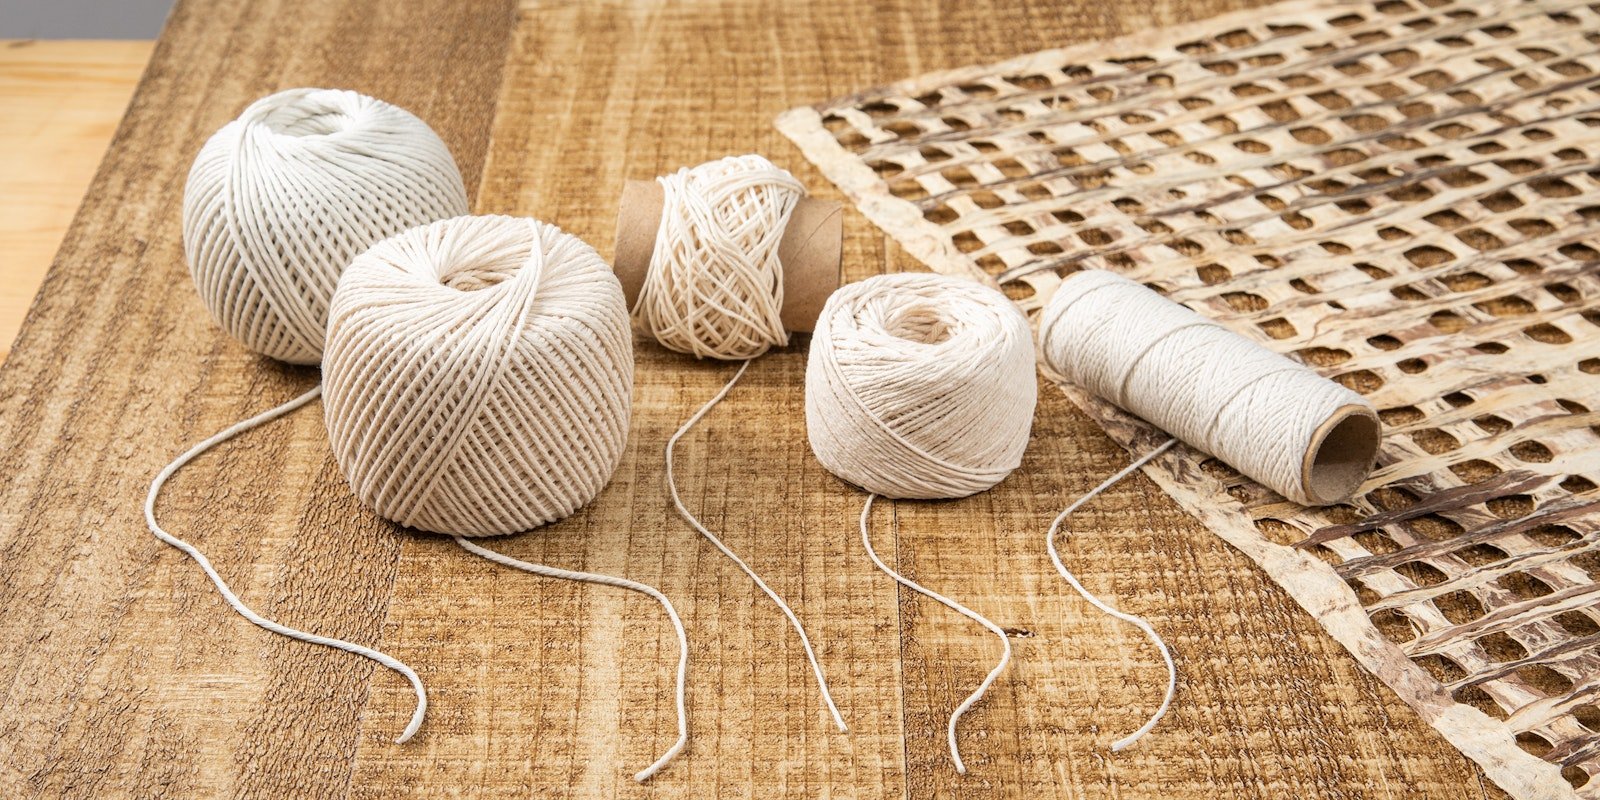
It is easy to get cotton string or twine at a hardware store, and it comes in a variety of thicknesses. I usually have a couple of thicknesses on hand so that I can make decisions about which to use depending on the wheel in question.
 The size of a cotton band should correspond to the size and shape of the grooves on your wheel. These bands vary in diameter, amount of twist, and number of plies.
My choice of thickness depends on the depth of the groove on the drive wheel and whatever the band drives: bobbin, flyer, or both. If the wheel has shallow grooves, then a too-thick drive band may easily pop out of the grooves. If the drive band is too thin, it makes it difficult to provide sufficient friction between the drive wheel and the drive band. To maximize friction between the drive wheel and a cotton band, it is helpful to have a band material that is not too smooth and a groove on the drive wheel that is also not too smooth.
Cotton and linen drive bands have been used for centuries. I will admit that wheels with cotton or other nonstretch drive bands require a bit more fuss to change from one whorl/pulley size to another: it is necessary to adjust the tension on the drive band by moving the flyer apparatus away from (to tighten) or toward (to loosen) the drive wheel. These bands need to be refreshed frequently, but exactly how often depends on the wheel, band material, and your preferences.
Wheels with synthetic drive bands are now quite common. Synthetic drive bands vary in how much they stretch depending on the content of the band and the cross-sectional area of the band. Most wheels with synthetic drive bands allow the spinner to quickly change from one whorl/pulley size to another without having to make any tension adjustments to the drive band.
Some scotch-tension wheels, such as many Majacraft wheels and the Ashford Joy, have multiple grooves of various diameters on the drive wheel as well as multiple grooves of various diameters on the flyer. The grooves on the drive wheel allow for aligning the drive band with the grooves on the flyer so that the drive band is less likely to pop out of place. These drive-wheel grooves also help to maintain sufficient tension on the drive band so that it won’t slip.
On some wheels, there is no way to adjust the tension on the drive band by moving the flyer/bobbin away from (to tighten) or toward (to loosen) the drive wheel. Included in this category are the Ashford Joy and Kiwi, and the Louet S10. Most spinners will find that these bands don’t need to be replaced often, but when the band on one of these wheels stretches so much that you cannot avoid slippage, it’s time for a new drive band.
Brake-Band Materials
The tension on the brake band needs to be adjustable so that you can increase take-up tension as the bobbin fills with yarn. To accomplish this, brake bands on scotch-tension wheels often consist of a stiff string (cotton or even fishing line) with an elastic element—such as a not-too-stiff extension spring or a rubber or silicone band—in series with the string. The compliant element is what expands or contracts, allowing for adjustment.
 Scotch-tension (flyer-lead) systems
usually combine stiff string with an elastic element. Springs and rubber or silicone bands come in various shapes and sizes.
Scotch-tension (flyer-lead) systems
usually combine stiff string with an elastic element. Springs and rubber or silicone bands come in various shapes and sizes.
Sometimes, these springs or rubber bands need to be replaced. Rubber or silicone will lose elasticity over time, and springs might need to be replaced if accidentally stretched beyond their recoil point. Wheel makers often supply replacement parts, or you can find similar supplies at a hardware store.
Brake-band material can have a tremendous impact on how a scotch-tension wheel feels during spinning. The size, shape, and texture of the bobbin’s groove will interact with different band materials to produce different effects.
Irish-tension wheels typically have brake bands that can be made of string or leather with some sort of knob to allow for loosening or tightening the band as necessary.
How to Replace Drive and Brake Bands
There are different approaches to replacing bands. I’ll share my go-to methods that have worked well for me over the years.
Replacing a Cotton Drive Band
My first step is to remove the old band and use it as a template for the length of string you will need for a new band. I add an extra 6 to 10 inches so I have something to hold onto while tying the knot and just in case my measurement is off.
Make sure that the bobbin/flyer mechanism is situated in its midrange so that there is room for adjustment. I take the new band and wrap it around the drive wheel and the part(s) of the flyer/bobbin mechanism that are involved.
Hold the string under tension and cross the two ends. Use a marker pen to mark the joining point of the two ends of the string. This is where you will tie the knot. You can then take the string off tension to make it easier to tie a knot.
I tie a simple reef knot, also known as a square knot. I like this knot because it is easy to tie and it is relatively flat. If the knot is not flat, it will tend to cause the drive band to jump out of its groove.
I use this saying to help me tie the knot properly: “Right over left then under. Left over right then under.” Then you can tighten the knot. I typically trim the excess string to about ½ inch longer than necessary. After using the wheel for an hour or two, when I feel confident the knot will hold, I trim the ends to about 1⁄8" inch.
 A reef knot is simple and reliable.
Replacing a Synthetic Drive Band
I know there are strategies for purchasing synthetic band material and then gluing or melting the ends together to make a new band. My personal preference is to purchase a new band from the wheel maker or distributor of your brand of wheel and accessories; it is so much easier and more reliable.
Replacing a Brake Band
For brake bands that are string plus an elastic element, it is usually the elastic element that needs replacing first. That’s as easy as tying on a new rubber band or extension spring. You just want to make sure that the spring or rubber band connections don’t physically interfere with the bobbin.
When replacing cotton or monofilament bands in the brake-tension series, it is usually easiest to start by removing the old series or the section of the series you wish to replace. Measure this section and add a few extra inches of length so you have something to hold onto while securing it in place.
Maintenance of Bands
There are strategies you can use to make bands last longer so you don’t have to replace them as frequently:
- Regardless of the band material, take the tension off the bands when the wheel is not in use by loosening the tension on the drive and brake bands or by taking the bands off altogether. Leaving the bands under tension all the time will make them stretch out faster. (As I walk by my not-in-use wheels, I will often tap on the bands just to make sure they are loose.)
- For cotton or linen drive bands, try to avoid touching or handling them. The bands will stay cleaner and less slippery.
- For synthetic bands, avoid leaving the band in direct sunlight. Sunlight tends to cause more rapid disintegration of the bands. (The same goes for synthetic bands on a drumcarder or bobbin winder.)
Resources
- Casey, Maggie. Start Spinning: Everything You Need to Know to Make Great Yarn. Loveland, CO: Interweave, 2008.
- Irwin, Bobbie. The Spinner’s Companion. Loveland, CO: Interweave, 2001.
- Raven, Lee. Hands On Spinning. Loveland, CO: Interweave, 1987.
- Learn more about your wheel in Amy’s course, Spinning Wheel Mechanics.
This article originally appeared in the Summer 2023 issue of Spin Off.