
The spinning world is full of alluring hand-dyed tops and rovings, available in almost every color combination imaginable. They are satisfying to spin and then knit or weave, and it’s hard to imagine that they would ever fall out of favor with spinners. That said, learning to dye and handpaint wool can feel intimidating at first. Many spinners might be worried about getting started; they may lack a dedicated dye area and equipment, they are on a budget, or a variety of other reasons.
Some spinners get their feet wet using food and drink dyes, and I’d like to show you how to explore handpainting braids at home using these low-cost and accessible dyes. They’re food grade, so the fiber can be dyed in the microwave using items you might already have in your kitchen. The chemistry of food dyes is similar to that of professional-grade acid dyes used on protein fibers. This means that the resulting colors are bright and washfast on wool, silk, other animal fibers, and even nylon. Any misconceptions about the products discussed here producing inferior dye results can be laid to rest.
However, there are reasons that professional and aspiring dyers may not use food and drink dyes. Professional-grade fiber dyes are sold in larger quantities at lower prices for those working with large volumes of fiber. The colors available in professional dye lines are more repeatable and don’t have ingredients unnecessary for dyeing fiber, such as flavorings or sweeteners.
Dyeing fiber with food and drink dyes is undeniably fun, and I believe it can give us a greater appreciation for the work of independent dyers. This accessible entry to dyeing allows more spinners to explore color and develop their own personal colorways. My own journey into dyeing wool started with food coloring because the cost of dyeing equipment was a deterrent to me for a long time. Let’s just say that my passion for dyeing only deepened, so I later transitioned to professional dyes. Get started in the way that works for you!

Sukrita mixed five colors of dye in reused glass jars.
How to Select Colors
To me, the most important part of selecting colors is knowing yourself. What colors are you drawn to, and what do you find pleasing? We have strong emotional reactions to color, even if that reaction may not be fully conscious. Draw inspiration from scenes that uplift or inspire you, or those that make you feel calm. Noticing that color is all around us helps capture some abstract essence of our experiences.
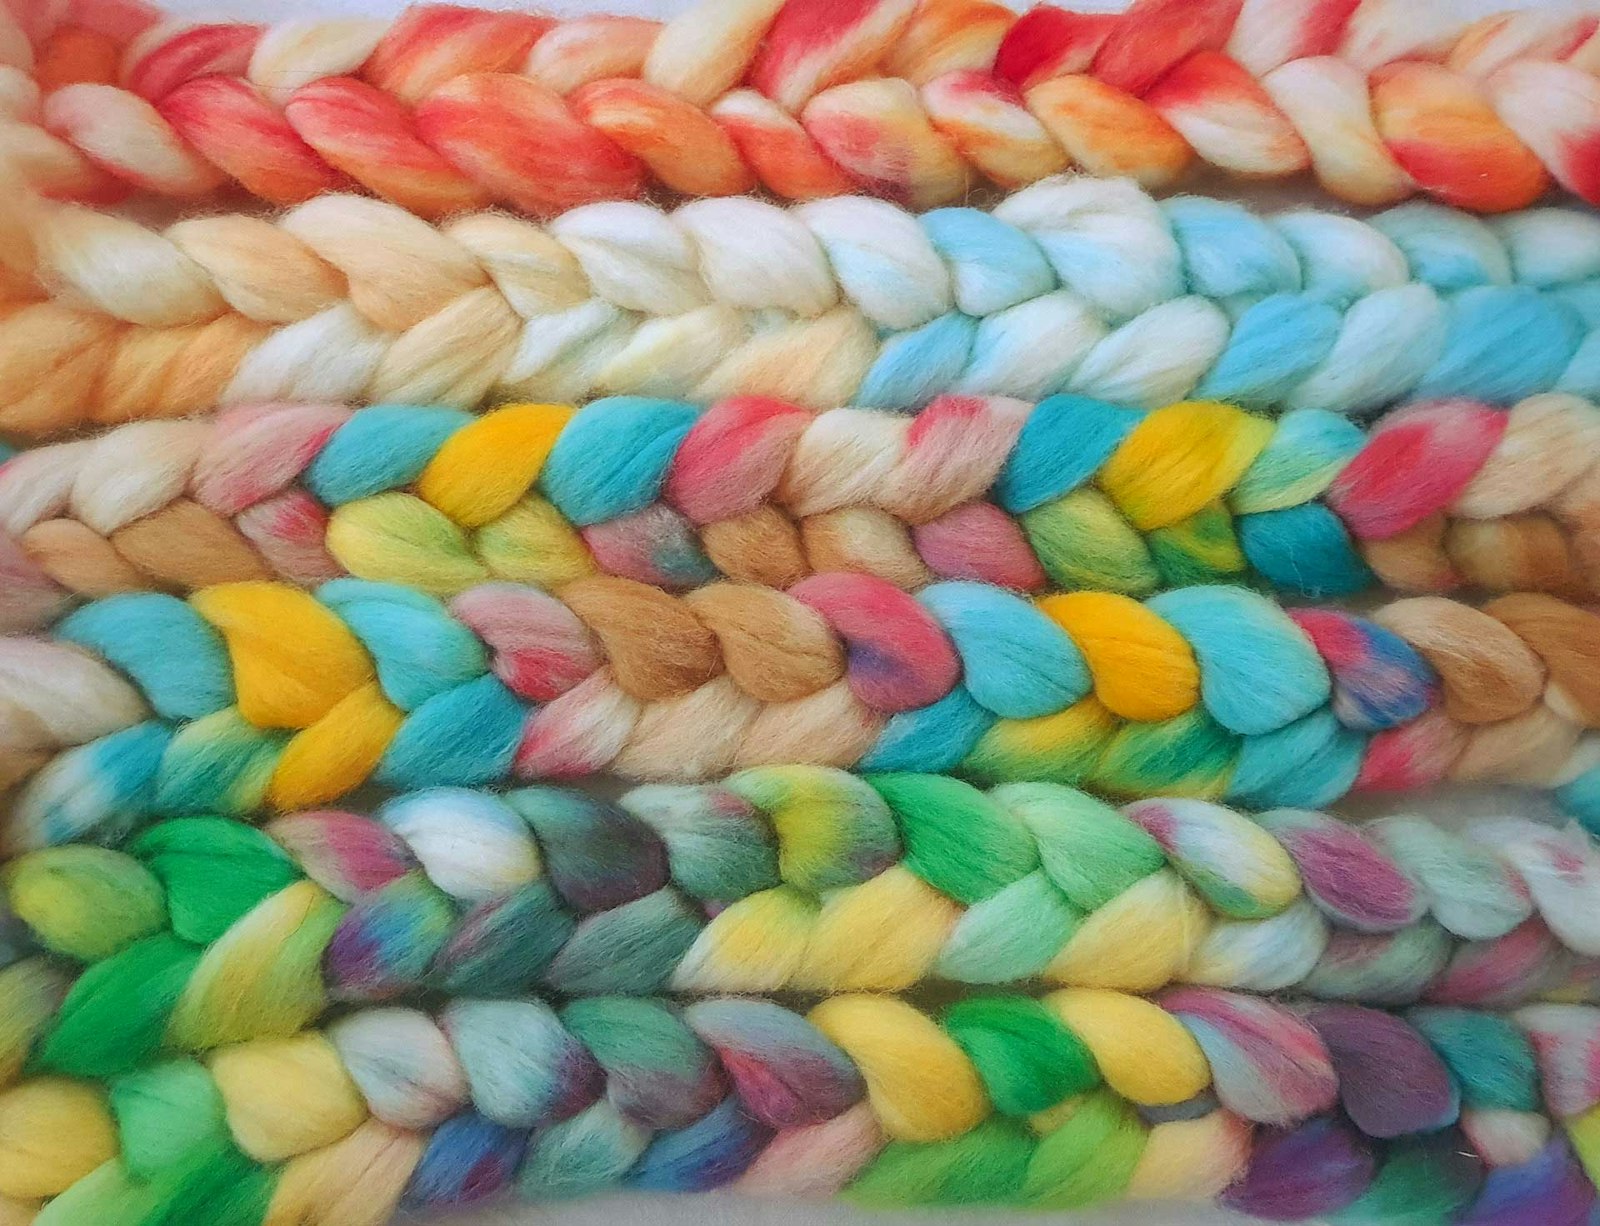
I often find inspiration in nature. As I write, it’s spring in Australia, so I wanted to use colors that feel representative of the new growth, clear skies, flowers, and scents. Restricting myself to four or five colors in a braid helps me when creating a palette, and I find that adding a neutral hue to brighter colors can pull the palette together.
Dyeing top is much more forgiving than dyeing yarn. Mistakes or colors that you don’t like can easily be removed before spinning by simply splitting the top. Bright colors can be muted by plying them with a contrasting or neutral color. There are many ways to prep a handpainted top for spinning, and they are worth exploring.
Getting Started
The food dyes you choose may come in several forms. Liquid color is common, but I have found that quite a lot of color needs to be added to get good results. Cake or gel dyes are my preference as they are much more concentrated, and the color saturation can be built up fairly easily. The brands I used to create the colors shown here are Wilton’s Icing Colors, a gel-based product, and Kool-Aid powders.
For the beginning dyer, I recommend starting with wool tops because they are less likely to felt in the microwave and are not as fussy to handle as loose fiber. I do not recommend using superfine Merino, but medium wools, such as Corriedale, are perfect. Here I have used Texel wool tops, divided into units of 3½ ounces (100 grams). Texel is a medium-to-coarse wool similar in feel to fiber from down breeds, and it takes color very well.
What You’ll Need
- Wool tops
- White vinegar (¼ cup [60 ml] for every 3½ oz [100 g] of fiber)
- Four or five containers to mix dye, such as recycled glass jars
- Stir stick, such as a butter knife or chopstick
- Warm water
- Plastic wrap, also called cling wrap
- Rubber gloves
- Microwave-safe container or bowl
- Towels for clean-up
Sukrita’s Method: Handpainting with Food Dyes
1 Fill a tub or bucket with lukewarm water and add ¼ cup (60 ml) white vinegar for every 3½ oz (100 g) of fiber. Soak the fiber, gently pushing it under the water and making sure it is submerged. Leave to soak for 45 minutes to an hour.
2 Prep the surface where you will do the handpainting. If you want to keep it clean, cover with towels or garbage bags.
3 Prepare the dye solutions. The quantity of water needed will depend on the amount of wool you want to handpaint, and the amount of dye you add will depend on the saturation you want. For example, I created five dye jars following the recipes below. This set of five colors was enough to dye 7 oz (200 g) of fiber.
4 Spread enough plastic wrap onto the dyeing surface to hold 3½ oz (100 g) of fiber. Squeeze excess water out of the fiber and place it on the plastic wrap in a zigzag pattern.
5 Now you are ready to place the dye. The color sections can be as wide or as narrow as you like, but I’ve found that about 6" to 8" (15 to 20 cm) is optimal. The width of the sections will define how the yarn looks when knitted. For instance, about 6" (15 cm) of each color placement is likely to form a fairly good self-striping sock yarn if spun straight from the top and chain-plied.
Some people use syringes or squeezable ketchup bottles to dispense the dye. While these tools do offer more control, they’re not required. You can pour on a small amount of dye and gently press with a gloved hand to saturate the fiber (see image below). Make sure that the dye has gone all the way through to the other side of the fiber.

Continue to add dyes, small amounts at a time, in the pattern and sequence you like. The color sections can be long or short.
6 Roll up the fiber in the plastic wrap and place it in the microwave, heating for 2 minutes at a time, for about 6 to 8 minutes total. The heat from the microwave sets the dye.

Carefully pour the dye onto the fiber and work it through the fiber by pressing with a gloved hand.
7 Remove the fiber roll from the microwave carefully, and let it cool before removing the plastic. Handling the fiber too much at this stage can cause it to felt.
8 Once the fiber has cooled completely, remove the plastic wrap and transfer the fiber to a sink or tub to wash. It should be washed in the same way as a wool garment: with mild detergent and lukewarm water. Rinse until the water runs clear. Gently squeeze the fiber to ensure that there is no excess dye left. Minimal color bleeding is an indication that the dye was properly set.
Hang to dry, and the fiber is ready to spin.

Once the dye is applied, the fiber is rolled up in plastic wrap.
Other Handpainted Effects
Dry Kool-Aid powders can be sprinkled directly from the packet onto fiber that has been soaked in the water and vinegar solution to achieve a mottled dye effect. When spun, the yarn has a subtle marled look, with the white portions softening the bright reds. I have also used Kool-Aid to create a braid with a long gradient by dissolving the Kool-Aid powder in water and vinegar and painting it in long transitions. The colors are subtle and make a beautiful pastel yarn.

Kool-Aid sprinkled directly onto fiber wetted in the water-and-vinegar solution will yield a mottled, speckled effect.
Is Breaking Bad?
Some shades of food dyes are known to split into multiple colors when they are heated, a process called breaking. Typically, it is the purples and blacks that split into various pinks, greens, and blues. It’s a surprising and, to me, unique effect that I try to take advantage of. To ensure that it happens, I don’t allow the dye solution to cool down before applying it. Conversely, keeping it at a cooler temperature makes it less likely to split. I have only once managed to get a nice grayish black from food dye on handpainted fiber, so although it’s rare, it is definitely possible.
Sukrita’s Dye Solutions
- Gel-Type Food Dye: For the samples here, I mixed about 1/4 teaspoon of gel with 7/10 cup (180 ml) of warm water to create my dye solutions. Stir until completely dissolved.
- Kool-Aid: I used Kool-Aid in two ways. The first was to sprinkle the drink mix directly on my fiber, which had been wetted in a water and vinegar solution. The second method was to dissolve a packet of Kool-Aid in about 7/10 cup (180 ml) of water.

Mix the gel food dye in warm water to make the dyeing solution.
Sukrita Mahon is a spinner and dyer living in New South Wales, Australia. She is obsessed with sourdough baking, slow and mindful living, and all things wool. You can find her on instagram @su.krita or on Etsy at Webspun Wares.