

Contents
As Tour de Fleece winds down for this year, many of us find ourselves wanting to keep the spinning habit going. Amy Tyler has some tips for keeping your wheels in top spinning shape—and for keeping the fun going no matter how much or how little you spin. And don’t forget—we want to know how your Tour de Fleece went!
—Spin Off editors
If you are planning for an intensive spinning event, such as Tour de Fleece, it pays to get your wheel(s) and yarn making accessories ready in advance. Not only in good working order, but also located so that they are readily accessible. These days, my hands are a bit of a physical limiting factor, so I try to avoid high intensity spinning “marathons”. But! I do work to prepare my equipment and materials when I want to start a large spinning project, such as spinning enough yarn for a tunic length, heavily cabled sweater vest.
Allow me to share some of my preparation strategies.
Wheel Preparation
About once a year, or before a very large project, I give my wheel a “spa day”. I first clean all wood parts of the wheel—including the bobbins—with some Murphy Oil Soap, combined with warm water (I just follow the directions on the bottle). Oh, this step requires a pile of clean cotton rags. If you’re working inside, you may want to put a towel or two on the floor underneath your wheel. I’m always pleasantly surprised (or horrified) by how much dirt this step removes.
Next, I apply some Howard Feed-N-Wax. It’s a wood polish and conditioner. This step requires an even bigger pile of clean, soft cotton rags. Here are the instructions on the bottle:
Make sure the surface is free from dust and dirt. Test on an inconspicuous spot. Saturate a small soft cloth with Feed-N-Wax and wipe evenly onto the wood surface. Let stand for at least 20 minutes before wiping off the excess. Polish out with a clean soft cloth.
I avoid applying the Feed-N-Wax in the grooves of the bobbin, whorl, and drive wheel to discourage the drive band from slipping.
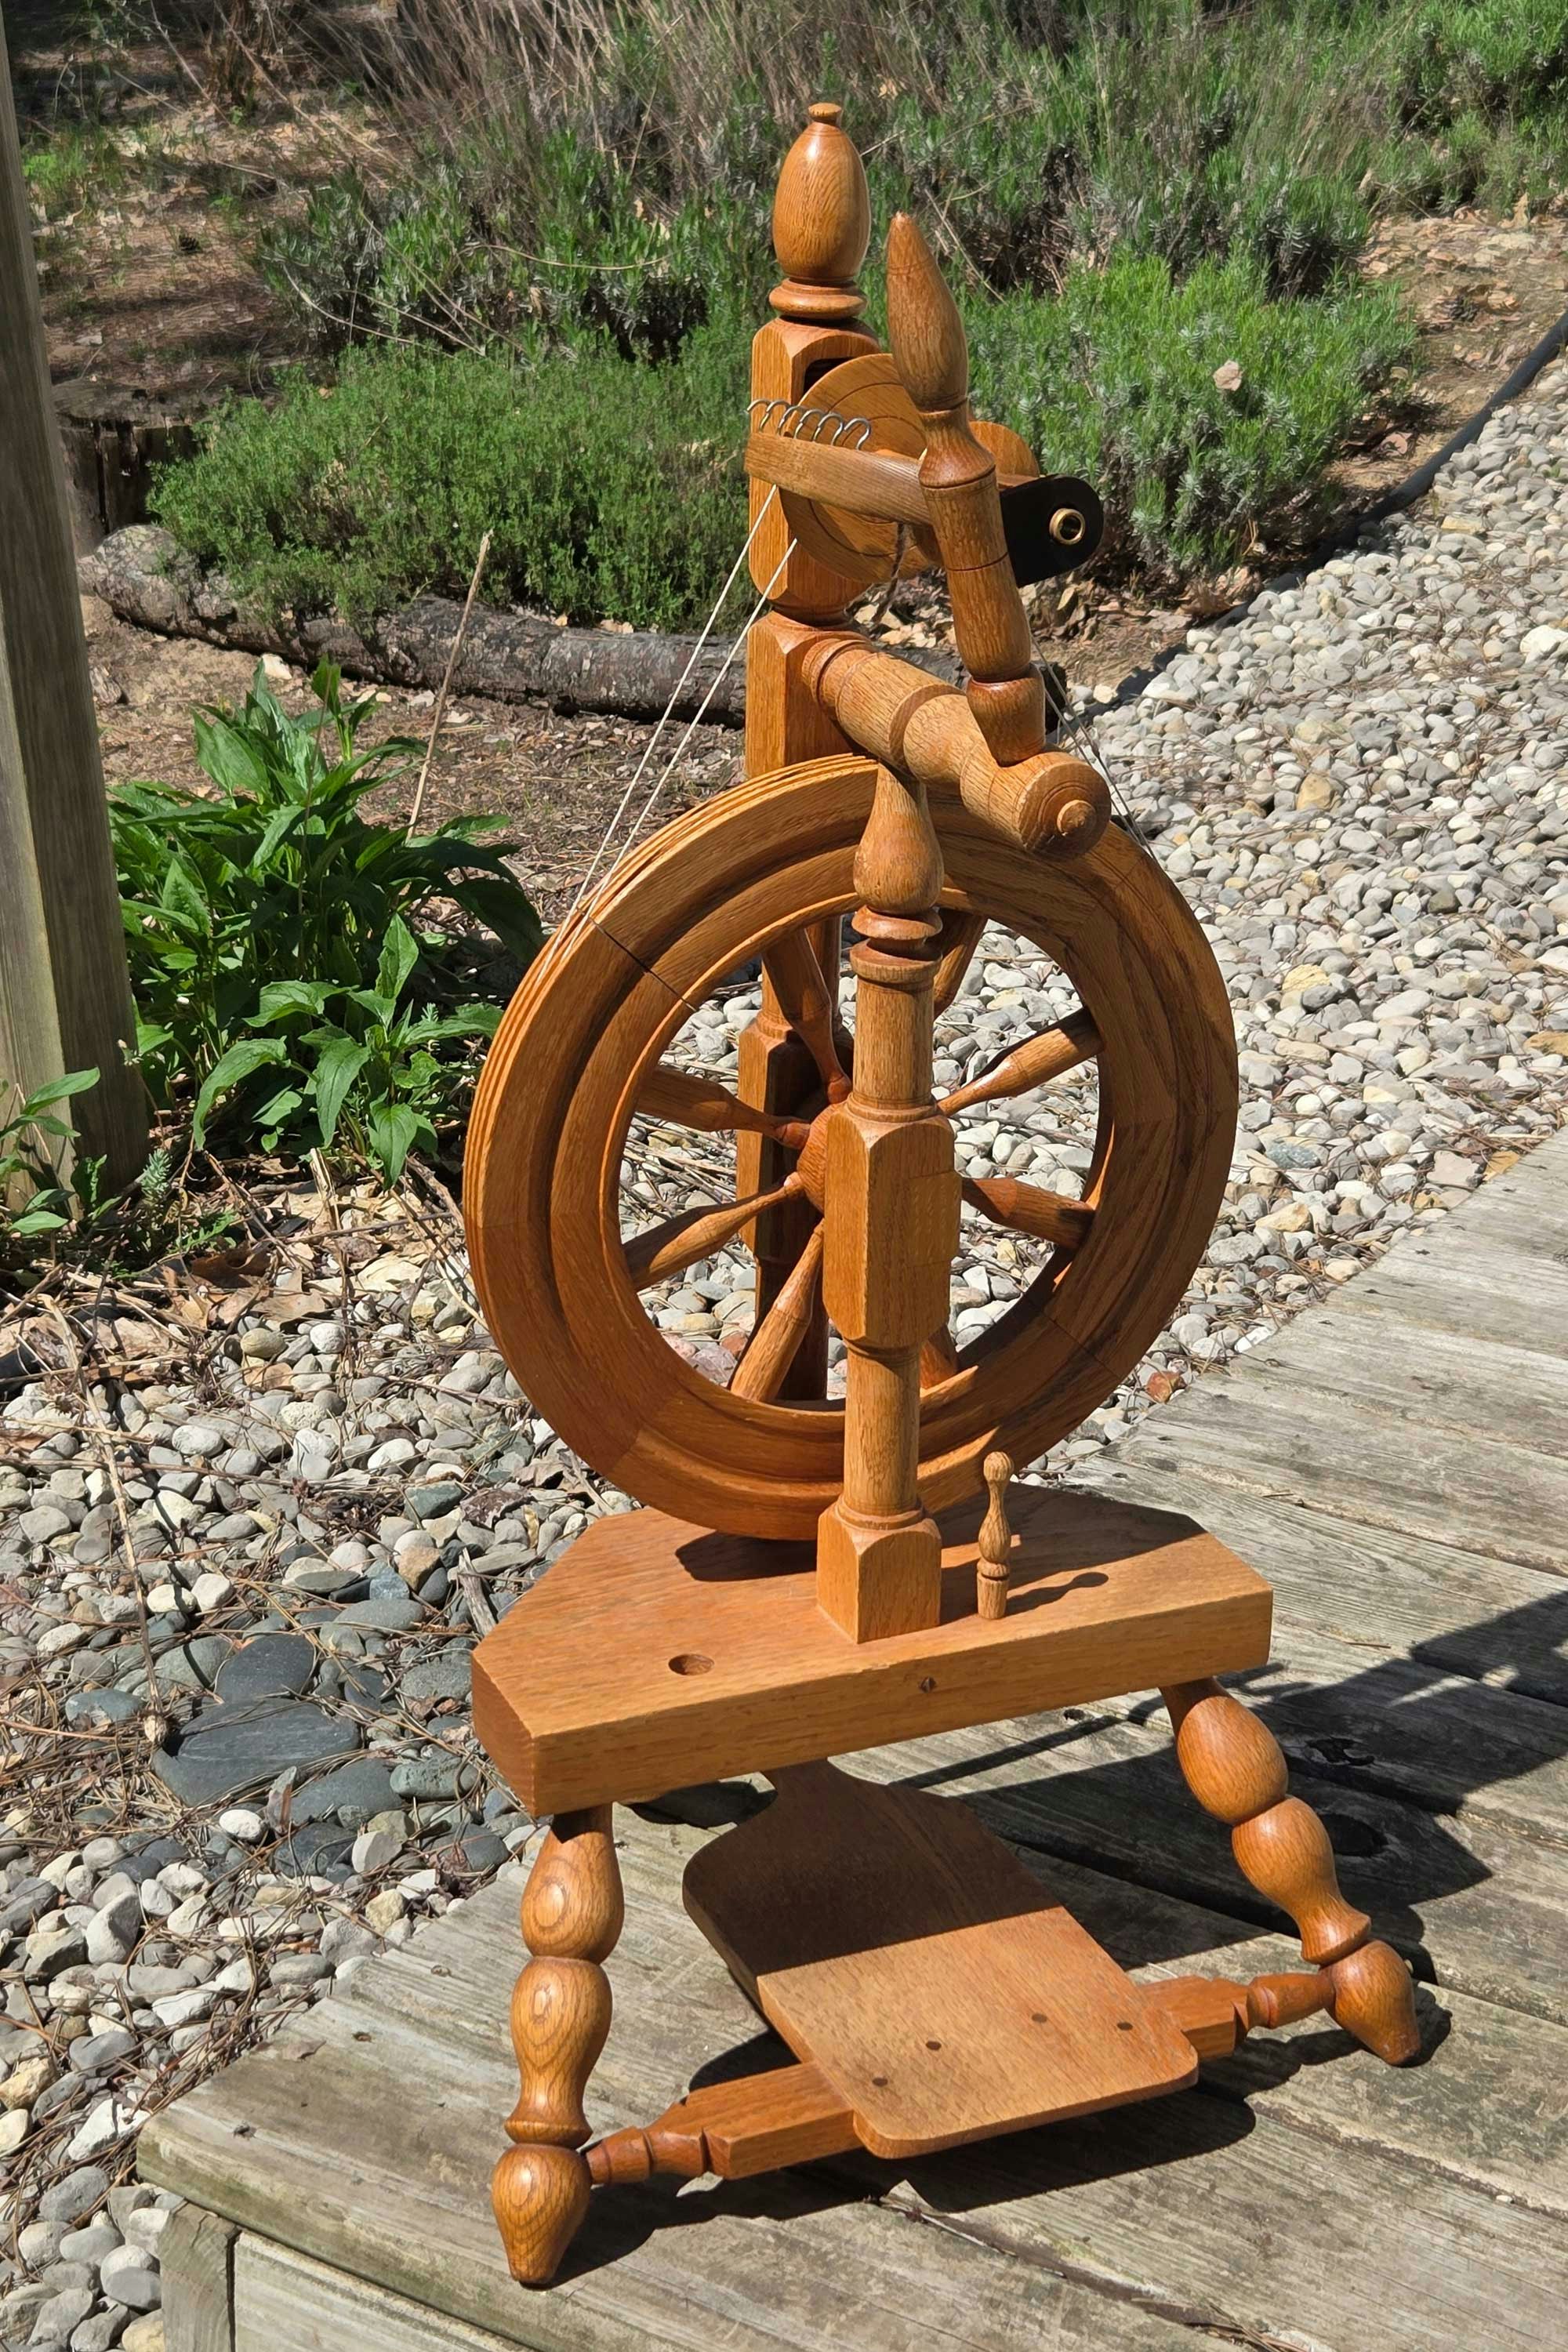
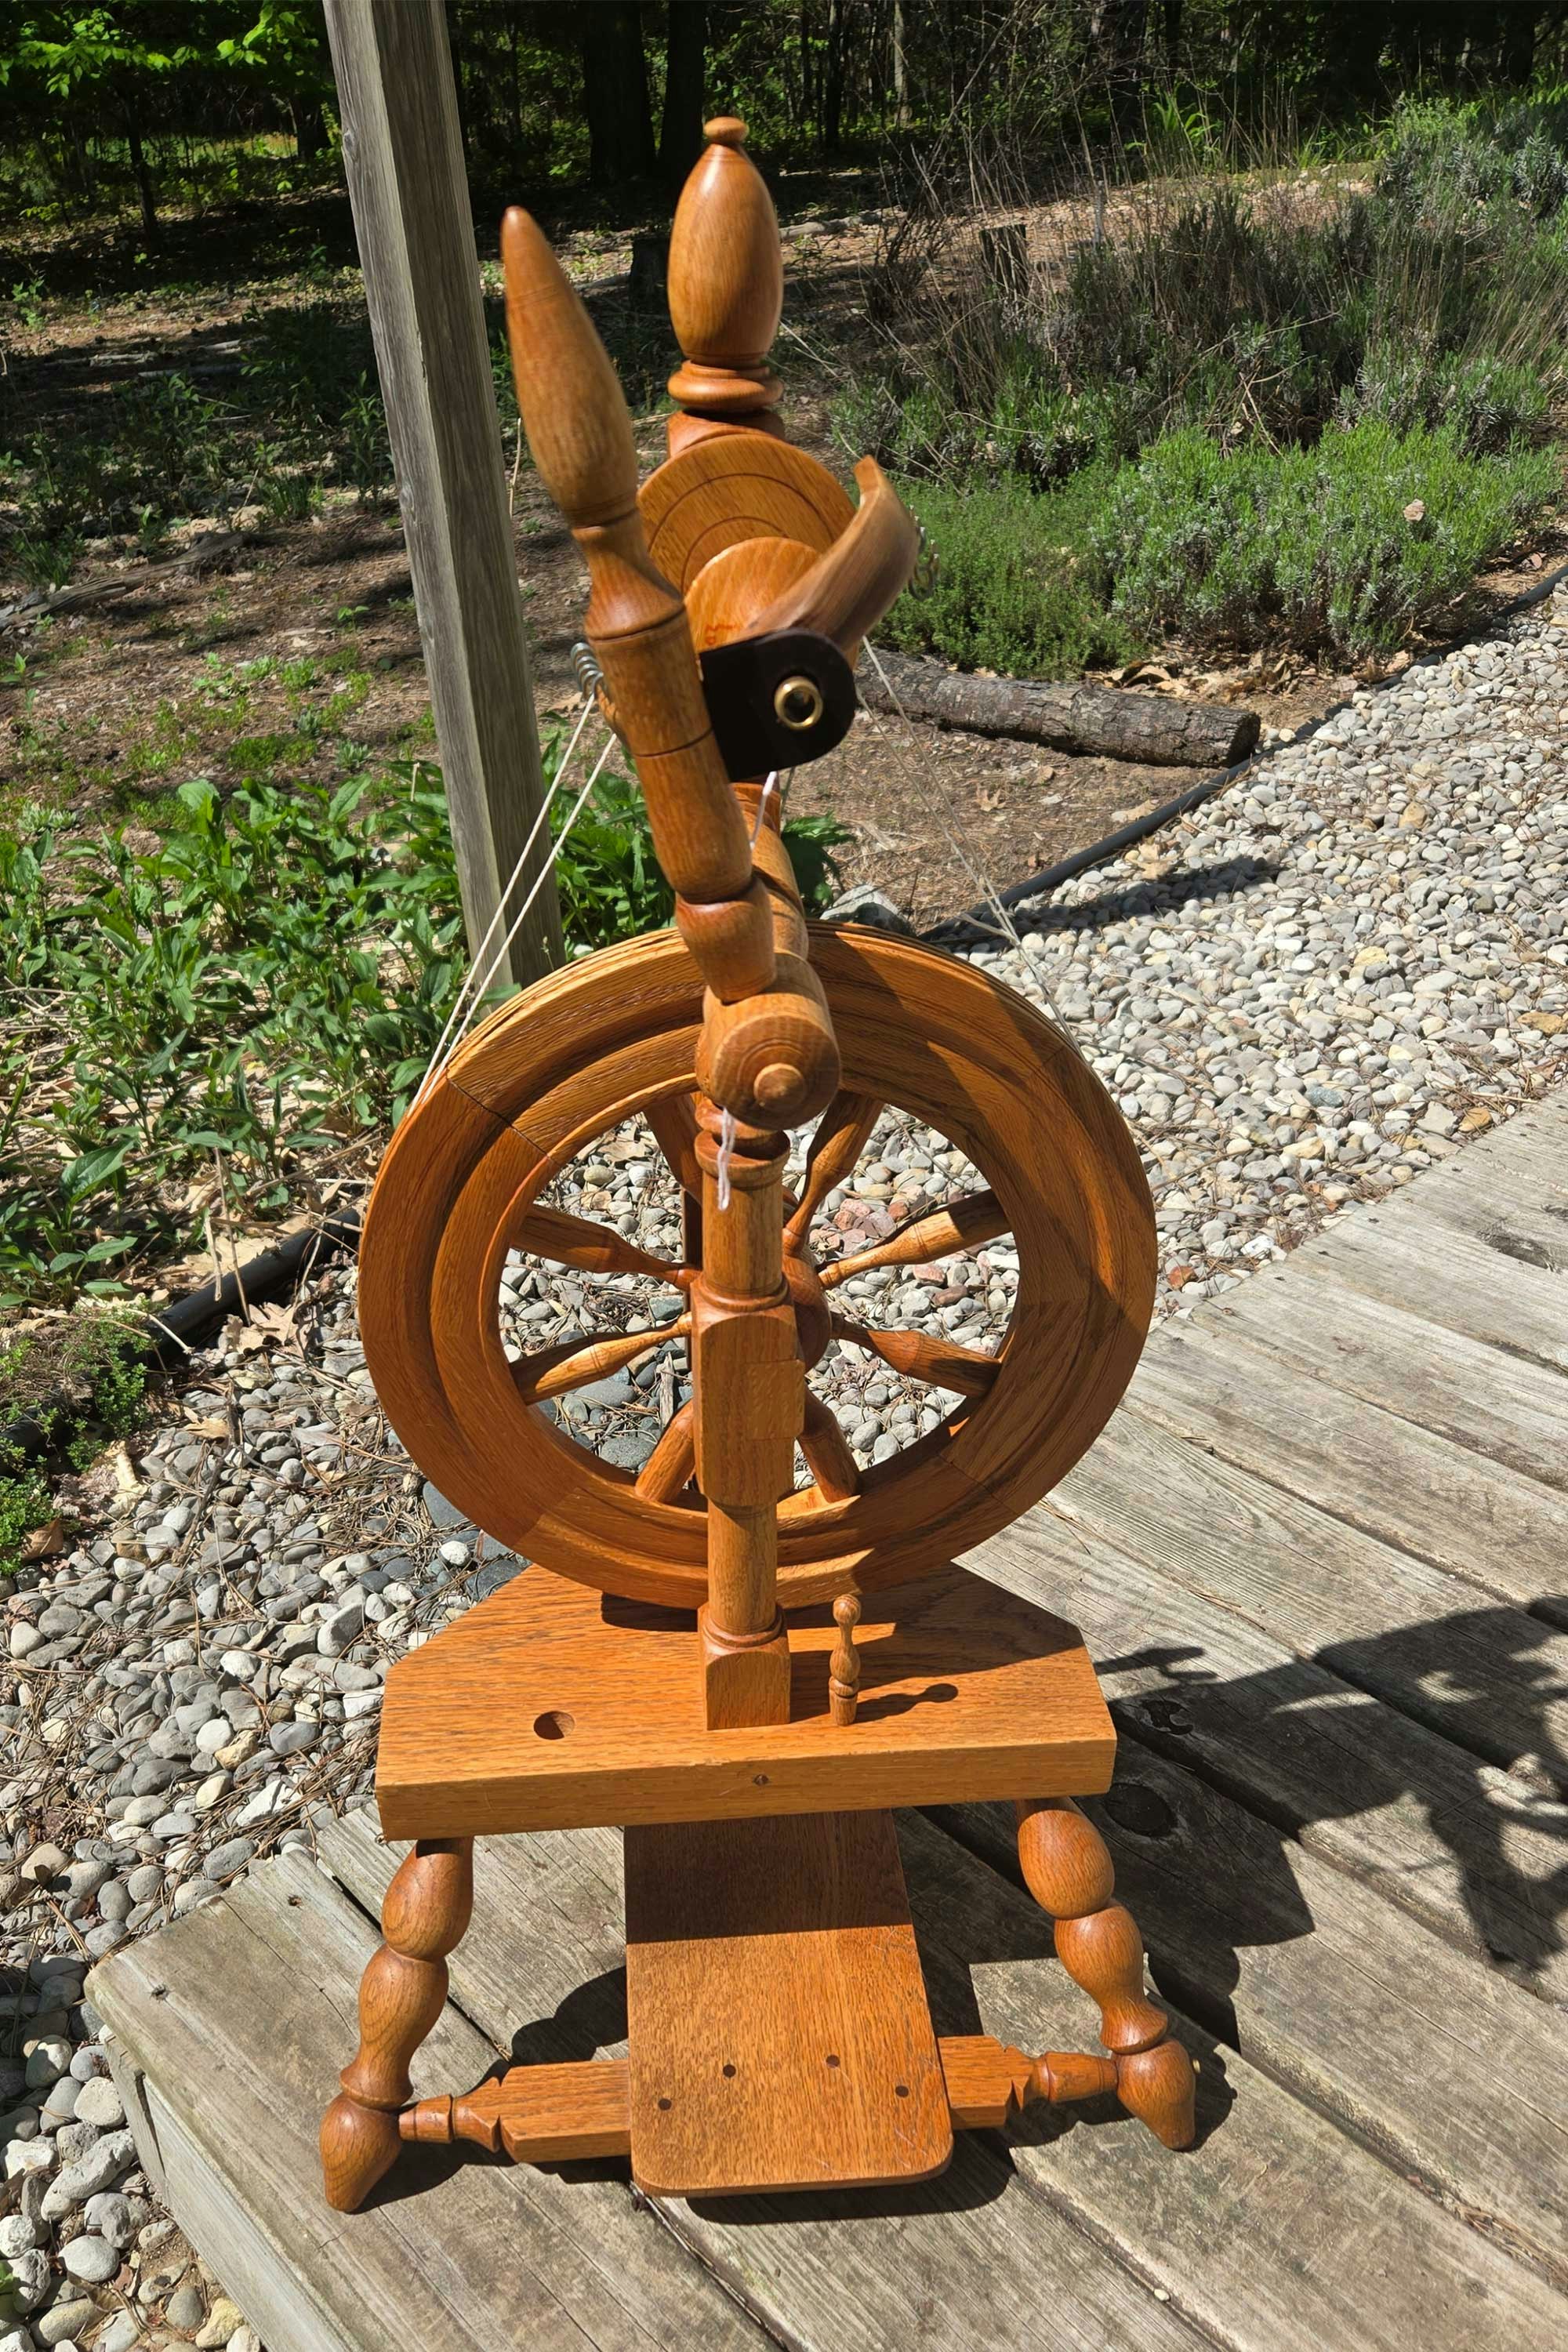
Amy’s Reeves castle wheel before (left) and after (right) its spa day. Photos by Amy Tyler unless otherwise noted
In addition to wood cleaning and wood conditioning, I take the opportunity to examine the drive band to see if it needs replacing. This time, the drive band on my Reeves castle wheel was in working condition but it looked a bit grimy, so I replaced it. And I also replaced some leaders on my bobbins that were looking a bit weary or frayed.
It’s helpful to have a wheel that is also properly oiled on a regular basis. You may first want to read the owner’s manual for your wheel, because not all wheels require the same application of lubricant. Note that the flyer/bobbin apparatus rotates much more frequently than the drive wheel or treadle(s). So, the flyer and bobbin need to be oiled more frequently. I typically oil the flyer/bobbin whenever I change the bobbin. I typically oil the crank, footman, drive wheel, and treadle at the beginning of a big project or about every 4-6 months.
Before you apply any oil or other lubricant, it is important to wipe off the old, grimy oil first. So, I always carry a clean rag with my oiler.
 Cleaned and conditioned bobbins, with fresh leaders.
Wheel and Equipment Location
I have a small house. I’ve owned a few big wheels (large saxony wheels, great wheel), but I tended to keep them inconveniently located in the corner of the living room, or in the basement. I quickly discovered that I didn’t like to move such big wheels to make them accessible, so I wasn’t spinning on them. I found them new homes. Now I have three upright wheels—the Reeves wheel, a Louët S10-DT, and a Lendrum folding wheel—that require limited floor space. I discovered that they tuck away nicely in the hallway I have on the main floor, where I can see them and move them easily to the living room and back to the hallway. The Louët and the Lendrum are in my hallway, the Reeves is tucked next to a treadle sewing machine in the dining area. These wheels get used.
 From left: Amy’s antique clock reel/skein winder, Louët S10, abd Lendrum folding wheel.
Things to Keep Handy
For any spin, you’ll want to keep a few things handy. Here are my must-haves:
- Fiber, of course
- Rag and oil/lubricant
- Scale: you may want to weigh out fiber so that you have the same amount for each bobbin. I also use a scale to weigh my finished skeins
- Skein winder or niddy noddy
- Umbrella swift
- Multiple empty bobbins (I try to have 7 bobbins for each wheel)
- Comfortable chair
- Tub for wet finishing yarns, no-rinse wool wash, towels, hangers