
YouTube.com is an excellent learning zone. I use it all the time. When I teach classes, I include a list of YouTube video links that reinforce what I teach. For those of us who have some skills to share, YouTube provides a format for portable world access.
I often use Ruth MacGregor’s videos (see Resources) as a guide. They are simple and straightforward. She says her videos “. . . are made to feed the way I learn tactile things (and the way I suspect most people learn them): you need to see what’s happening without thinking about it too much. If there are lots of words, the ‘chatty’ part of your brain takes over, and you miss things. If there’s narration, you may be distracted by the voice or the accent. . . . But music and demonstration, with just enough text to help you direct your attention—those go right to the target.”
Some questions you will need to answer before you get started:
- What do you, as a viewer, like to see?
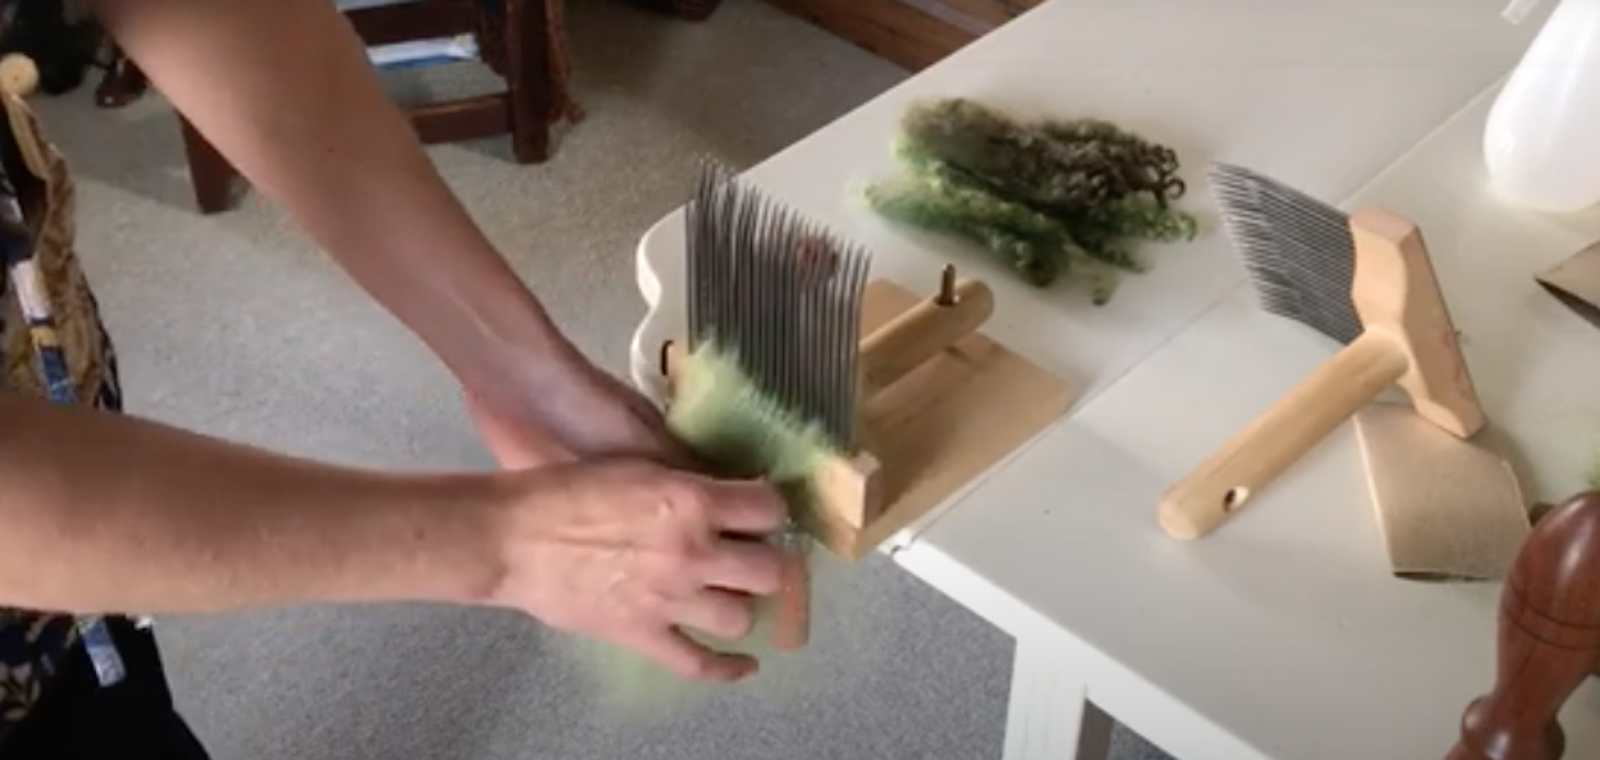
- What are your hands doing? Where are they positioned? How do you hold the fiber so the viewer can see it?
- Is the video quality good enough so viewers can clearly see details and subtle movements?
- Are you better in front of or behind the camera? Who do you want to help you film?
Supplies:
- Digital camera, webcam, or cell phone with a camera
- YouTube account
- Ability to edit the movie, either on YouTube or with video-editing software such as iMovie or Windows Movie Maker (teenagers can help here)
Step 1: Create the idea of what you are going to do and why. What is it you want to teach? Have a general (scripted) idea of what is going to happen.
Step 2: Film the video. You can take more than one shot at this—editing is a wonderful tool. Some viewers (like me) get motion sickness so use a tripod.
Step 3: Edit the video. Take the good parts and put them together. Keep the other parts for a laugh. You can import voice-overs and music. Watch some of your favorite videos to see how others do it.
Step 4: Resize the video so it fits on YouTube. The site accepts most file formats, which allows videos to be uploaded from a phones. Files cannot be any longer than 15 minutes for a basic account. [Check current size and format requirements. —Editor]
Step 5: Upload the video. Enter a title, description, tags, and category. These help interested spinners find your video easier and faster.
A few hints:
- Viewers do not need to see your face and would rather see your hands and spinning.
- Think about camera angles to highlight what you are doing.
- Wear dark colors so viewers can see you spin. White or light-colored clothing will wash out the fiber.
- Have good lighting so your hands can be seen.
- Often, sound quality isn’t good. To get around this, import sound clips or place title cards to describe actions.
Resources
This article was originally published in the Summer 2012 issue of Spin Off.