
One of the things that challenged me as a new spindle spinner was that too many things had to happen all at once—keep the spindle going in the same direction, draft enough fiber but not too much, don’t let the yarn break. It’s a lot of things to manage all at once when you’re learning a new skill.
For many spinners, chain-plying is another technique that can feel cumbersome. Here we’re making loops—like a giant chain of single crochet—while we add ply twist. Synchronizing the speed of adding ply twist with the chaining action is often challenging. It’s easy for one or the other to get out of hand, and quickly.
What if you could separate the two steps? Would that make things easier? It turns out that you can, and it does!
Try a Plying Ball
With the help of a plying ball, you can chain your singles and then ply. The ball is a low-tech way of storing the singles for as long as you want. And chances are, you probably already have everything you need to get started. A simple starter for a plying ball can be anything from a crumpled-up piece of paper to a ping-pong ball or other small round object. (You don’t need a ball to start, but it certainly helps if you’re new to the technique!)
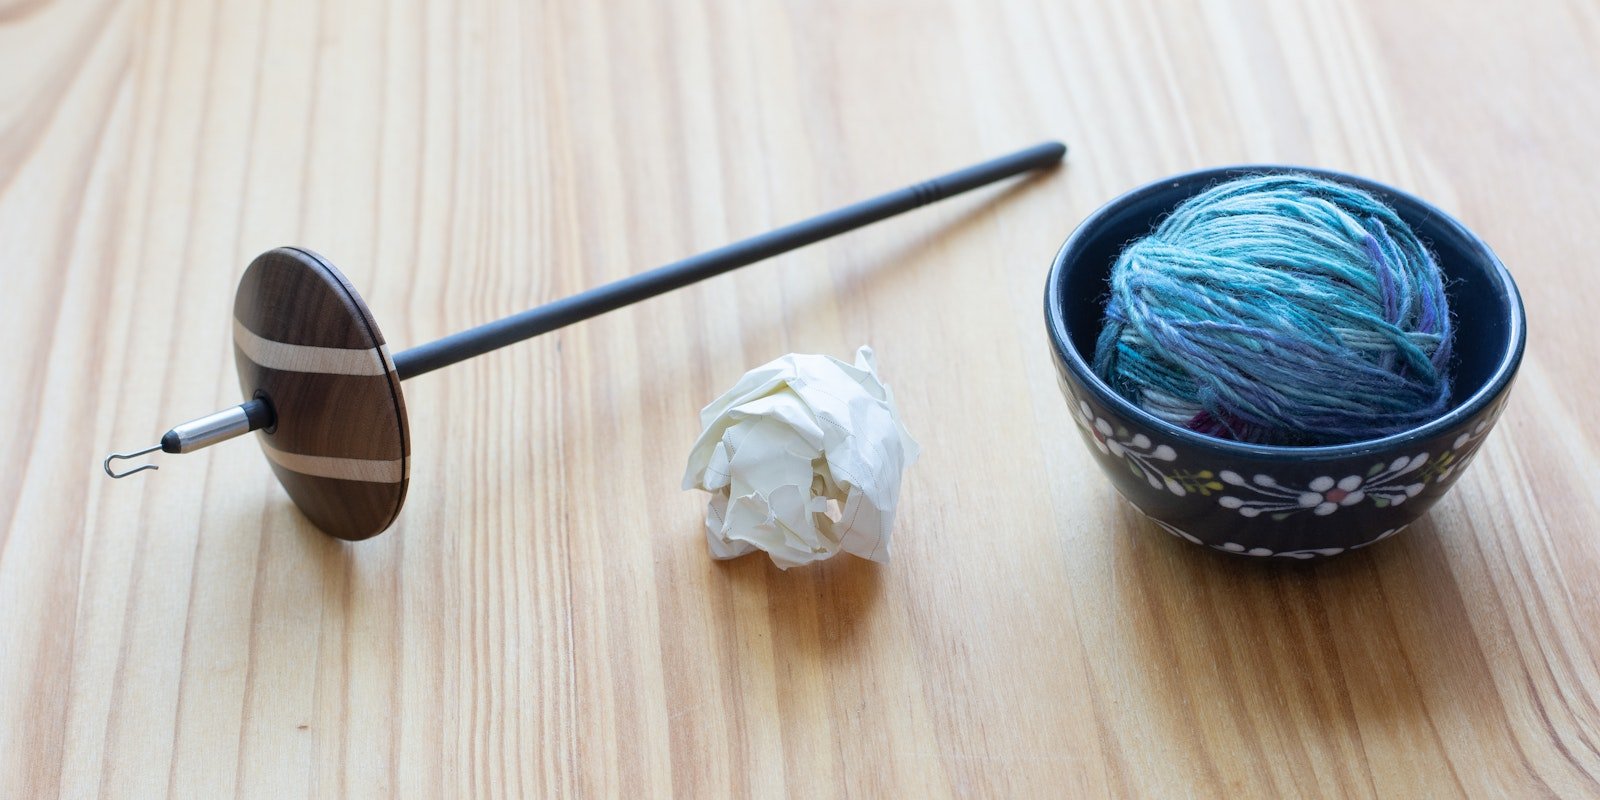
 Plying balls, from left: a crumpled-up piece of paper, a ping-pong ball, and a small cat toy.
How to Make a Chain Plying Ball
Start chaining like you normally would with any chain plying project. Make a slipknot, and then pull a series of loops through each other.
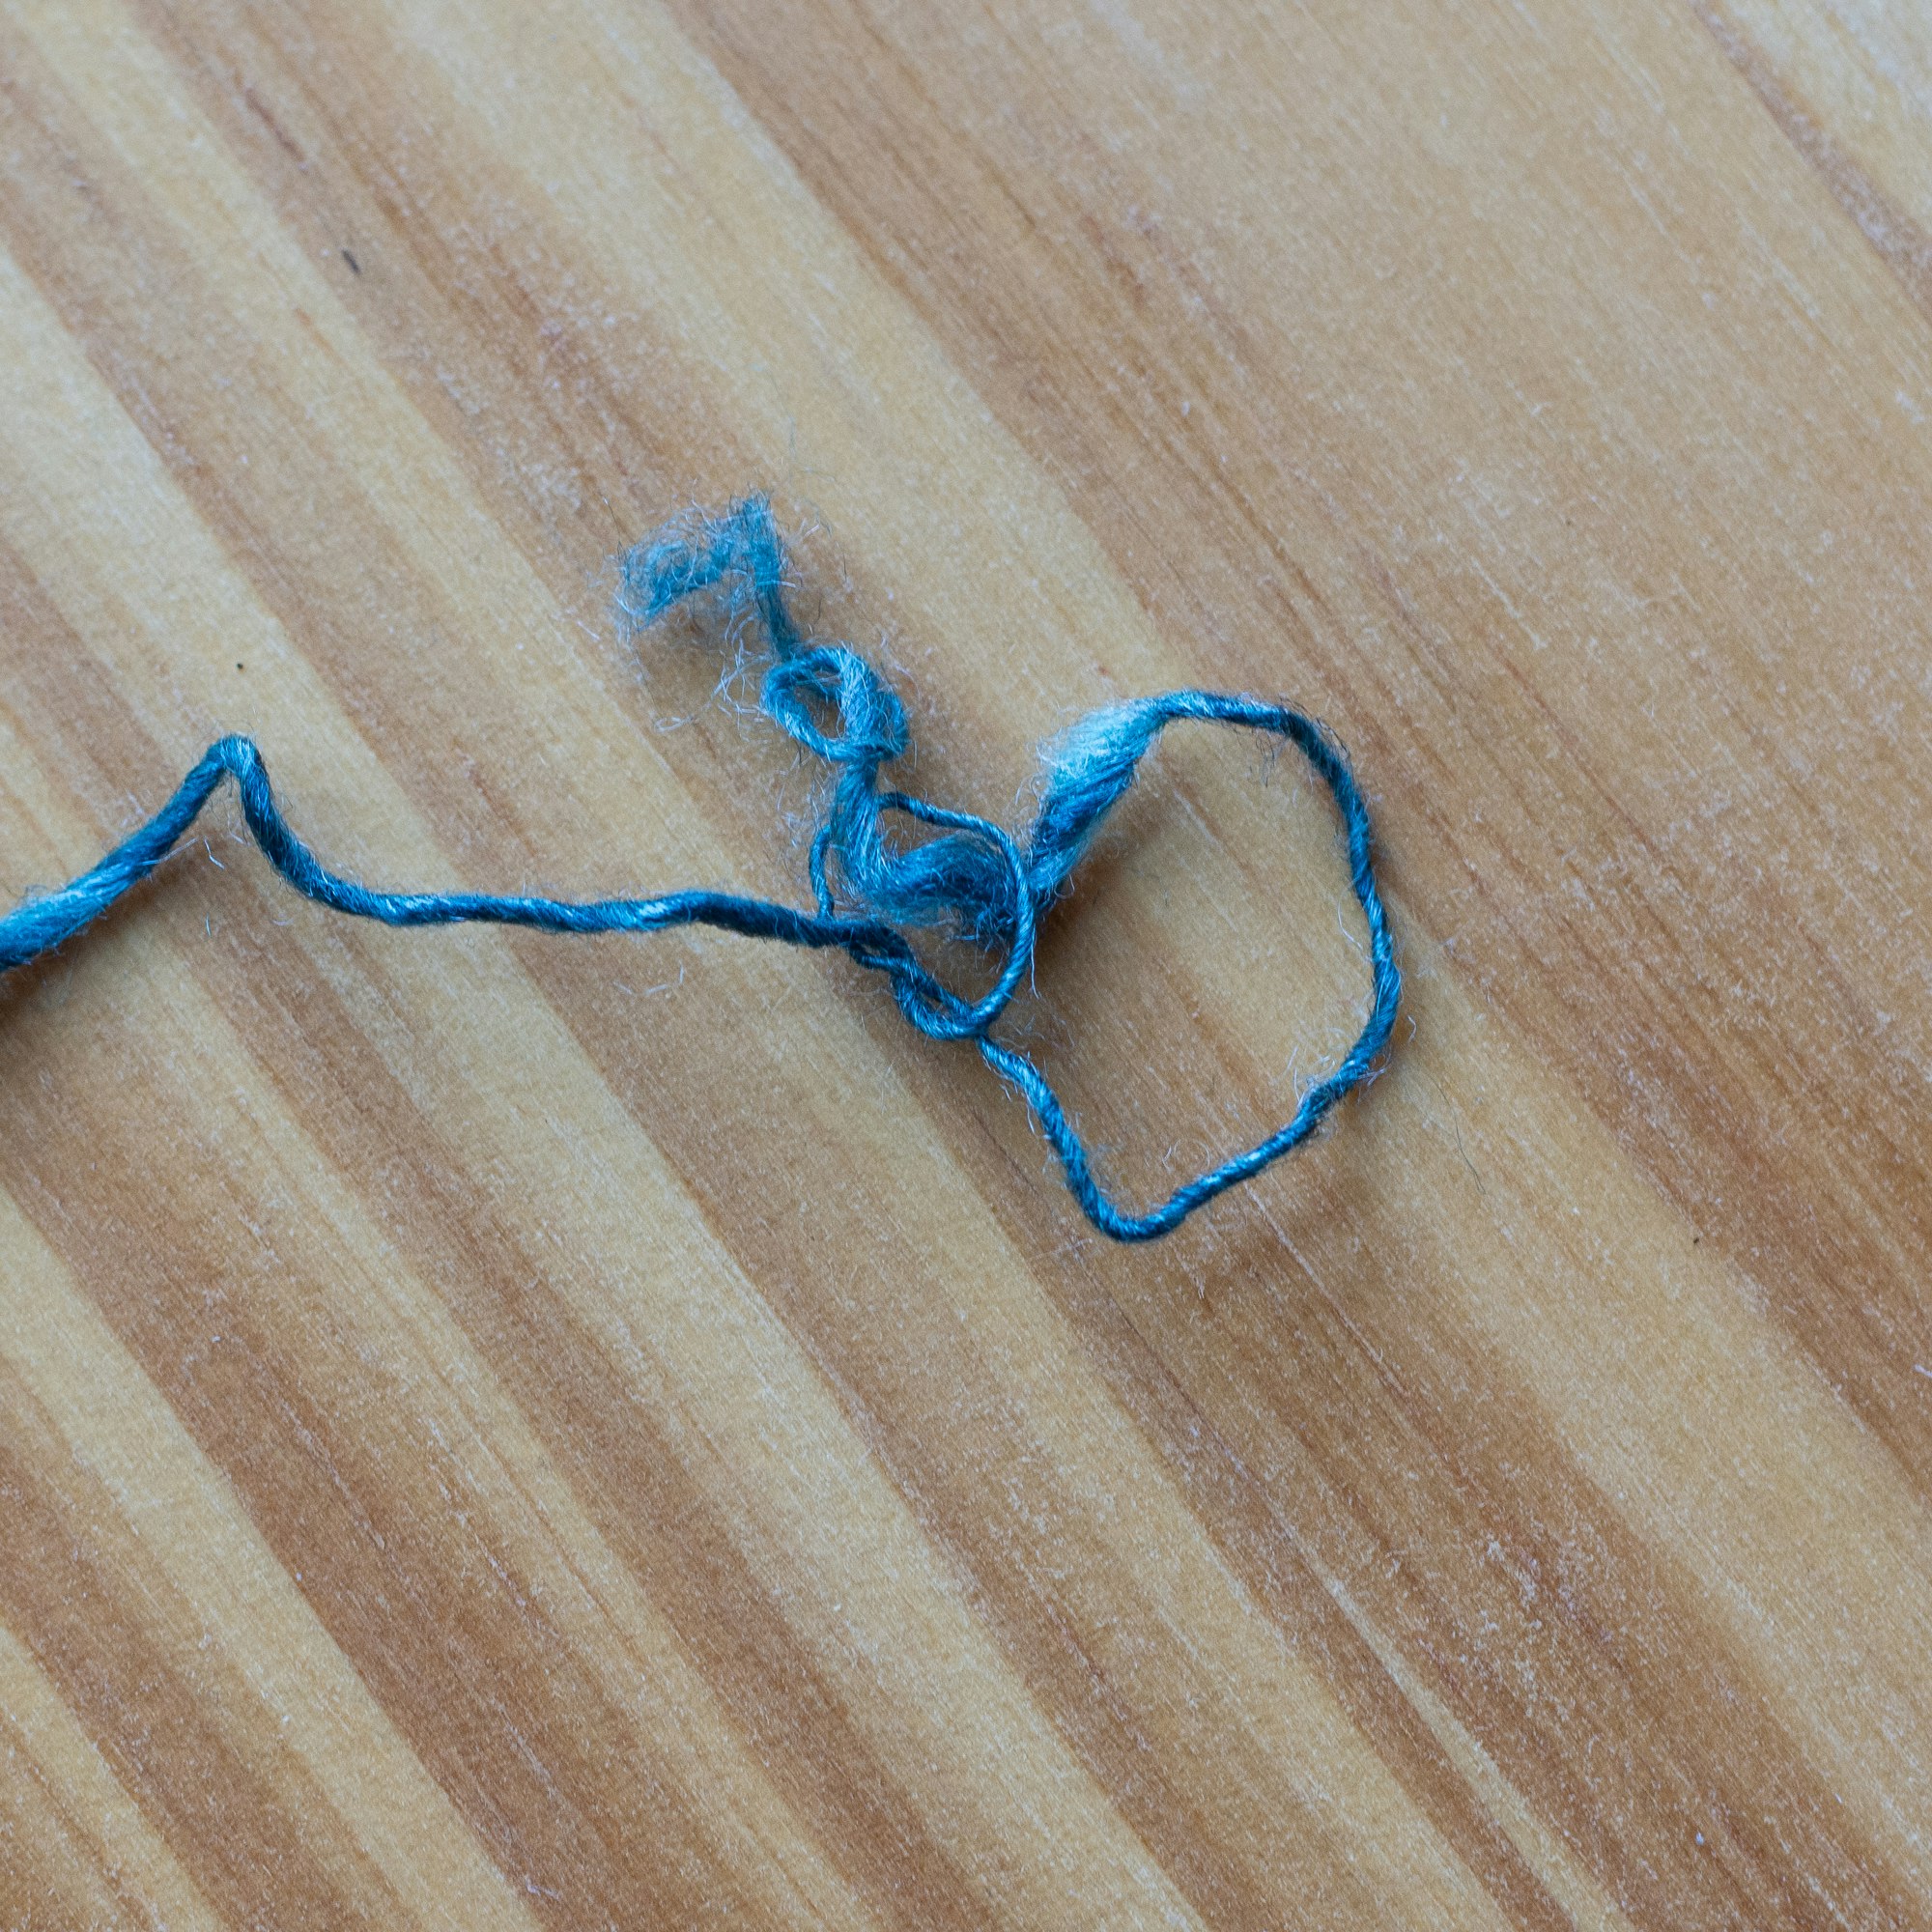
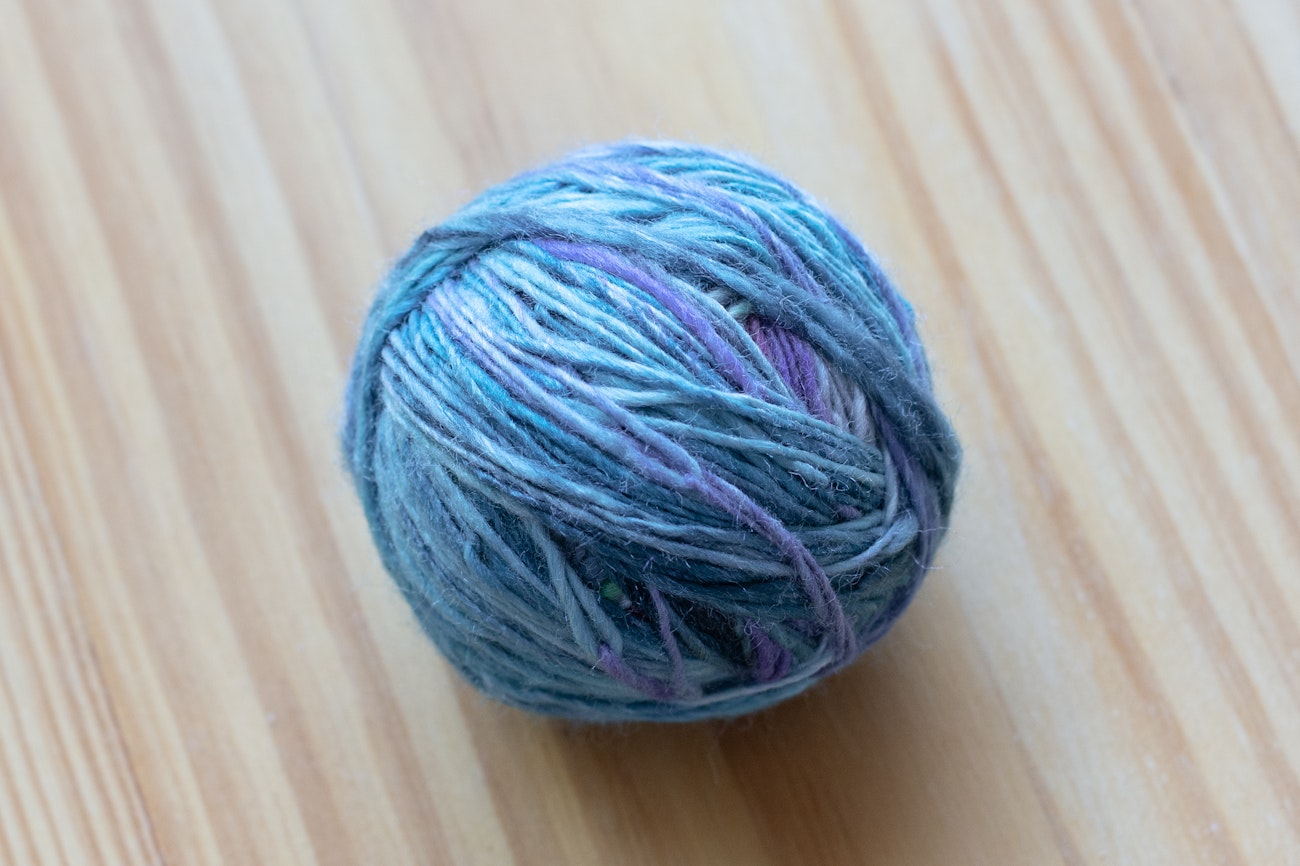
Then, instead of adding ply twist, simply wind your chain around the ball. Your goal is to make the ball easy to handle when you go to add twist, and most spinners find this works best if the ball is wound in courses, with multiple wraps made in the same place on the ball before rotating it. As your plying ball gets bigger, your courses can get bigger too.
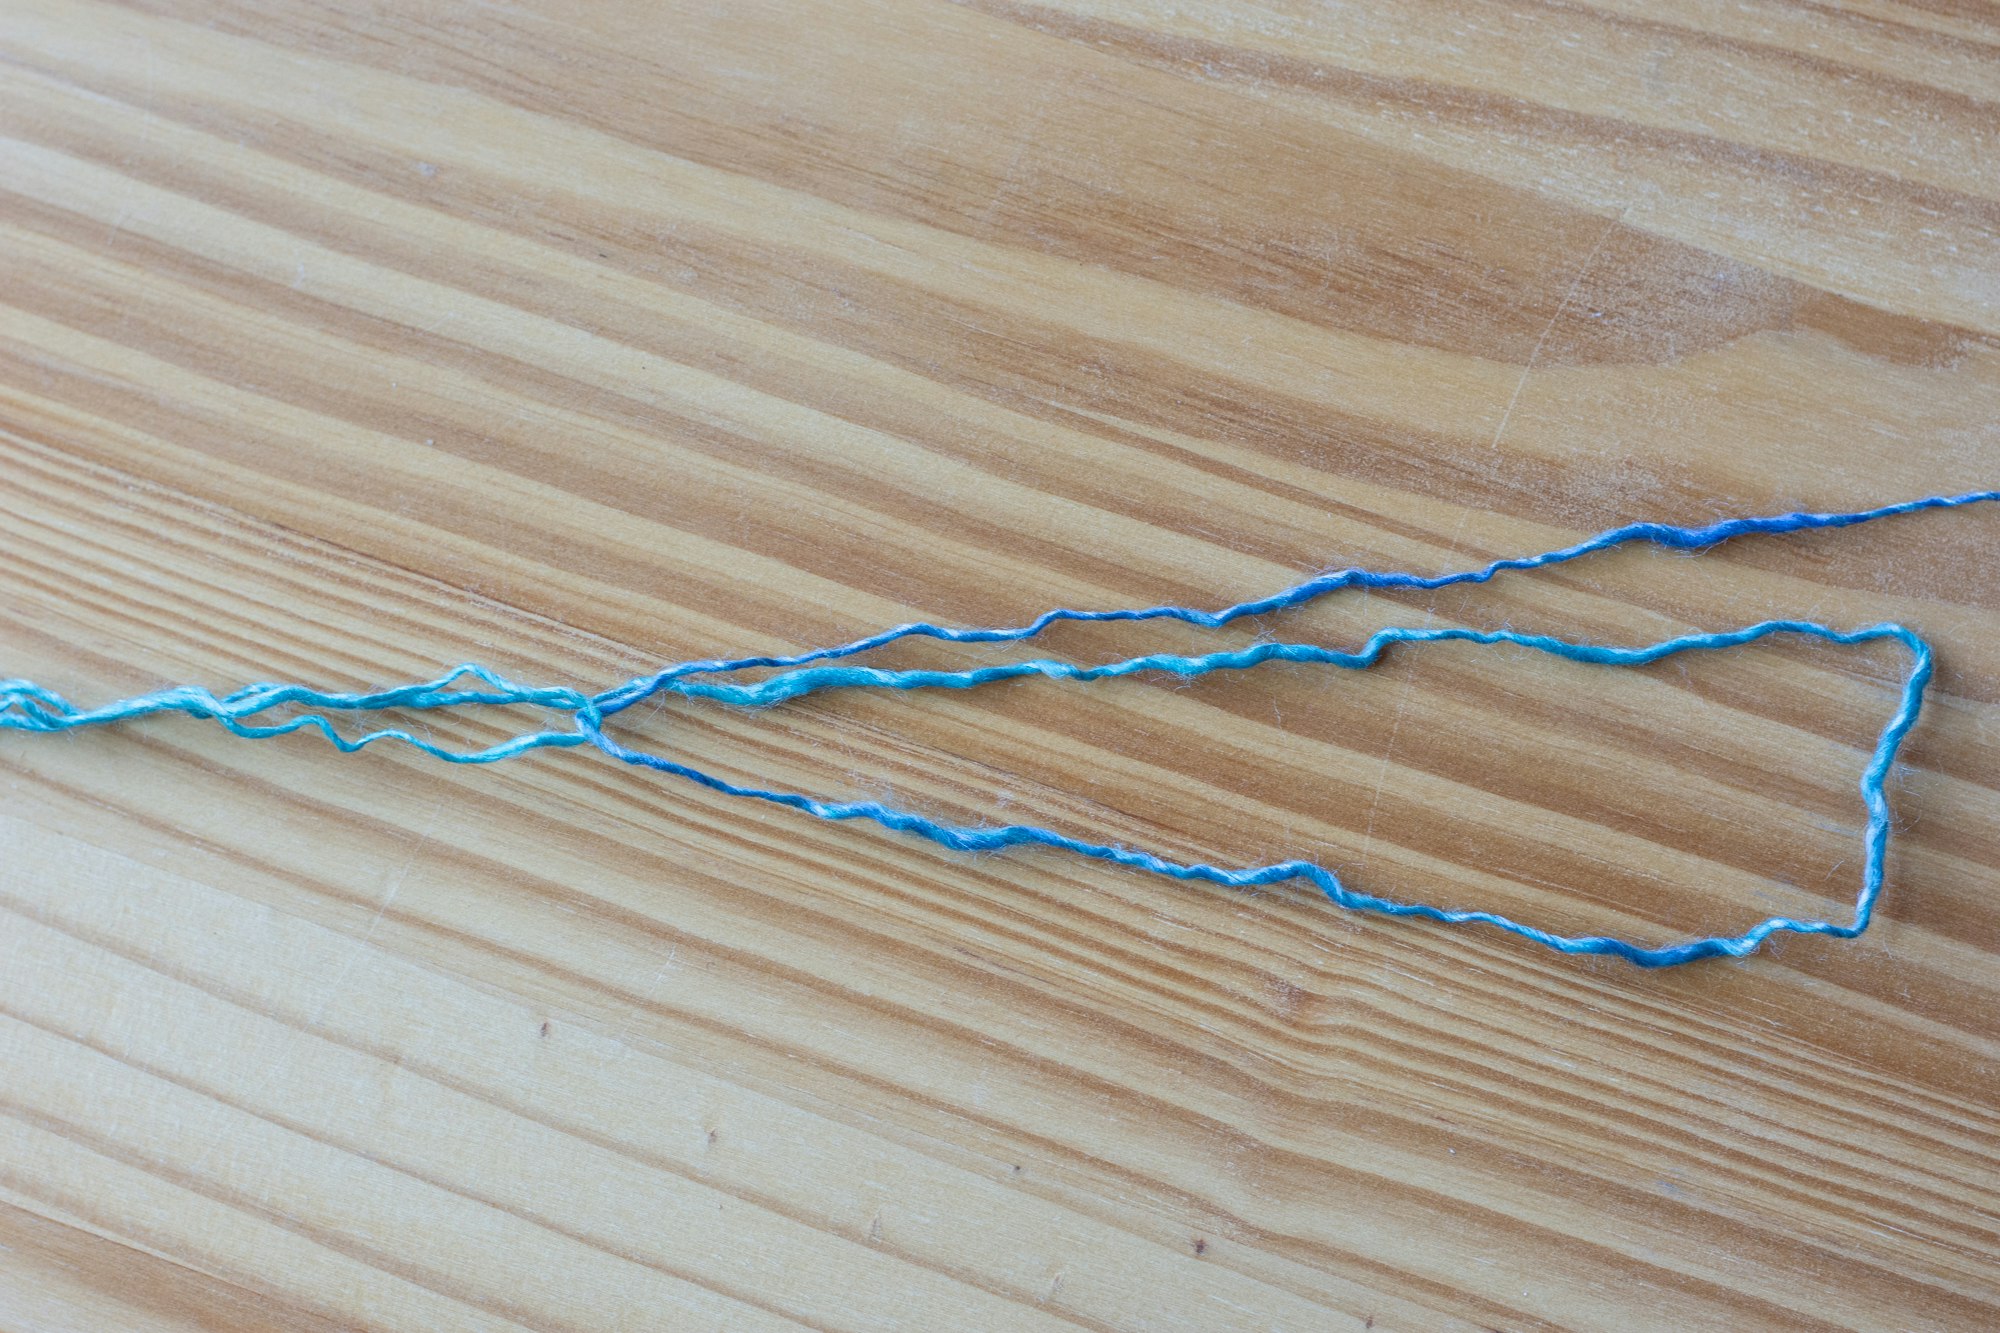
 Wind and chain until you run out of singles.
Time to Ply!
Once you’ve finished chaining and winding the ball, you’re ready to add ply twist. Depending on your preference, you can hold the ball in your hand, place it in a small bowl beside you, or even pin it to your shirt.
 You can hold your plying ball while you ply, or place it in a small bowl next to you while you work.
Resources
- Get more chain plying help with our Chain Plying Skill Guide.
- New to plying balls? Read Devin Helmen’s Plying Balls: How I Ply on Spindles for a quick introduction.
- See how Nilda Callañaupa Alvarez winds a plying ball in Andean Spinning.