
In my never-ending blending experiments, batt follows batt, and each successive blend is built on the previous one. As the colors shift from one batt to the next, the pile of blends—some bright, some rich, some sophisticated, some nuanced—grows.
To make your own never-ending blending batts, you’ll need a drumcarder and some dyed fiber. A gram scale is handy for accuracy but is not necessary for fun. In Experiment No. 1, I used my own dyed approximation of printer’s primaries—yellow, magenta, and cyan. Experiment No. 2 used eleven assorted colors, but there are no limitations on the number of colors. Some of this fiber was Ashford-dyed Corriedale, and some was my hand-dyed domestic wool top and Shetland that I happened to have on hand.
The process for both experiments was the same.
Take a bit of fiber in each of two colors and thoroughly blend them on the drumcarder. My batts were small, no more than 6 grams of each color, so even though each blend made about three passes through the drumcarder, blending went quickly.
Remove the blended batt and divide it in half. Set one half aside in a “completed” pile. I kept my batts in the order they were created, but they can be reorganized according to whim later.
Take the second half of the blend just finished and choose an equal amount of another fiber. Blend these together thoroughly.
Repeat Steps 2 and 3 indefinitely until fiber, stamina, and/or enthusiasm are exhausted.
Record keeping is optional, of course, but may prove important later if a blend is to be reproduced. Noting the sequence of color additions is most helpful, but fiber content and weight notes can also come in handy.
Drumcarding Tips
Taking the tenth blend as an example, some of the fiber in that batt will have passed through the carder thirty times. This makes it important to keep the fiber as straight and orderly as possible. This isn’t difficult to do since the fiber starts as a neat bundle anyway (as top or roving or a previously carded batt). I attenuate the fibers almost as if I am loosening up the fibers to spin. I like to thin the fiber enough so it isn’t grabbed up by the carder but not so thin that it is difficult to feed in. I place the thinned fiber onto my carder’s tray so that it goes straight in and around the first drum. Feeding the colors in alternating layers helps them mix more quickly. Fibers should never be fed into the carder willy-nilly if a smooth batt is the desired outcome.
Because the batts are small, only a portion (3 or 4 inches) of a full-sized drum width is used. If the fiber is spread across the full length, the batt will be too flimsy to remove easily. Smaller drumcarders (with 4- to 6-inch drums) would be excellent for this project.
Experiment No. 1
Now that you know the general process, I’ll present the more organized, somewhat scientific experiment first. I chose a printer’s primary set of colors consisting of yellow, magenta, and cyan (fig. 1). My first attempts were very lackluster (fig. 2). The first blend was yellow and pink, which produced the expected orange-hued blend. To one-half of that, I added an equal amount of turquoise. To half of the resulting blend, I added yellow, then magenta, then cyan in sequence to each subsequent blend. I then repeated the yellow, magenta, and cyan sequence once more. What a disappointment to see that the second sequence’s colors were very similar to the first (excluding the brighter first two blends). I could see that the same sequence would repeat itself again and again, perhaps only shifting very gradually toward somberness as the process continued. The static repetition of yellow, magenta, and cyan additions produced only three blends: a dull greenish, a pinkish, and a bluish color.
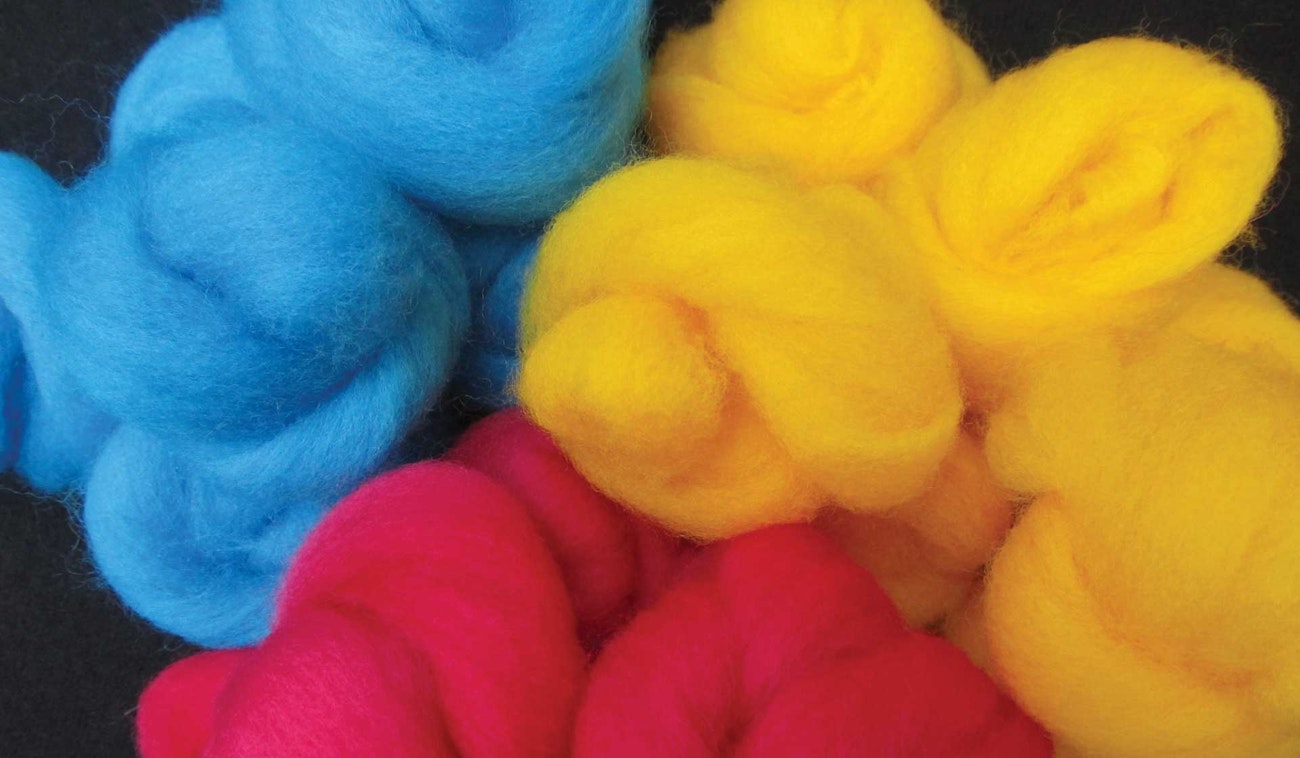
Figure 1. Original colors: yellow, magenta, and cyan.
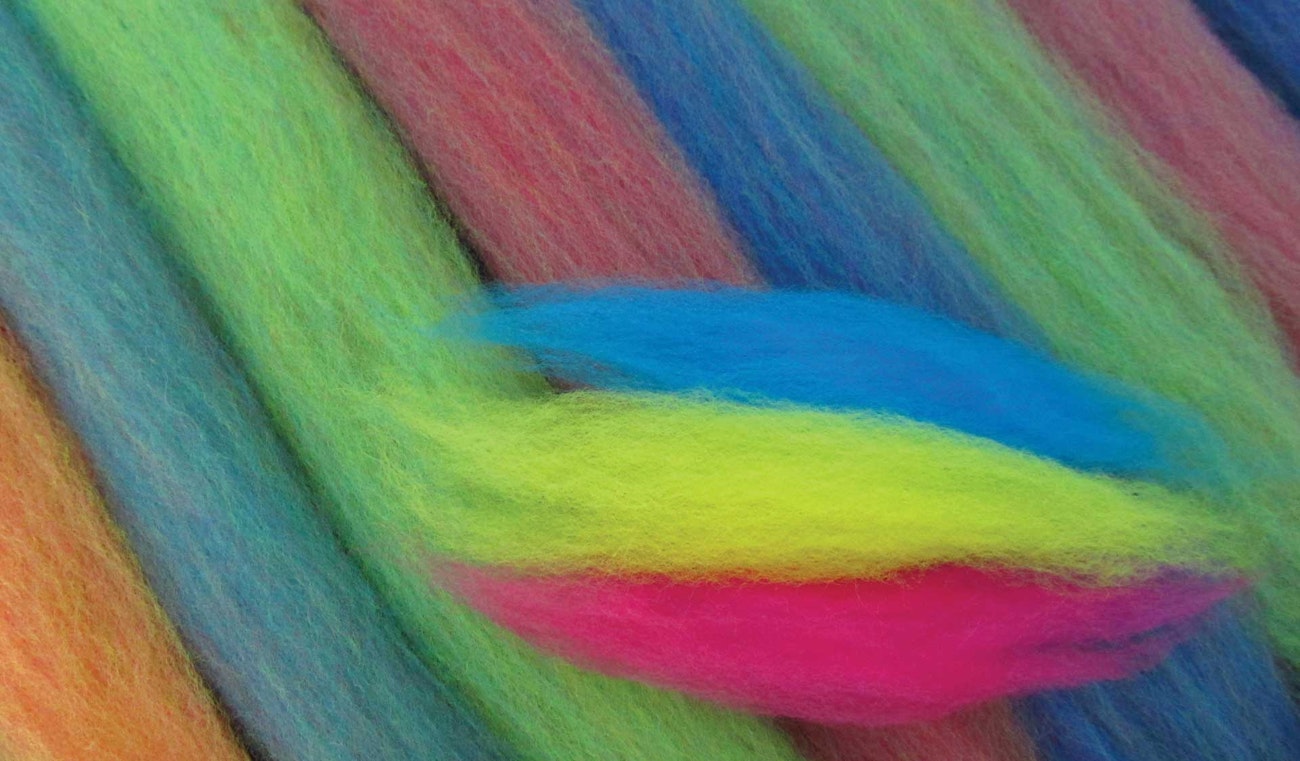
Figure 2. My disappointing preliminary study.
I decided that altering the sequence of the additions might yield the colors that I was seeking. My next attempt used the same original colors of yellow, magenta, and cyan. I began with yellow followed by three magenta, three cyan, and three yellow additions in succession. By the ninth blend, I had created many bright batts, and I ended with a greenish-yellow blend (fig. 3). The colors were vibrant and pretty.
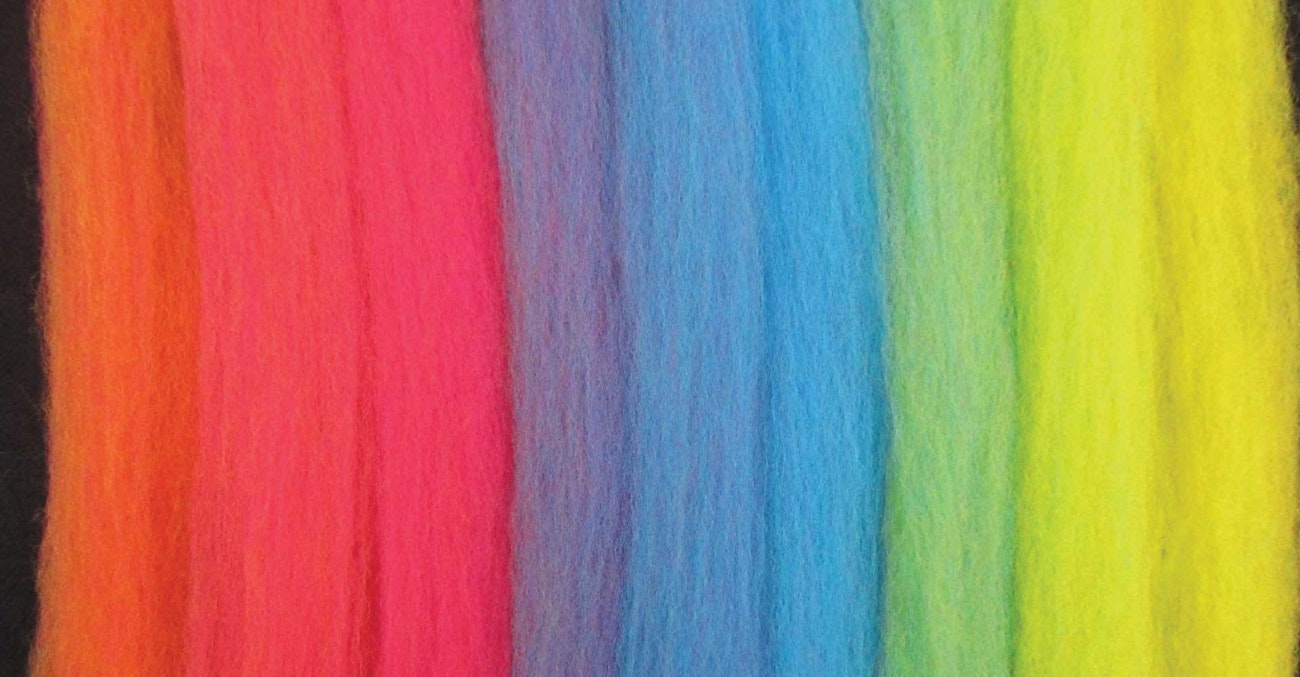
Figure 3. Bright blends.
Notice that by the third addition of the same color, yellow in this case, the resulting blends are returning to the original color. Another round or two could take my blend very close to the original yellow. Instead, I varied the sequence of additions at whim to see what would happen. I continued from that greenish-yellow blend and tried this sequence of additional colors: magenta, cyan, yellow, cyan, cyan, magenta, magenta, yellow, yellow, cyan, and magenta.
These blends were definitely more subtle than the earlier bright colors. For example, I purposely added cyan to an orange-hued blend (first on the left in fig. 4) just to see what would happen. Color theory as I understood it told me that orange and cyan would dull each other because they are opposite each other on the color wheel (complementary colors), and they did, but I like the new blend because it makes a visual bridge between the orange blend before it and the yellowed green that came after. I think all the colors actually look quite good together (fig. 5).
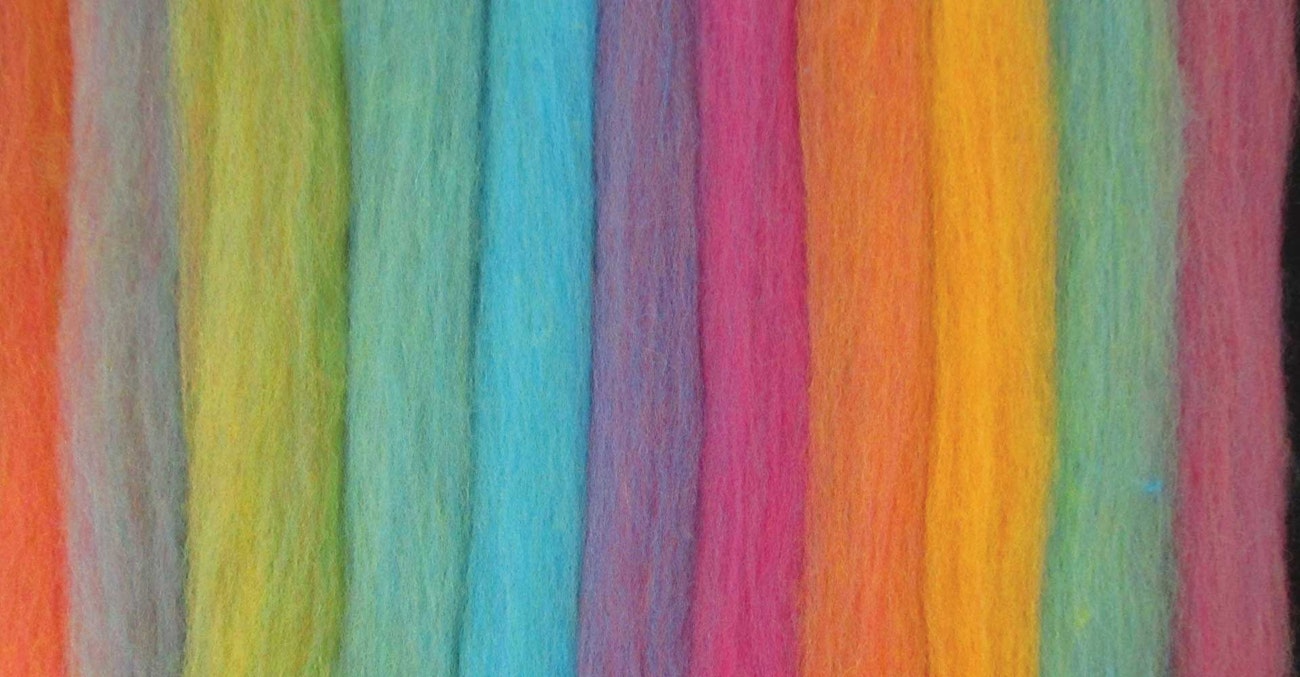
Figure 4. Subtle blends.
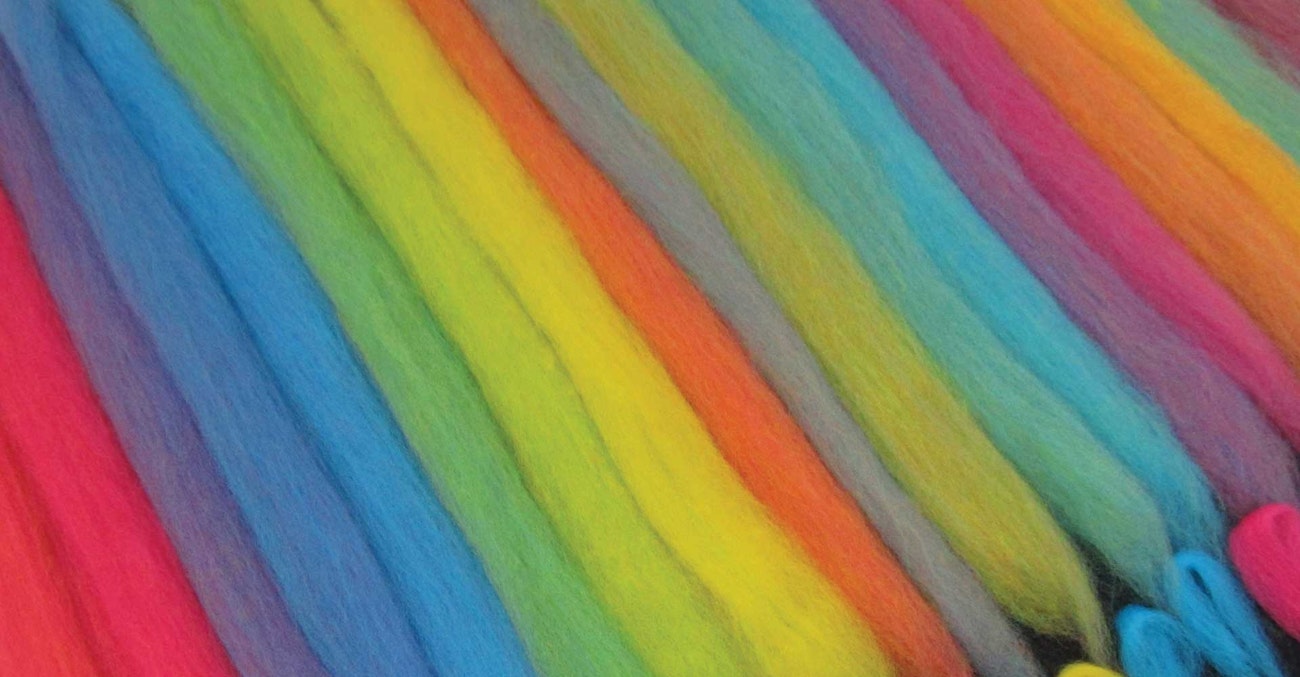
Figure 5. Sequencing, Experiment No. 1.
I could see that the closer a blend was to a 50/25/25 proportion, the duller the color looked. I guessed that a proportion of one-third of each color would make the dullest blend. As a little side experiment (fig. 6), I blended equal amounts of yellow, pink, and turquoise (33/33/33). The result is complex, but quite dull. It is as if each of the primary colors clamors for attention, but it is a three-way draw and nobody wins. In Experiment No. 1, one of the colors is always more than 50% or more of the total blend. One color always dominates, and the blends can never be as dull as that 33/33/33 blend.
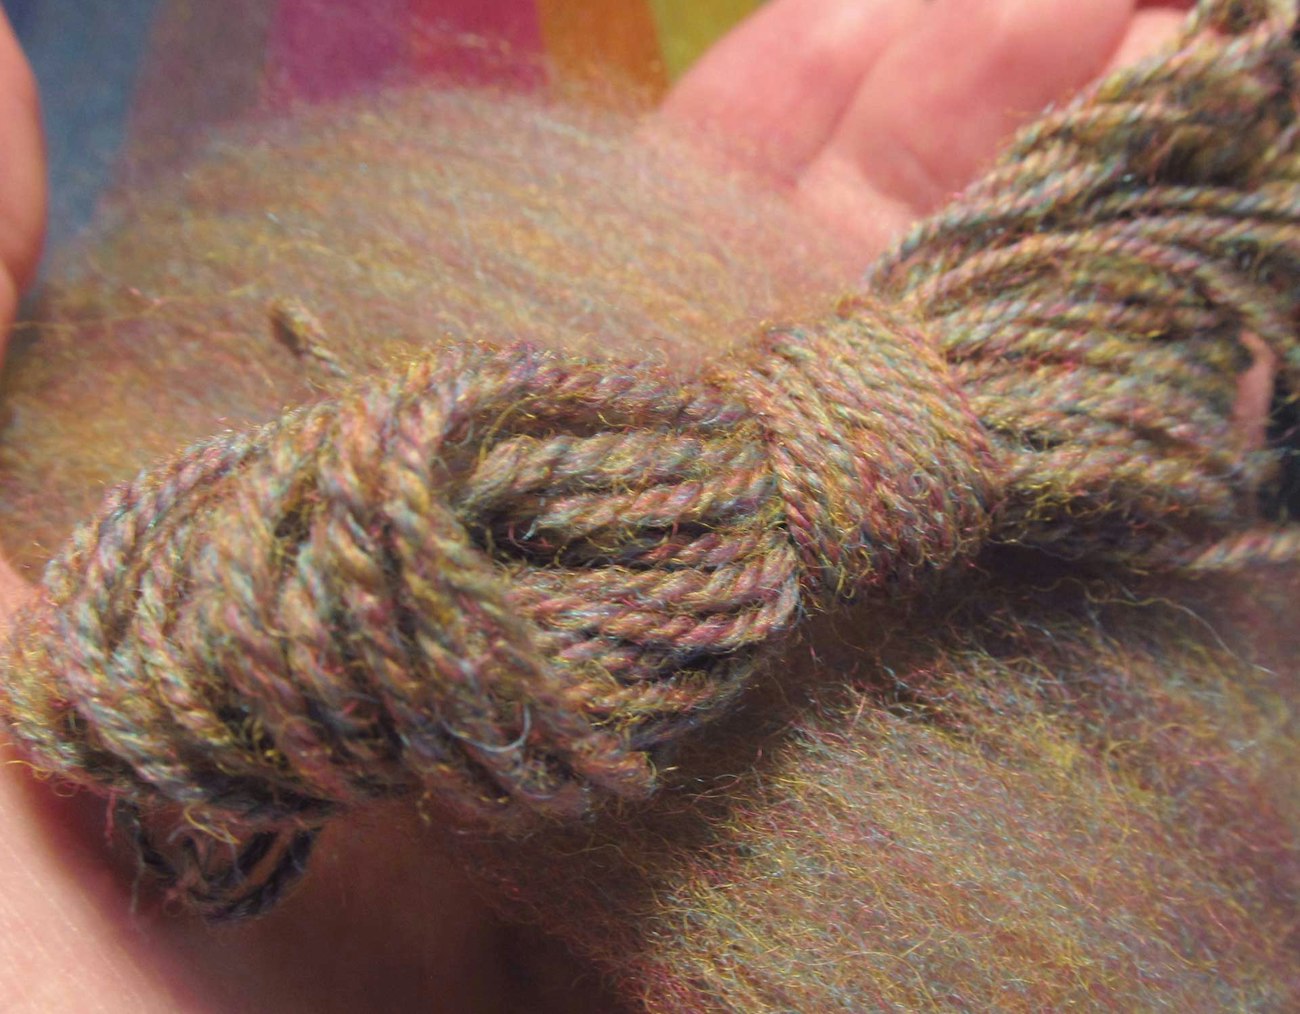
Figure 6. Dull yarn.
Experiment No. 2
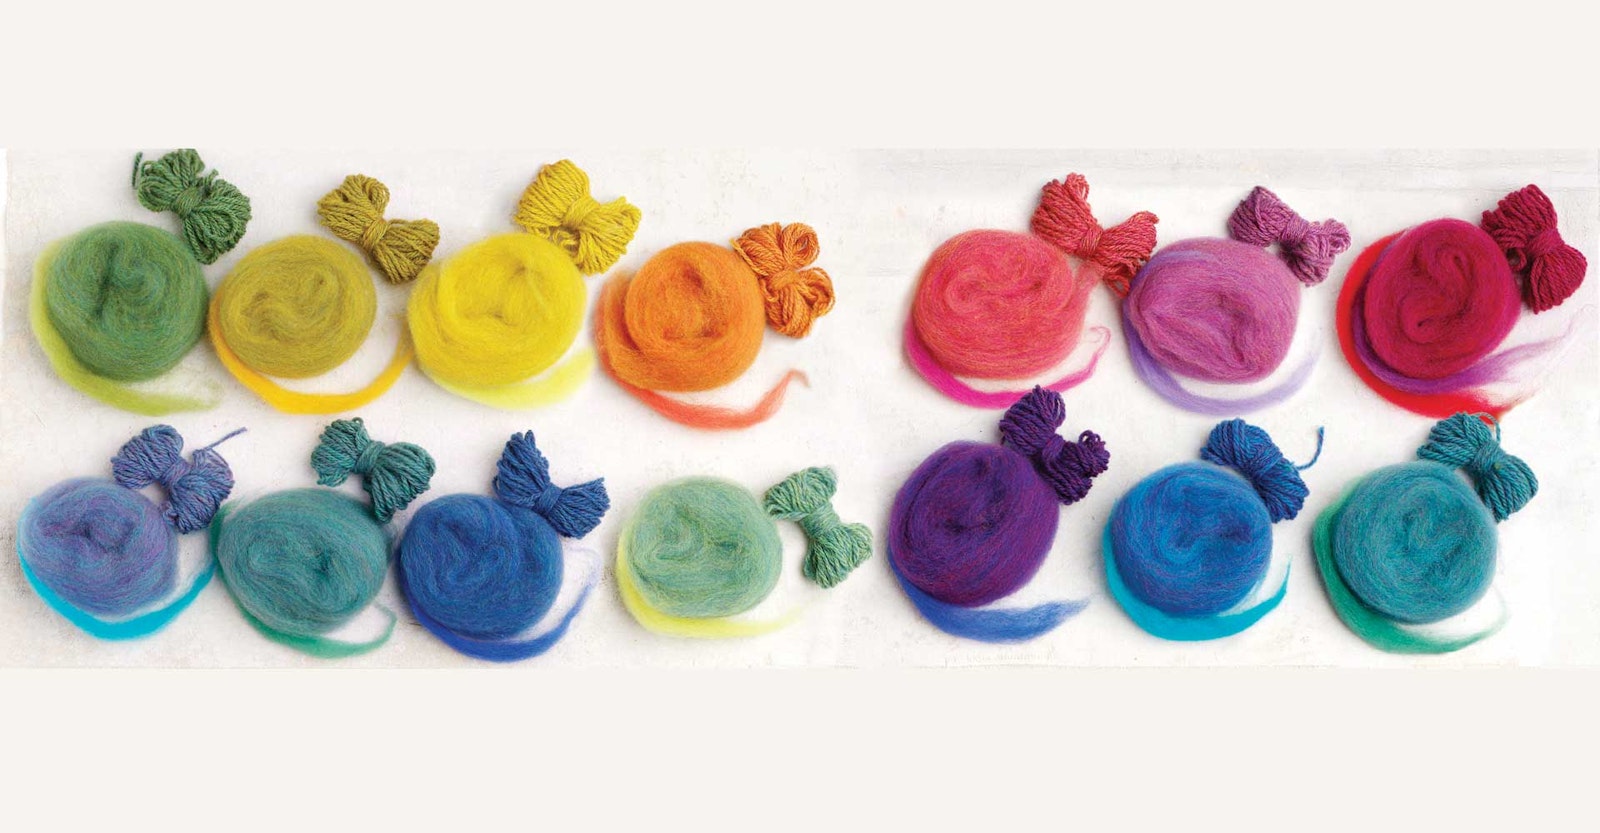
If the first experiment was methodical and quantifiable, this second one is more of a fiber free-for-all. The results are less predictable and more complex, but the exercise presents a wonderful opportunity to analyze color relationships and to create some fascinating blends (fig. 7).
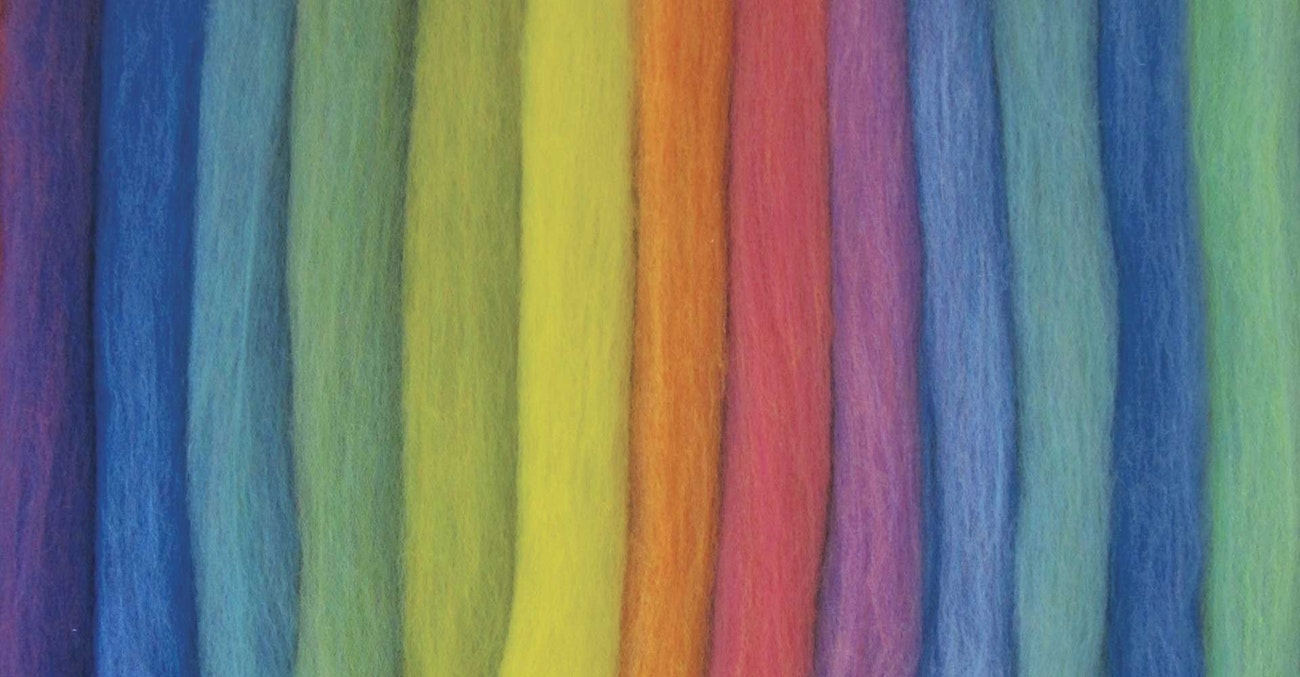
Figure 7. Sequencing, Experiment No. 2.
The general process is the same as for Experiment No. 1. The difference is that a range of eleven colors is used instead of just three primaries.
For each combination, the solid color that is added will dominate the new blend but will not obliterate the previous blend. You can choose a new color that is analogous (close on the color wheel) to the previous blend, or you can choose to add a complementary color. As an example, if the previous blend leans toward red, adding blue will make it purplish; adding yellow will make it more orange. The addition of either of these colors, because they are harmonious with red, will make a pleasing blend. What happens if you add the complementary color, green, to the reddish blend? Color theory says that this is likely to produce brown (or mud). While it’s true that the new blend will probably be muted, it may turn out brownish but could be a grayed lavender. The green that is added may be a light yellowy green or a dark blue-green, and the red blend will have undertones from previous colors. All these permutations will have an effect on the new blend, and it is difficult to predict how each will affect the outcome. The fun is in the doing, so just relax and enjoy the ride.
If you do end up with a color that doesn’t please you, the next solid addition can bring it back to a livelier realm. Let’s take our reddish blend/solid green example, and say that the resulting color is a reddish brown. Divide the batt in half as before and put one half aside in the completed pile. Another green or red solid could be added to the second half. If the resulting blend still does not please, add the same solid for several sequences until a color you like is achieved. As the process continues, all the previous colors are still present, just in ever-smaller proportions.
The blends can be reproduced approximately (fig. 8). Look at the blend to be duplicated. Make a new blend by taking 50% of the last color added, 25% of the color added before that, 12½% of the color before that, and 6¼% of the color before that. This is 93¾% of the original blend you want to duplicate. Add a wisp of an earlier color or two to season. (Liken this process to ½ teaspoon of the last color, ¼ teaspoon of the color previous to that, ⅛ teaspoon of the color before that, and 1⁄16 teaspoon of the color before that. Add them together and you are still shy of a full teaspoon, so add a pinch of this and a pinch of that to make it up.)
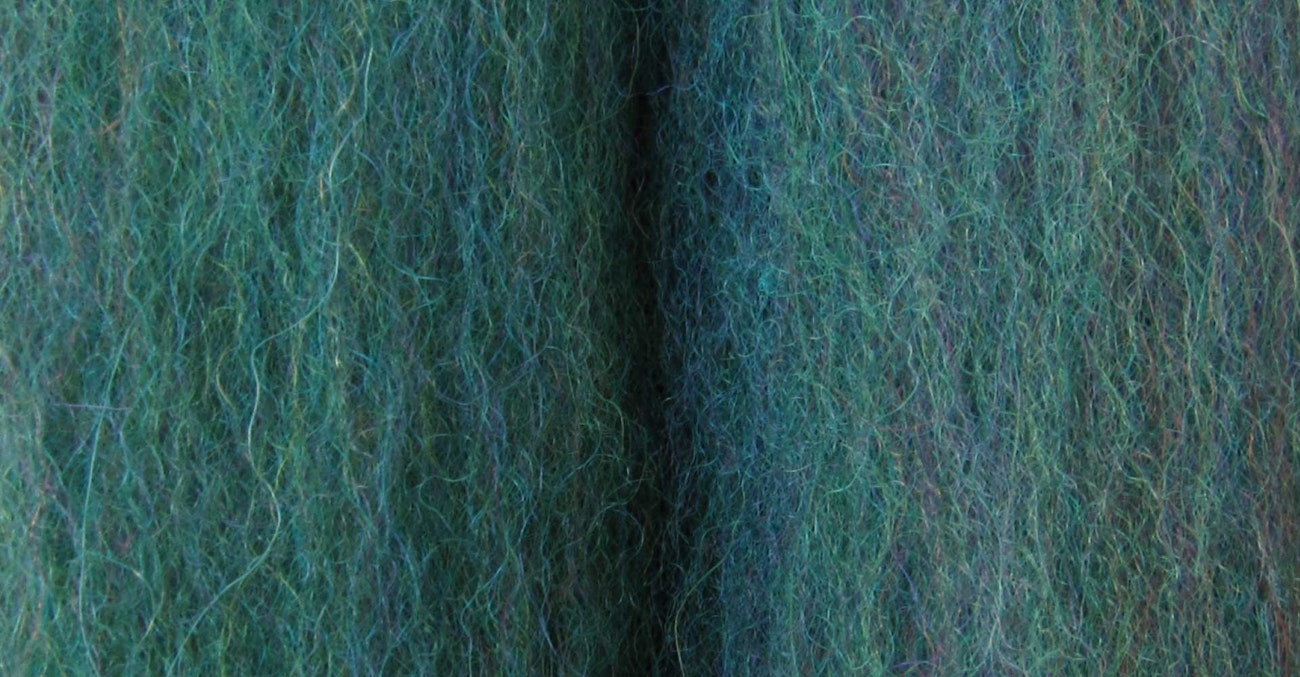
Figure 8. Original blend and a replica based on the notes.
Further Exploration
If a really smooth flow of color is desired, “between” batts can be made so the colors change almost imperceptibly from one blend to the next. These batts could be formed by taking a bit from each of two adjacent batts and blending these bits together. This will lessen the jolt from one color to the next. This jolt can be especially prominent with yellow since yellow can bring up the value (lightness) of the blend abruptly.
Lightening a blend with white or darkening it with black creates a tint or shade, as suggested by the sunlight and shadow falling on a sequence of batts (fig. 9). The basic 50% proportion could be changed. Instead of 50% of a new color, 25% each of two colors could be added.
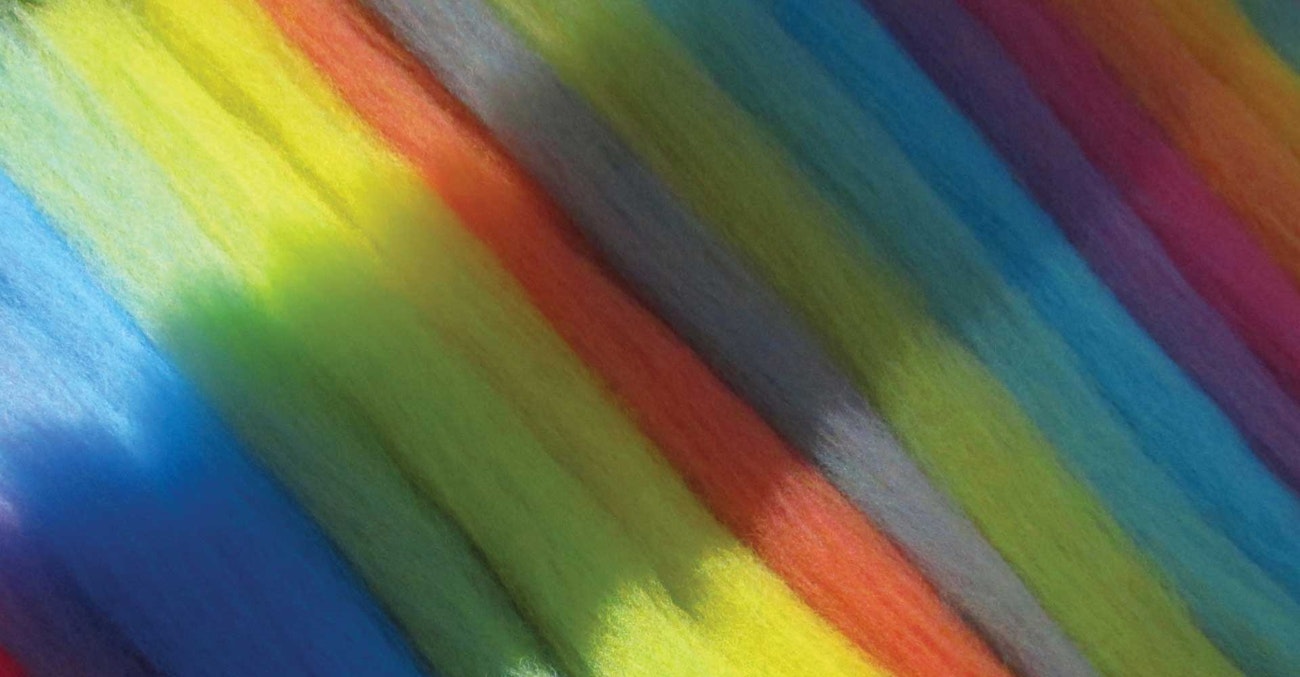
Figure 9. Tints and shades suggested by sunlight and shadow.
Experiment No. 1 could be performed with any three colors, say blue, green, and violet, or maybe three neutrals such as black, white, and tan. Experiment No. 2 could be performed with many colors, but each color could be repeated once or several times in succession.
As I continue my never-ending blending experiments, I glory in my collection of blends the way a miser glories in his gold pieces. What commercial line of yarn has as many color choices as I can create? This is the reason I spin.
Susan Z. Douglas of Topsham, Maine, gave herself the gift of spinning lessons when she turned forty. At the time, she worried that the money spent on the lessons would be a waste, that perhaps she would not enjoy spinning. Now, almost two decades later, she considers it the best gift she has ever bestowed.
This article was published in the Spring 2014 issue of Spin Off.