
In Spin Off’s Fall 2017 issue, we recommended these 7 practical tips to make your visible mending project a success.
 Elizabeth used an embroidery hoop to stabilize her fabric. Photo by George Boe
1. Stabilize the fabric.
Prevent puckering by holding the fabric reasonably taut and clear of folds. An embroidery hoop is perfect for a large area of sturdy fabric, but if you can’t find one to accommodate your piece, try adhesive freezer paper or tear-away, heat-away, or wash-away stabilizer.
2. Just as for real estate, it’s all about condition and location.
A simple, small rip in otherwise new fabric will hold up well once mended. If, however, you’ve worn through an area, you are likely to wear through it again. The surrounding fabric may also be too weak to hold the repair. Try to anchor your new stitches far enough away from the hole or weak spot so that they have something to hold onto.
 Debbie Held used a woven window patch to repair these jeans, and then she trimmed away the excess frayed threads. Photo by George Boe
3. No loose ends.
Long floats or unsecured patches can catch and rip, leaving the piece worse than when you started. Be sure to stitch down or trim away any extra fabric on both sides of the piece.
4. Keep it short.
Small stitches are more secure than long, loose ones. When threading the needle, resist the urge to pull off a long piece of yarn so you won’t have to knot and rethread as often; anything longer than one arm’s length will get tangled (and won’t save time anyway).
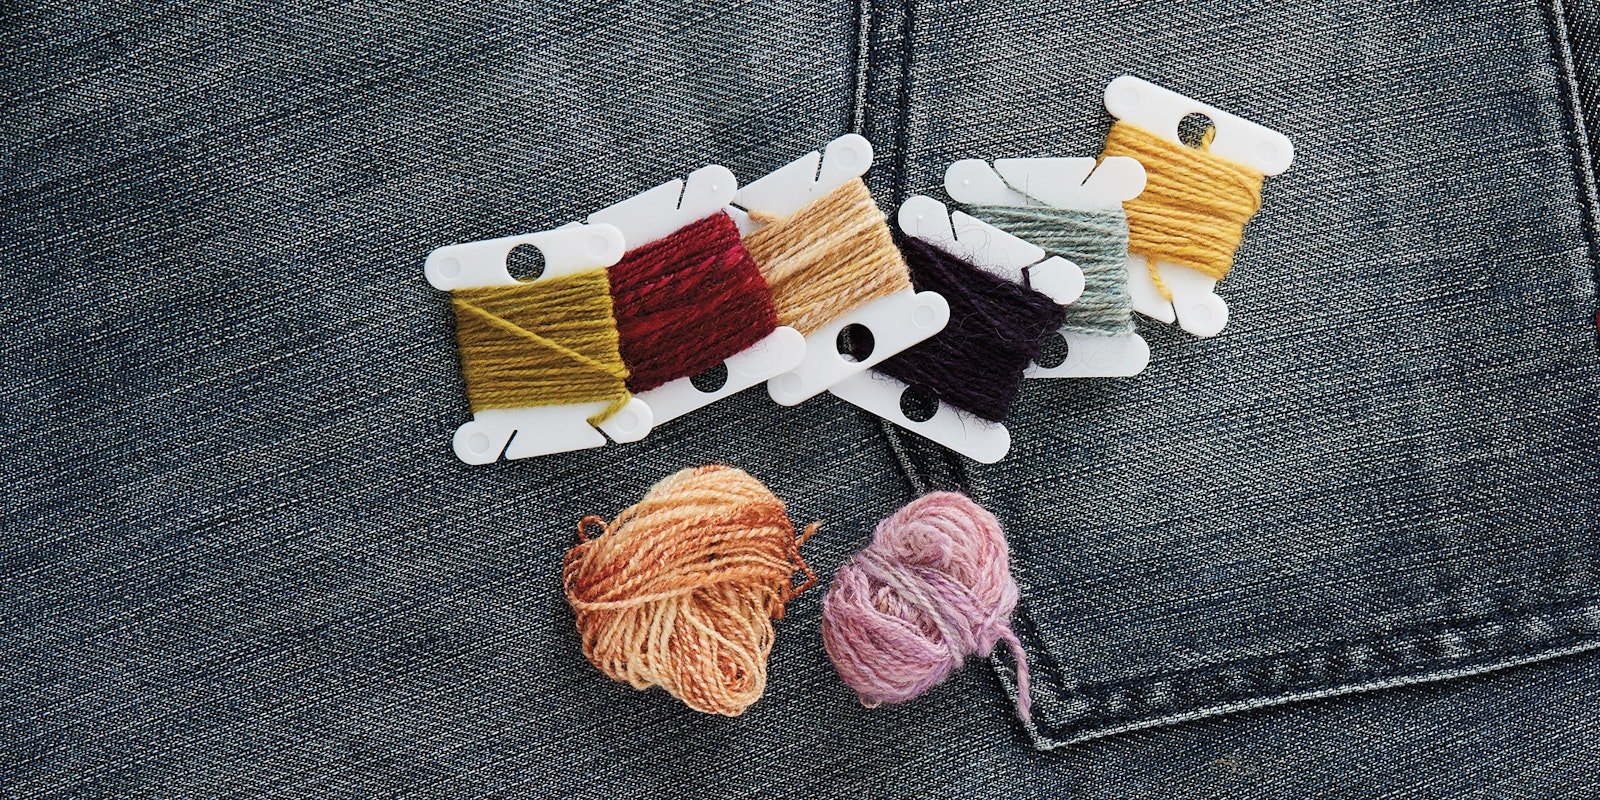
 Gather a few basic tools before you begin your visible mending project. Photo by Elizabeth Prose
5. Plan ahead.
It can be difficult to stitch the design of your dreams freehand, but you can help yourself out. Use a wash-away marker to sketch the design before you begin stitching, or draw on the freezer paper or stabilizer.
6. Help your yarn slide on through.
Even worsted-spun yarns can be abraded by stitching. Use beeswax or Thread Magic (often available where seed beads are sold) to condition and lubricate the yarn.
7. What about washing?
Consider the combination of the fabric to repair, the yarn, and the washing method. To mend denim, which will probably make many trips through the washing machine, almost anything goes. Nonfelting fibers will retain their shape, and a little fulling may even be desirable if you wash a wool mend. For a favorite chambray shirt, though, a felted patch might turn into a puckered mess.
For more tips on spinning yarns for embroidery and visible mending, check out Debbie Held’s article, “Mending Ways: Bringing Handspun to Basic Visible Mending,” featured in Spin Off’s Fall 2017 issue and Kate Larson’s article, “Sublime Stitches,“ in the Spring 2016 issue.
Also, remember that if you are an active subscriber to Spin Off magazine, you have unlimited access to previous issues, including Spring 2016 and Fall 2017. See our help center for the step-by-step process on how to access them.
Originally published January 19, 2018; updated April 17, 2019; updated May 9, 2022.