
You might wonder why anyone would go through all the trouble to handspin yarn, only to knit it on a machine instead of by hand. Doesn’t that defeat the purpose? I don't think so! In fact, there are plenty of reasons why. Besides the speed that a knitting machine offers (leaving more time for spinning!), it’s easier on my hands, and offers interesting creative challenges.
I never expected to love knitting machines. My first experience with one was a disappointing disaster—with dropped stitches, broken yarn, and a carriage that just wouldn’t go. It seemed that I could only use the machine at a very loose gauge, creating a knitted fabric with limited appeal.
Since then, however, I’ve come to love this storied tool. In recent years, I have made about half my handspun sweaters on a knitting machine, including Sandi Rosner’s Millefiori Pullover, featured in the upcoming Fall 2025 issue of Spin Off. With that project, I started the colorwork section by hand in the round, then transferred the project to the knitting machine to knit the plain stockinette body and sleeves. To me, this is the best of both worlds—I get to knit the fun and engaging part by hand, and then the less exciting parts speed by as I push the knitting machine's carriage back and forth.
Knitting Machine Basics
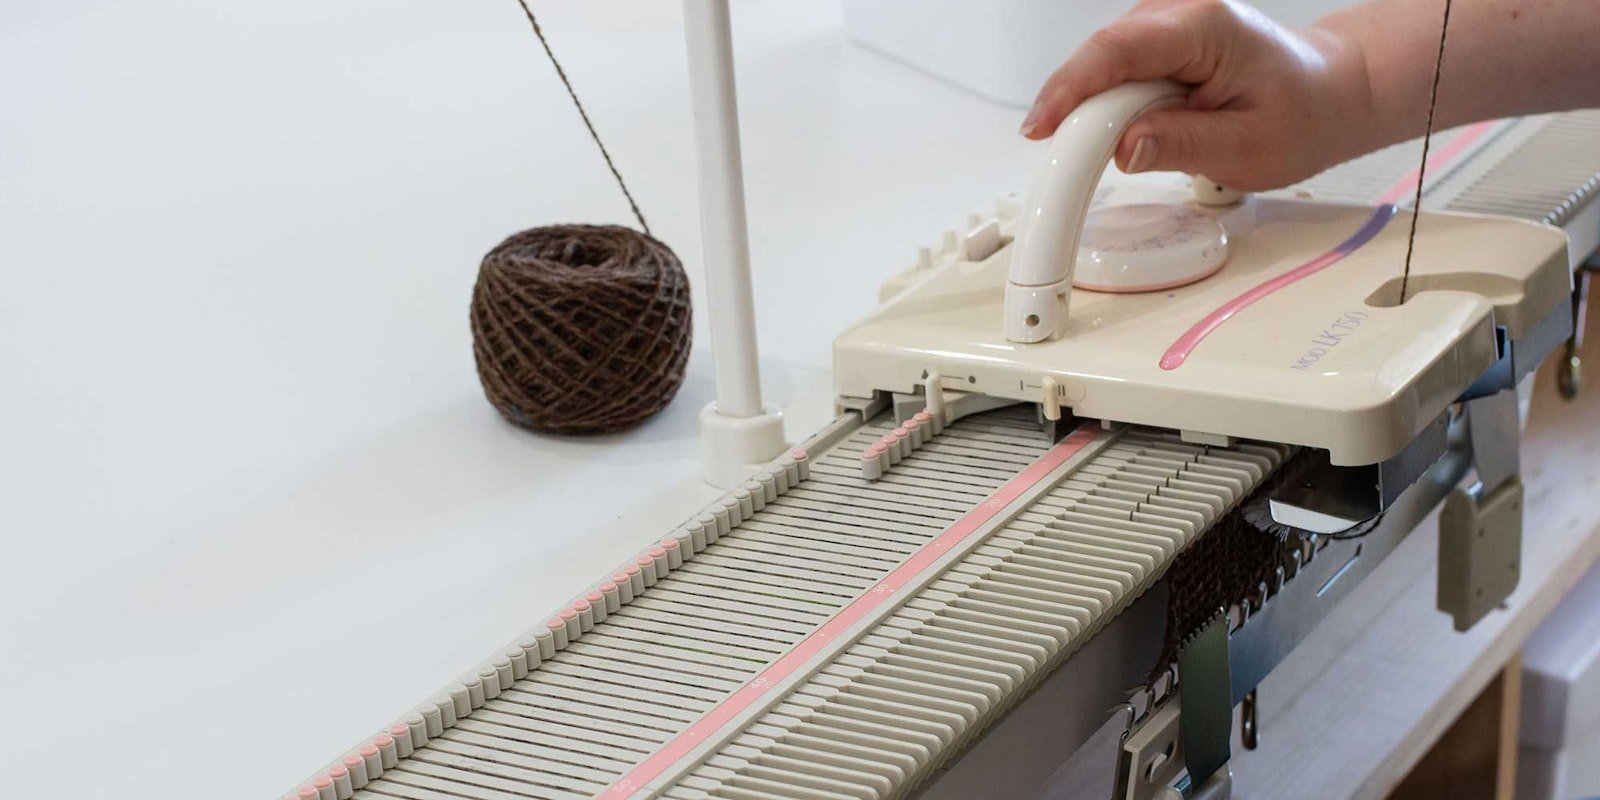
Each knitting machine has a bed with a set number of needles that resemble latch hooks, and each needle holds a single stitch. Not surprisingly, a flatbed knitting machine works pieces flat, and a circular knitting machine works in the round.
To knit a row, the operator pushes a carriage back and forth across the bed. The carriage works by moving the needles as the working yarn is laid on the needle. In a wave-like motion, the carriage opens the latches, pushing the previous row’s stitches behind the latch, lays the working yarn in the hook, then pushes the previous row’s stitches forward. As this happens, the latch closes, and the previous row’s stitches drop off the needle. Weights keep everything in place and keep the carriage from jamming.
My best tip for getting started with a knitting machine is to spend plenty of time practicing, swatching, and getting to know your machine—ideally with scrap yarn! If you start out with a used knitting machine, like I did, you might also need to spend some time troubleshooting and performing maintenance. My flatbed LK150 (shown in this article) came to me with rusty needles and a disintegrating sponge bar, which keeps the needles in place. After replacing these parts and cleaning the machine, it was ready to go. Like our trusty spinning wheels, knitting machines also require regular cleaning and oiling to keep them operating smoothly.
If you’re brand-new to knitting machines, be sure to check out Mary Renstrom's article, “Machine Knitting with Handspun.” to find out more. In it, she explains how to choose a knitting machine, how to spin yarn for machine-knitting, and what to look for when choosing a knitting pattern.
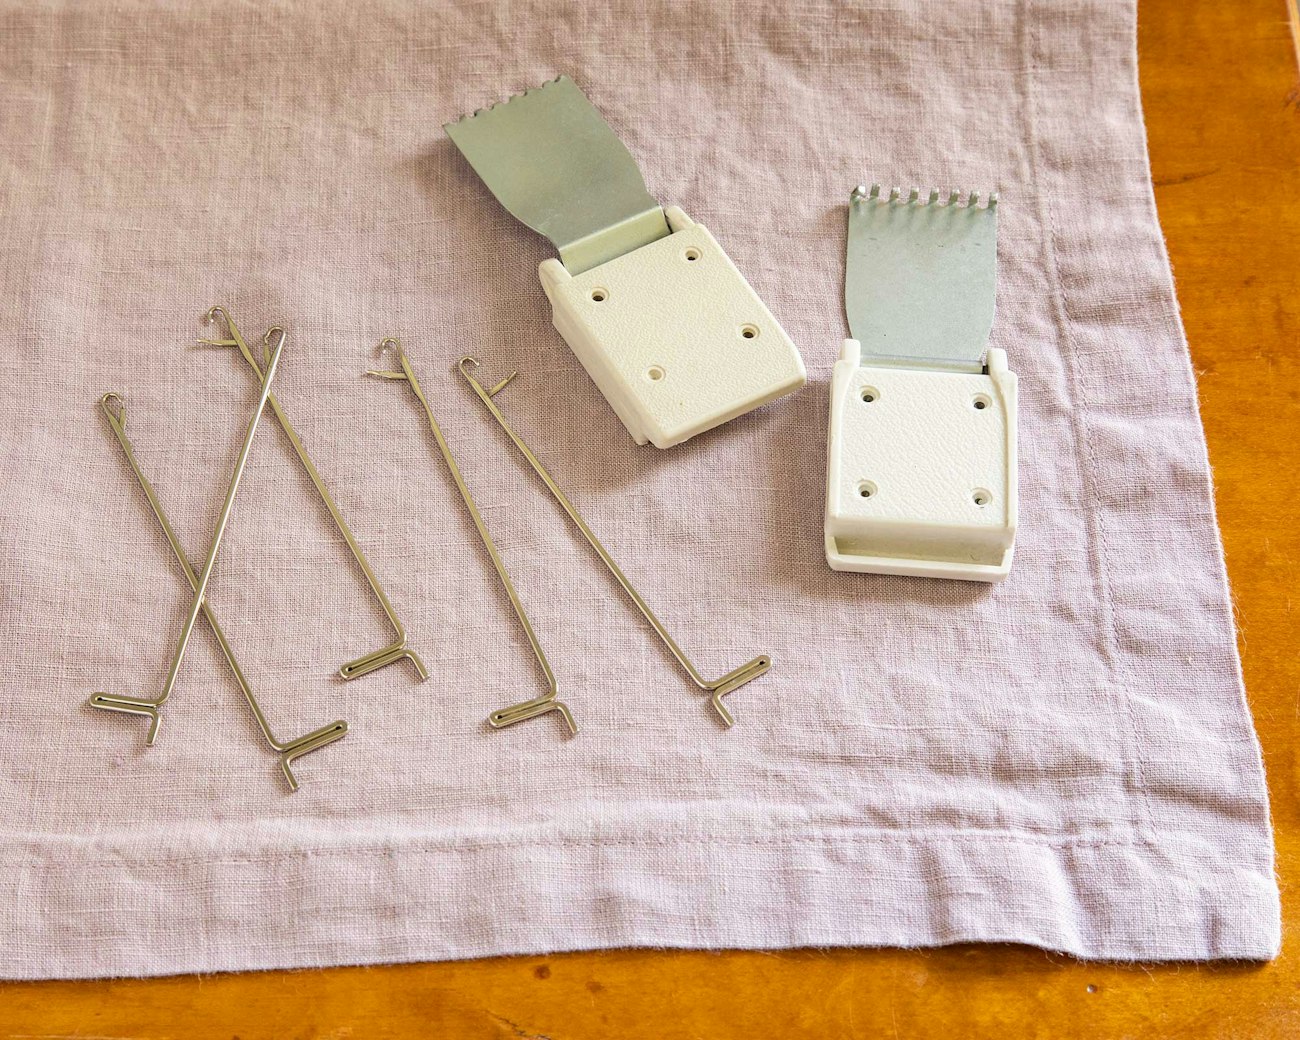
Knitting machine needles (left) look like latch hooks. Claw weights (right) keep the stitches properly situated on the needles.
Photo by Matt Graves
Why Knit By Hand AND By Machine?
If the knitting machine is so great, why would I knit half of a sweater by hand and half by machine? Great question! There are plenty of projects that I knit almost entirely on the machine, doing only the edgings by hand.
But some patterns are just designed to be knit in the round, like yoked sweaters. These can be tricky on the knitting machine because of the placement of increases or decreases across a row.
On a knitting machine, a transfer tool is used to make increases and decreases. The knitter uses it to move stitches to an empty needle, then works a yarnover or other increase of choice. Decreases are made by moving two stitches to one needle with the transfer tool, then knitting the next row. Critically, each increase or decrease requires the surrounding stitches to be rearranged, so most shaping increases and decreases happen at the selvedges of the work—think of the increases and decreases you might do at the side of a sweater body or sleeve.
This process makes traditional yokes impractical on the knitting machine, as the knitter would spend a great deal of time rearranging stitches on the bed. Not only is this time-consuming, but in my experience, the work tends to get stretched out of shape and more problems are likely to occur, such as a jammed carraige and broken yarn mid-row.
But this doesn’t mean you can’t make a yoked sweater on the knitting machine! There are many workarounds, including changing the pattern from a circular yoke to a raglan-style seamed sweater, or working the yoke by hand, then hanging it from the needles, and working the front, back, and sleeve portions of the garment on the knitting machine, as I did with Sandi Rosner's Millefiori Pullover. Take a look at this quick video to see how it's done!
If you're on the fence about whether a knitting machine is right for you, I hope you'll explore some more of the resources below. There's so much potential in this tool!
Resources
- Learn more about using knitting machines with handspun yarn in Mary Renstrom's article “Machine Knitting with Handspun.”
- Discover Spin Off contriubtor Micki Hair’s innovative approach to machine knitting in the Fall 2020 and Fall 2025 issues of Spin Off and in her web article, “A Special Gift, Jersey Style”.
- Is using a knitting machine cheating? Find out Pamela’s take in the upcoming Fall issue! Be sure to subscribe to reserve your copy of the new Spin Off issue and get the digital copy the day it comes out!
Pamela K. Schultz is the content editor for Spin Off. She spins, knits, weaves, and gardens in coastal North Carolina.